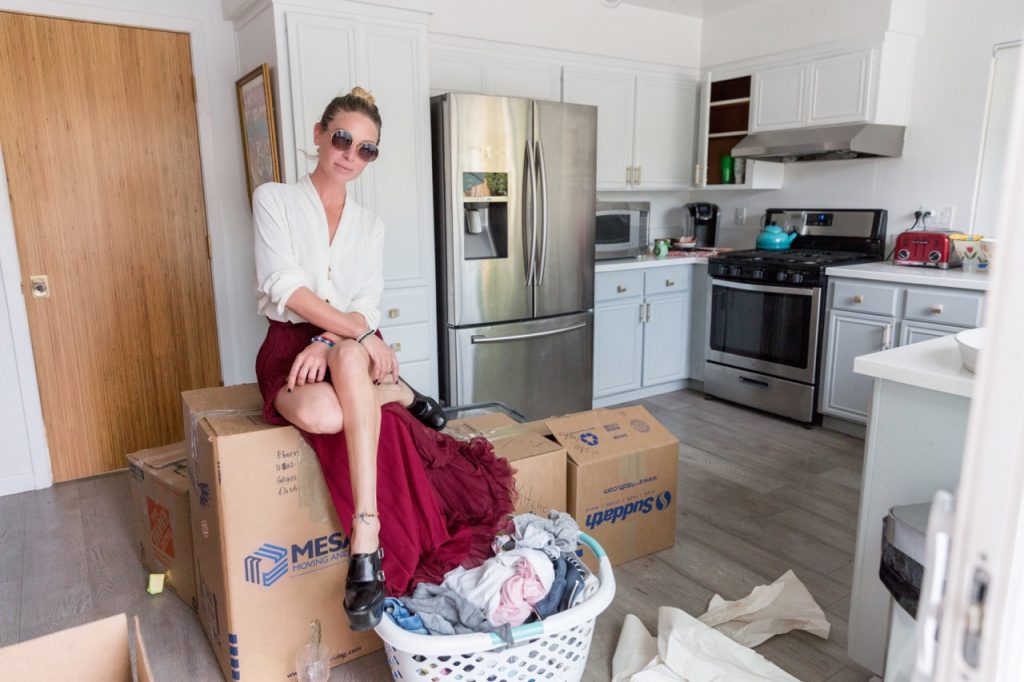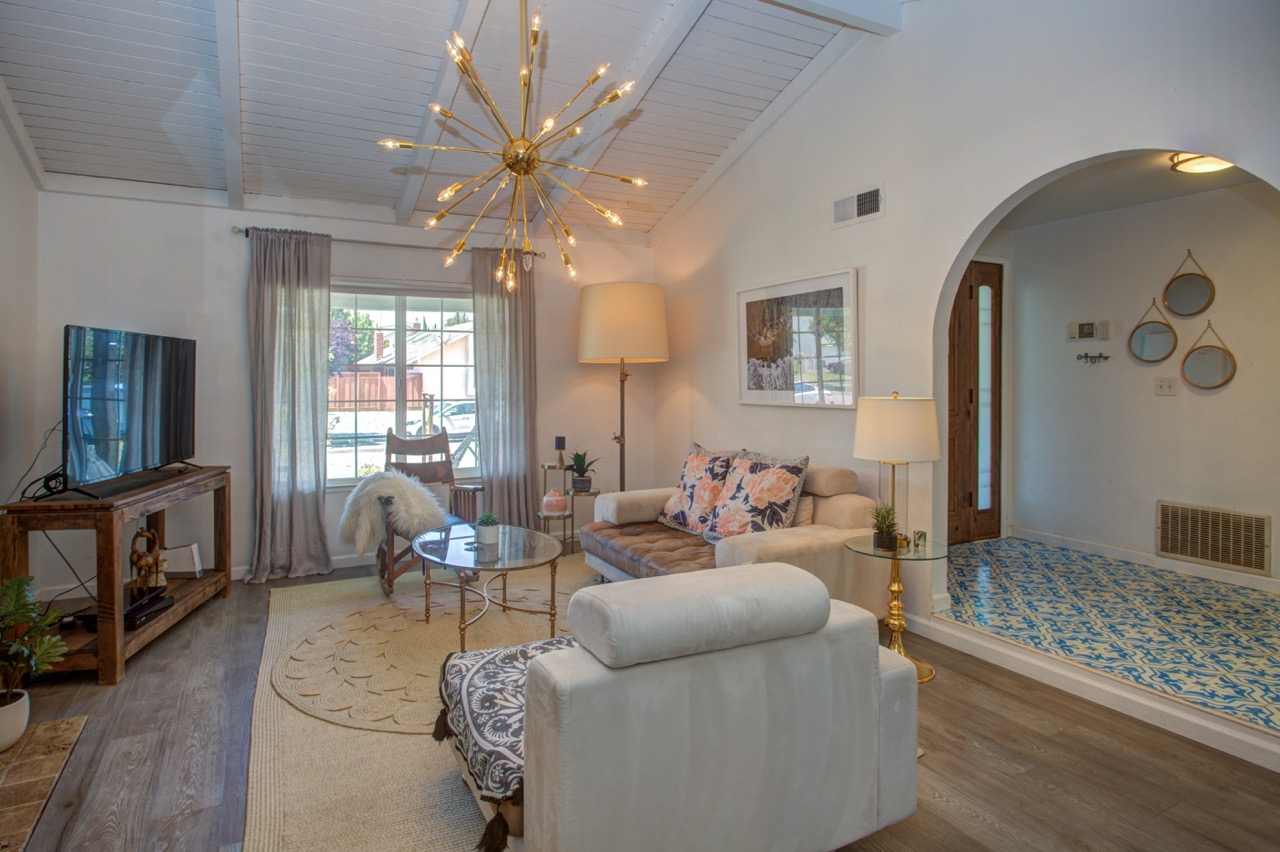
My house, all staged and ready to be sold.
Here’s a fun little career development as of late: I’ve started doing digital marketing and strategy for realtors. Mostly what that means is that I help them develop their digital channels – SEO optimize their websites, establish their social aesthetic, etc etc – but in the cases of clients that are local, I’ve also been helping with the actual, physical, staging-of-spaces in advance of photographing them and putting them on the market.
Read: Everything I Know About Buying And Selling Houses
Read: A (Bittersweet) House Tour
Read: How To Renovate Your House (Without Having Loads Of Cash Laying Around)
Mostly because it’s so fun. (For me. I am aware that not everyone shares my idea of “fun” in this regard.)
What’s nice about home staging ideas is that a lot of them apply to life in general – I remember when I staged our first house back in New York, I was struck by how much more I liked our house once it had been streamlined.
1. Pack away anything that doesn’t add to the space. This means clutter, of course, but when you’re trying to make your house appeal to the widest number of people, you also want to remove all things related to animals and babies (yes, yours are cute, but nobody needs to be reminded of litterboxes or the wonders of Baby Einstein when they are looking at a potential new home).
2. Remove 2/3 of the tchotchkes in each room. This means framed pictures, bits and bobs, and definitely the collection of Apple Dolls you inherited from your Aunt Clovis (click the link; they’re terrifying, and I know this because my own aunt collected them and they continue to haunt my dreams to this day).
3. Clear out the closets…but not totally. Even if it’s theoretically possible for you to take everything out of your closets during the home-selling process (and it wasn’t for us), you don’t really need to – just removing half of the objects in each closet helps potential buyers see (and make sense of) the storage space available.
4. White and bright and light from top to bottom. If your kid’s room is turquoise or you put a red “statement wall” in the dining room, that’s great. For you. Paint your place white.
5. Spruce up those baseboards. Magic Eraser, heyyy!
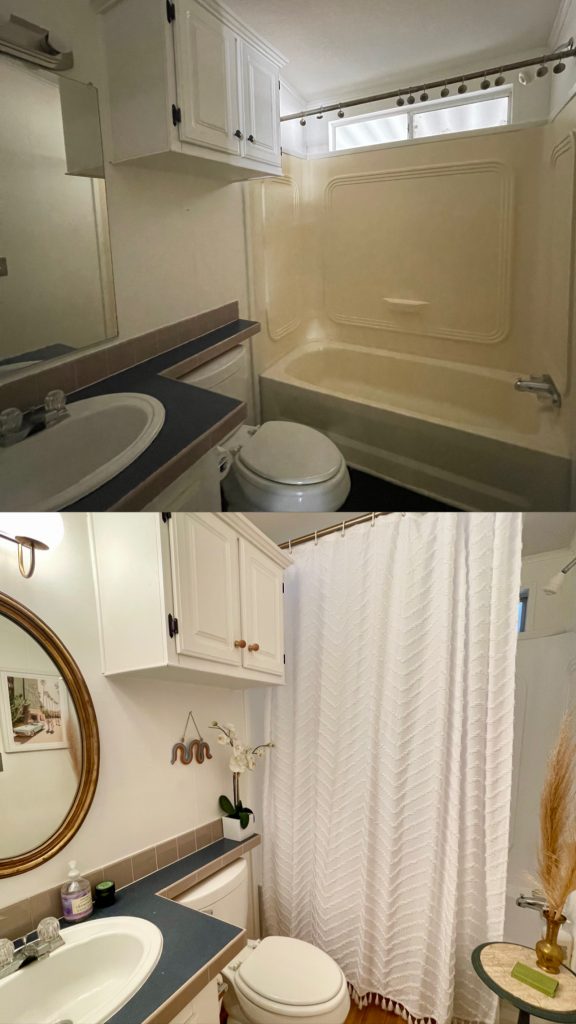
6. No grossness. If your bathtub and/or oven are unconscionably gross, put in a new one. It doesn’t have to be expensive. It just can’t be gross.
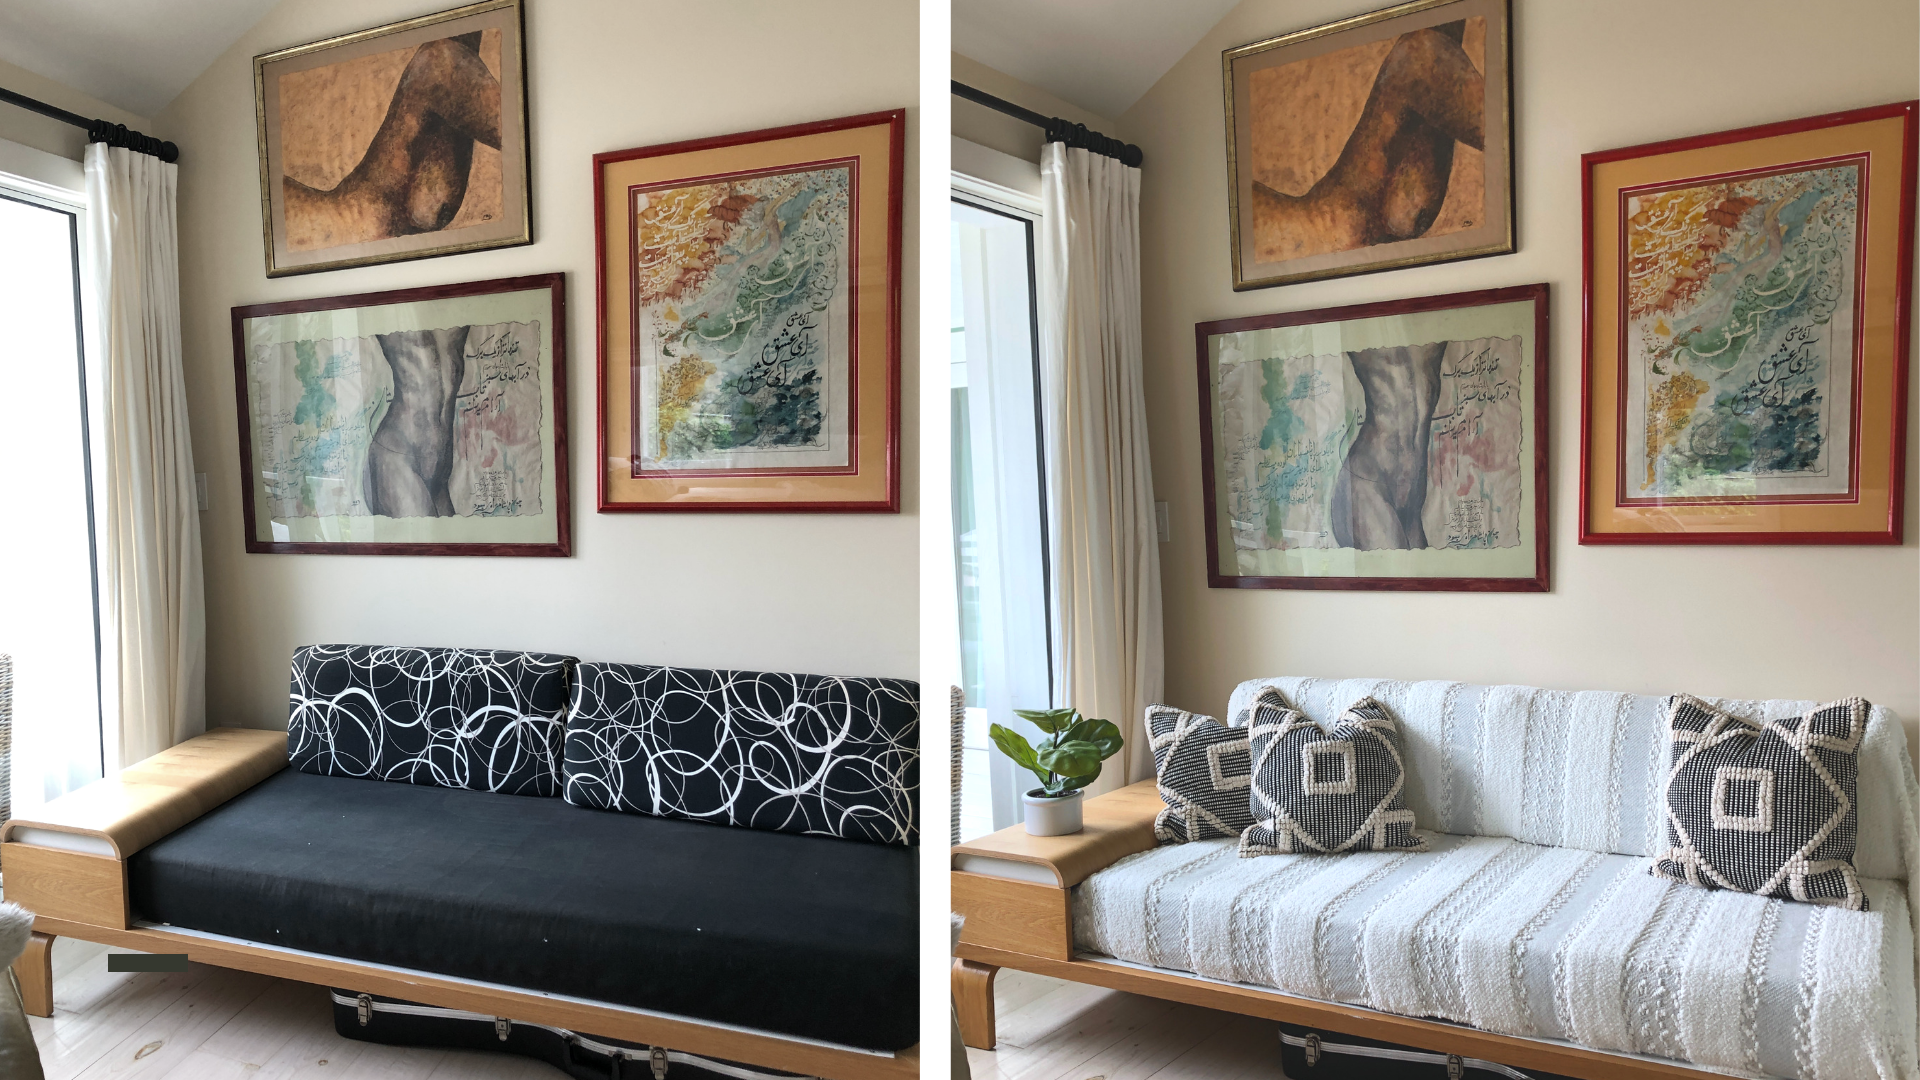
7. Work with what you have. No need to invest when you can MacGuyver, right? In the photo above – part of a light staging I did for a client – I literally just tucked a pretty white blanket around a dark, dated futon, moved a couple of pillows from one room to another, and called it a day – but the difference it made in terms of how the room photographed was huge. And to that point, remember that when taking photographs of a space you can always move pieces around to capture the best angles, and reuse things like plants and pillows in various rooms.
8. Plants. I cannot say enough wonderful things about what plants (fake or real; choose your own adventure) do to bring life to a space. And I always add a few pretty, inexpensive annuals out front to add color and up the curb appeal.
Any questions? Opinions? Specific staging questions? Have at it.