Here is my attitude towards crafting: I am thrilled to do it, but only if it’s easy. Massively involved, multi-step crafts involving expensive and/or specialized supplies are just not my jam. My kids have just started to get really into art (although my 1 1/2 –year-old is mostly interested in applying things like paint and glitter to herself), so I’ve been trying to come up with fun (and easy) little projects for us to do in the afternoons, during that terrible, horrible interlude between 4PM and dinnertime when things can go real bad, real quick.
The key to navigating the Witching Hour (which is actually two hours): keep those tiny hands busy, and away from things like full boxes of cereal, dog food, permanent markers in shades that look really pretty when applied to white walls, and your favorite jacket.
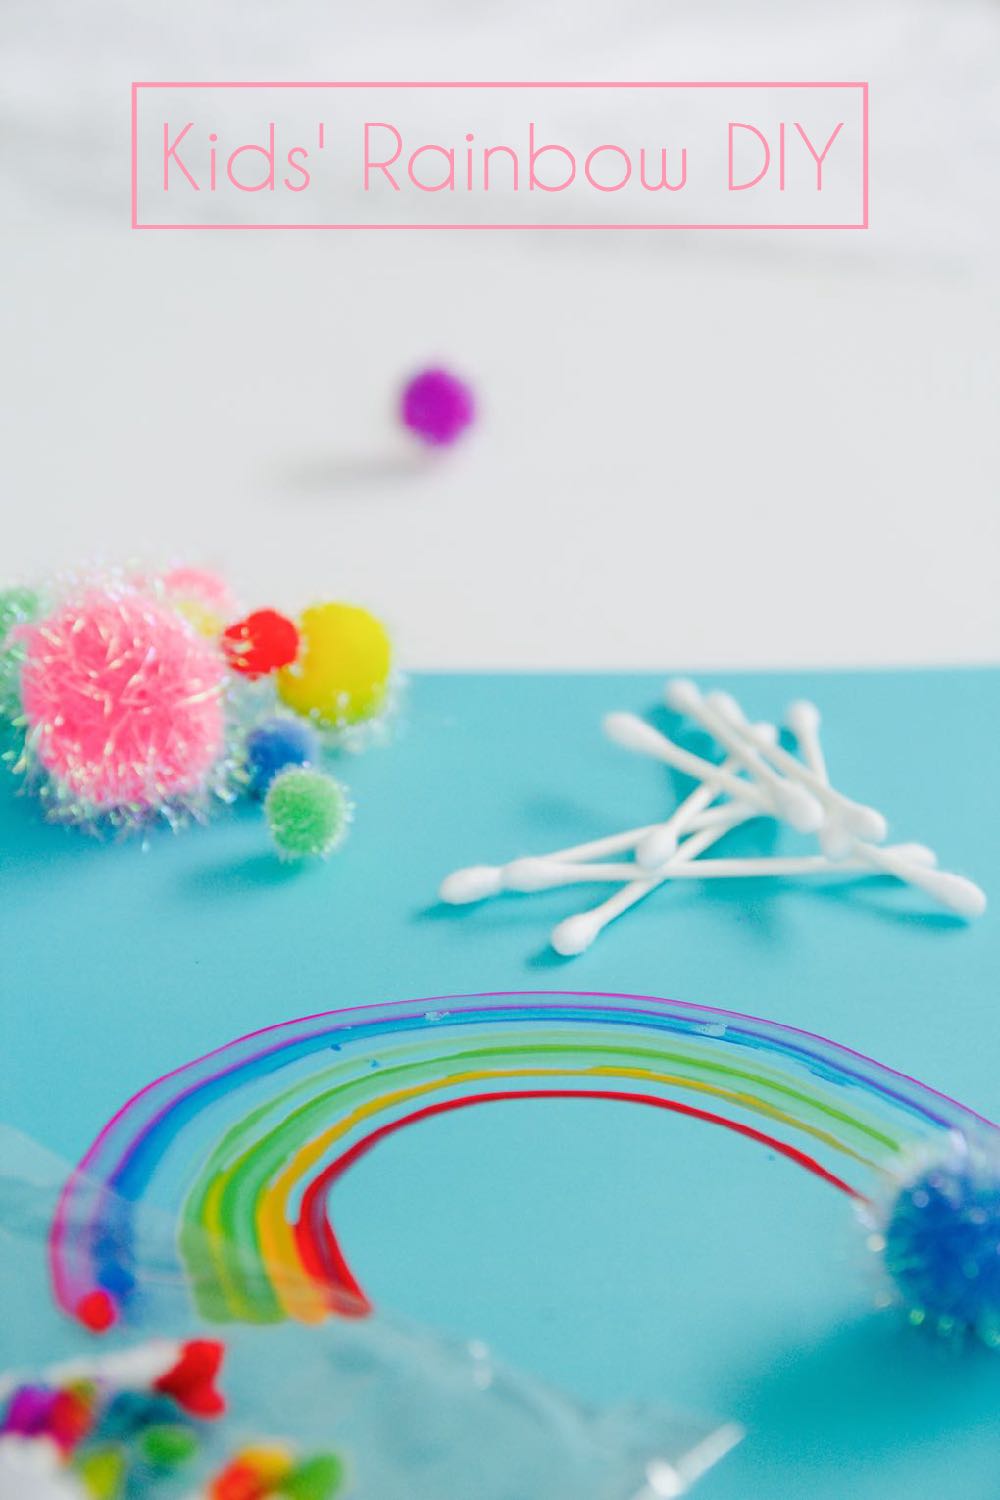
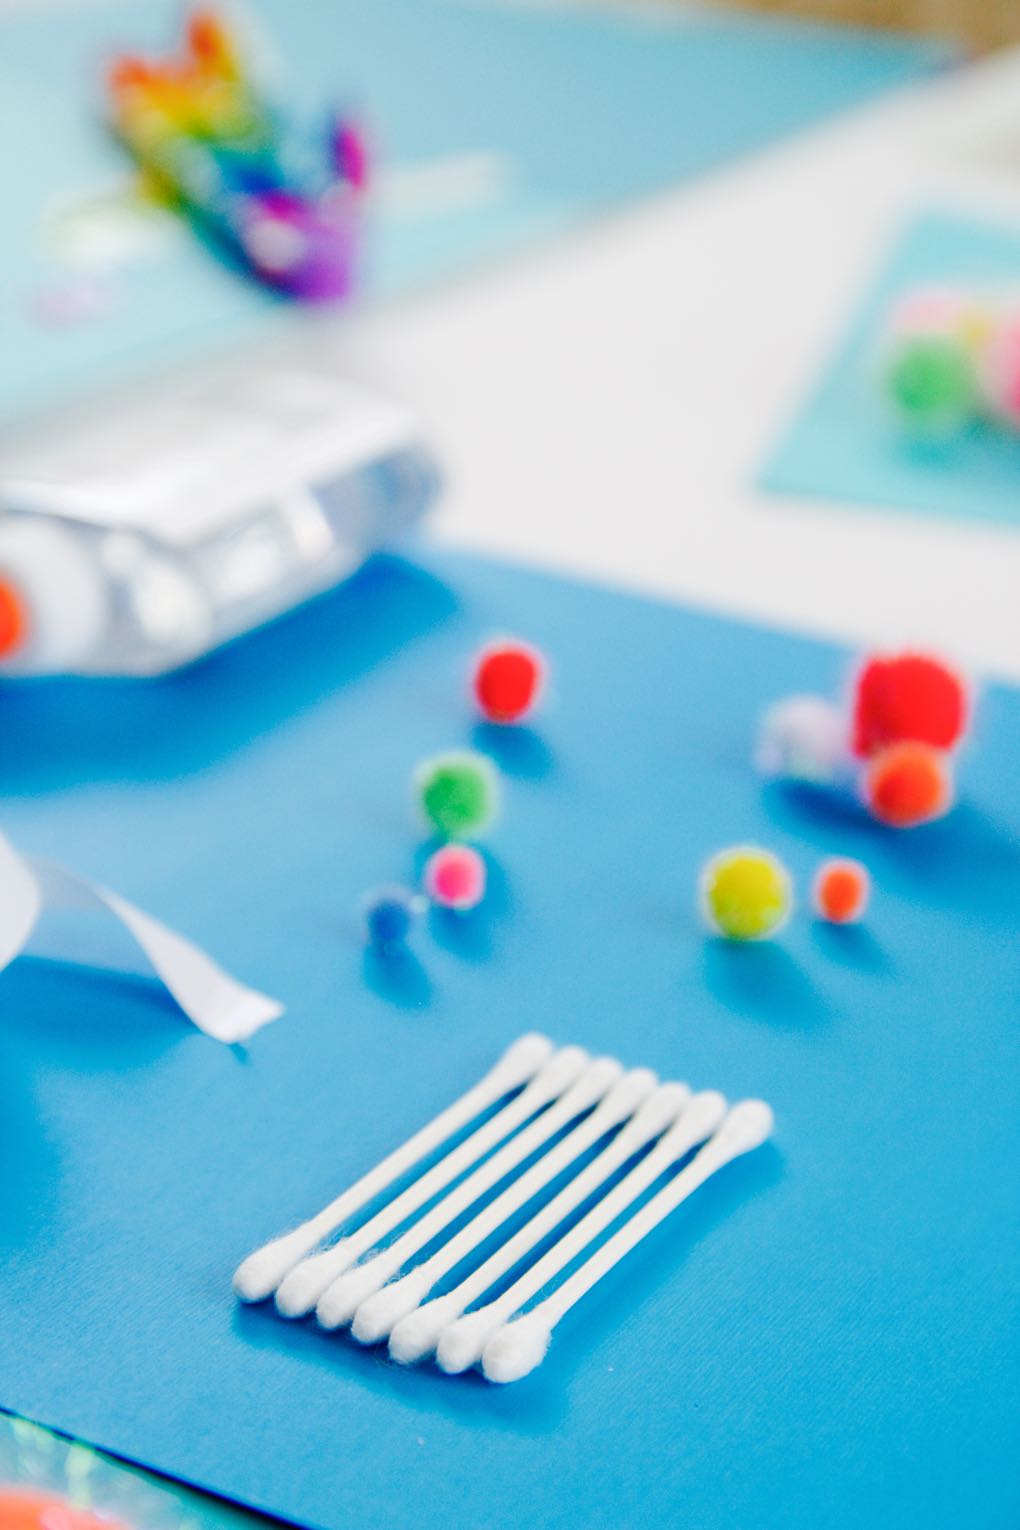
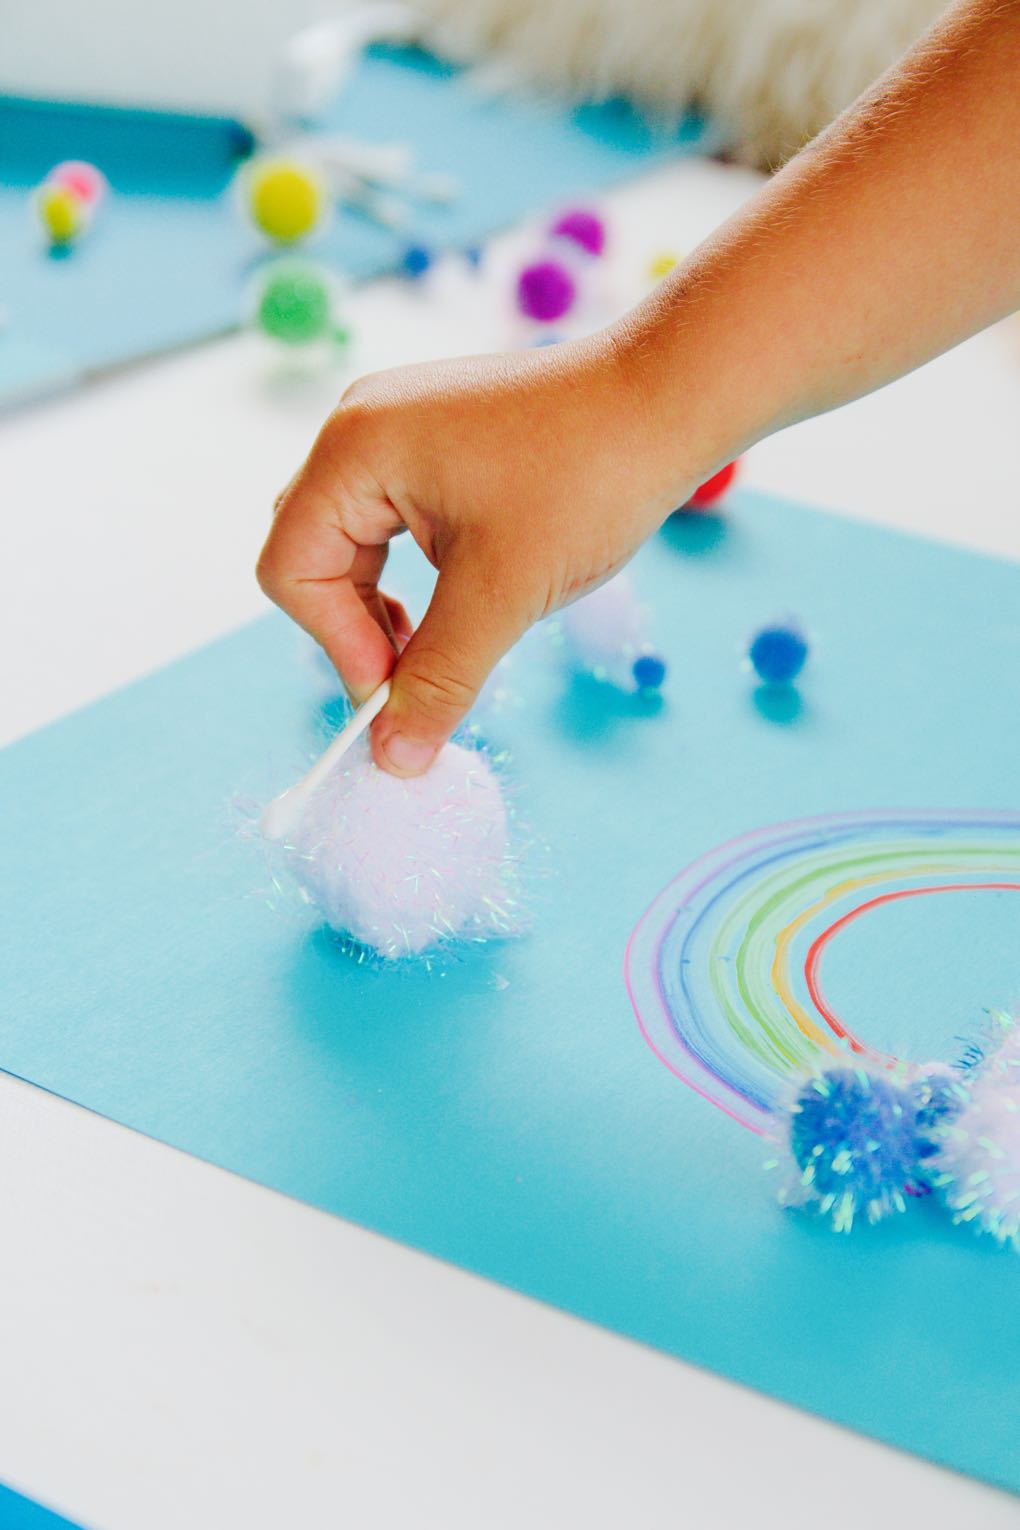
The rainbow craft you see here is especially fun for kids because the taped-together Q-tip “brush” helps little hands create steady curves, and because it’s so easily customizable. You need Q-tips cotton swabs and tape, but you can swap in whatever paint colors you happen to have for the traditional ROY G BIV shades – and if you don’t keep rainbow sparkle pom-poms laying around (although I highly recommend that you do, because rainbow sparkle pom-poms are amazing), regular old cotton balls can serve as clouds in a pinch.

![]() How-To: Easy Rainbow Craft
How-To: Easy Rainbow Craft ![]()
What You Need:
- Seven Q-tips cotton swabs – one for each color of the rainbow
- Tape
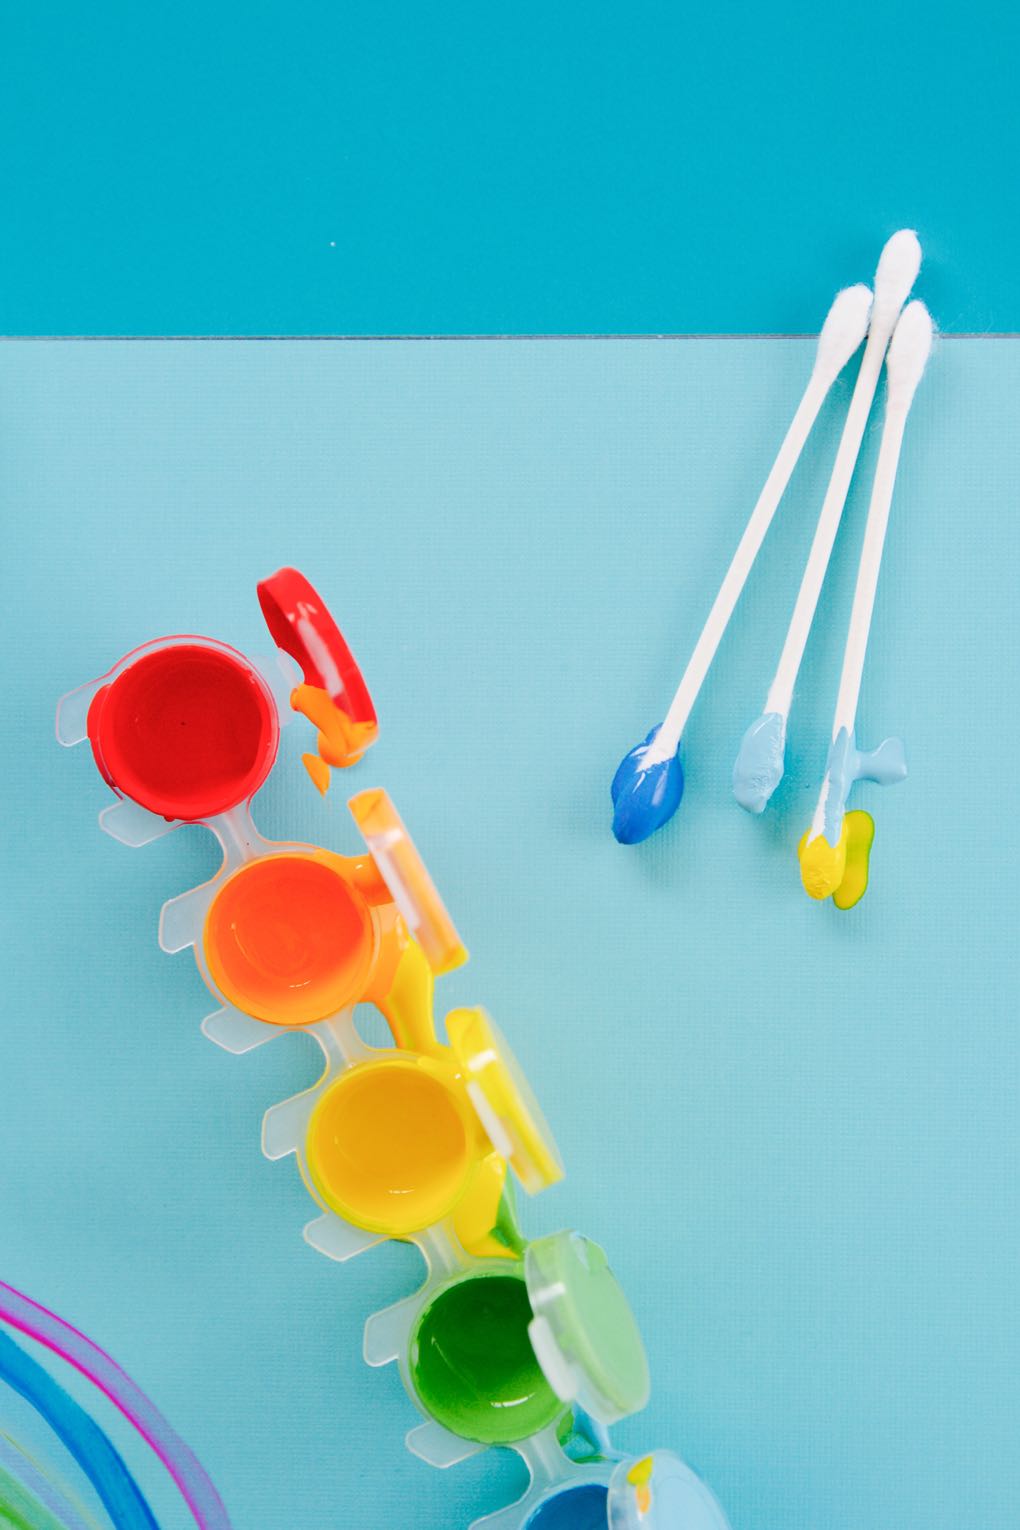
- Seven different paint colors
- Craft paper
- Glue
- Pom-poms or cotton balls
What You Do:
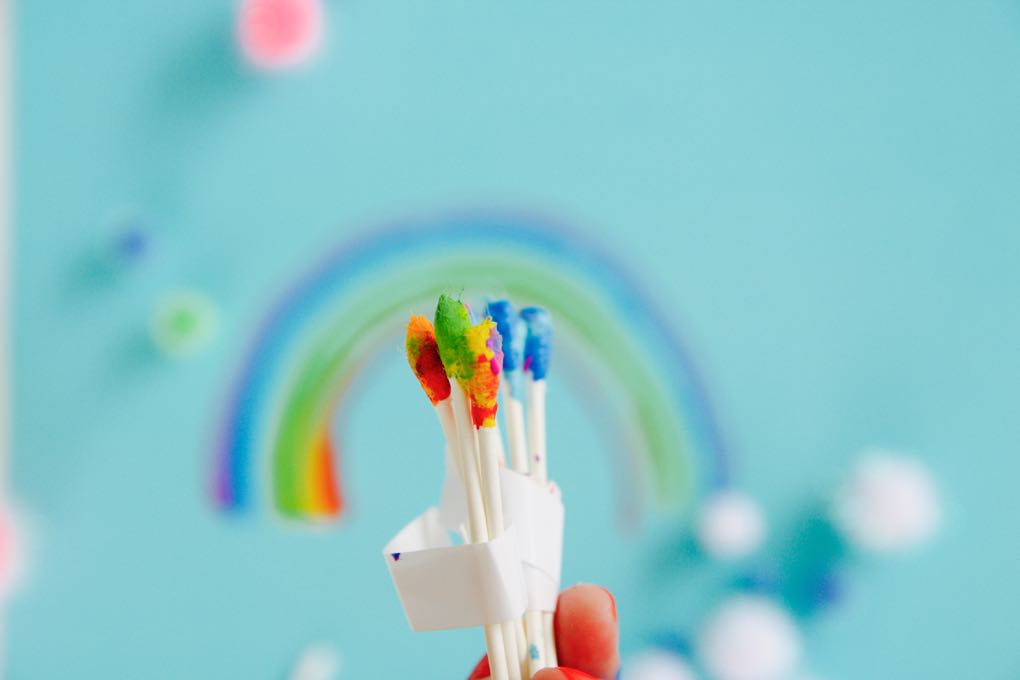
- Tape together three Q-tips in a flat row. Then tape the other four together in a separate flat row. (You can create a single “brush” using all seven Q-tips, but the two smaller ones are easier for kids to manage.)
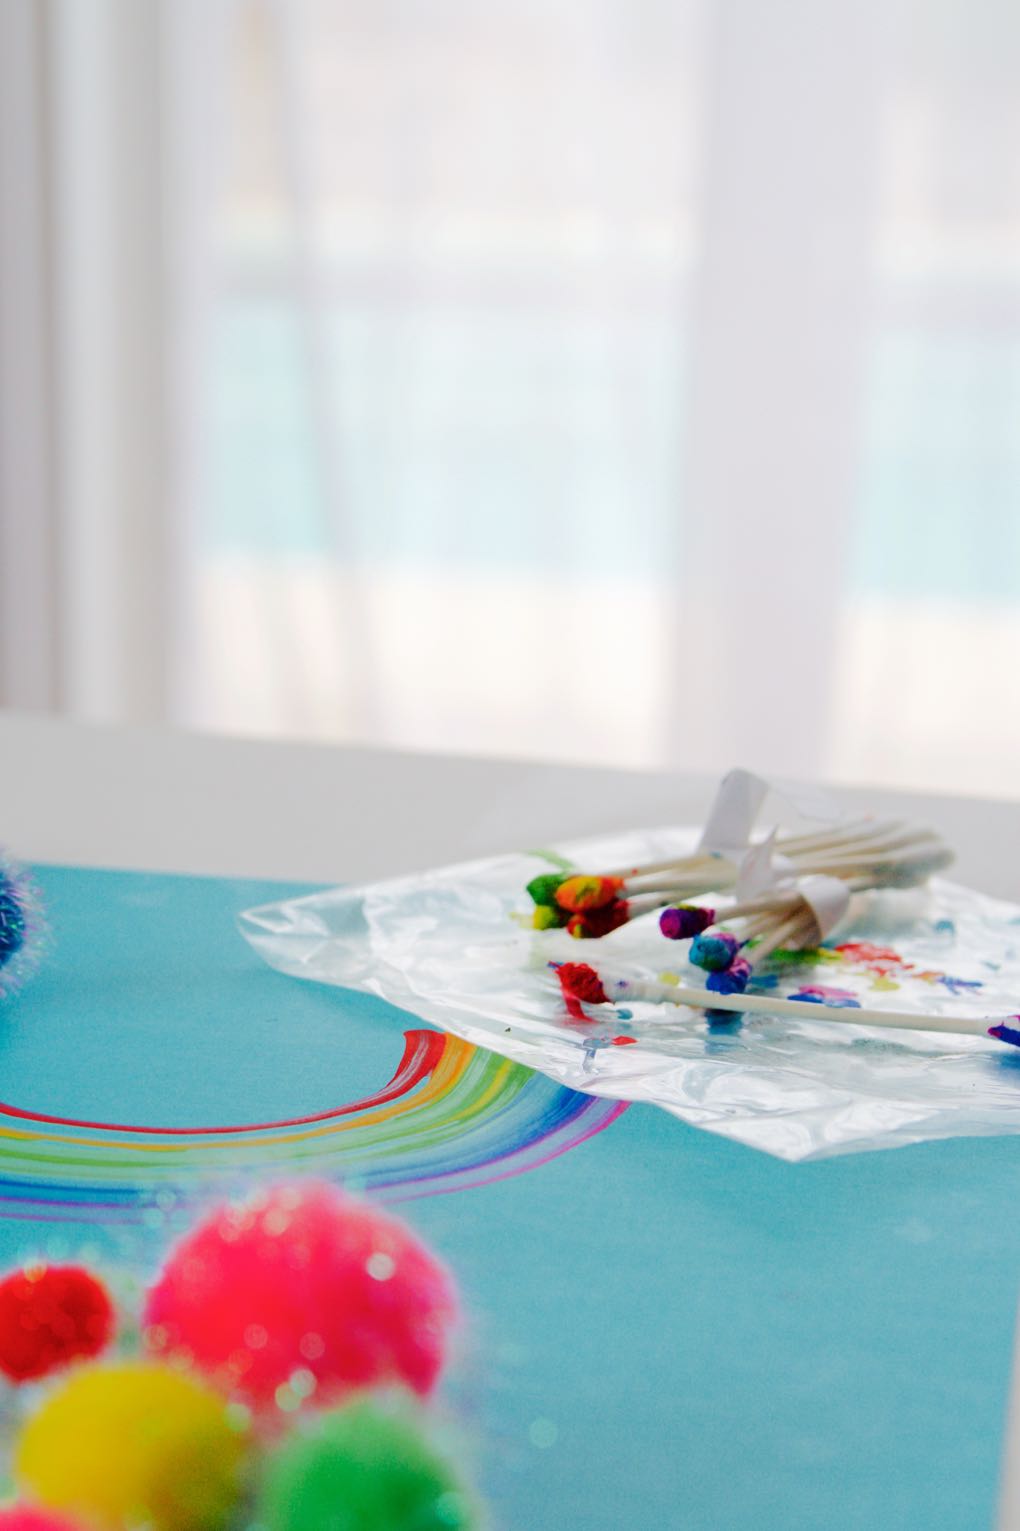
- Carefully dip the end of each Q-tip into a different color paint (don’t worry if they smudge together a bit; it’s all pretty). Create half the rainbow using your first Q-tip brush, and then finish it off using the second.
- Use glue to affix the “clouds.” Maybe sprinkle on some glitter? Confetti? Sprinkles? All fun.
![]()
![]()
![]()
This post was created in collaboration with Q-tips. For more tips and inspiration, visit www.Qtips.com or Pinterest and Instagram @Qtips #QtipsHack.


