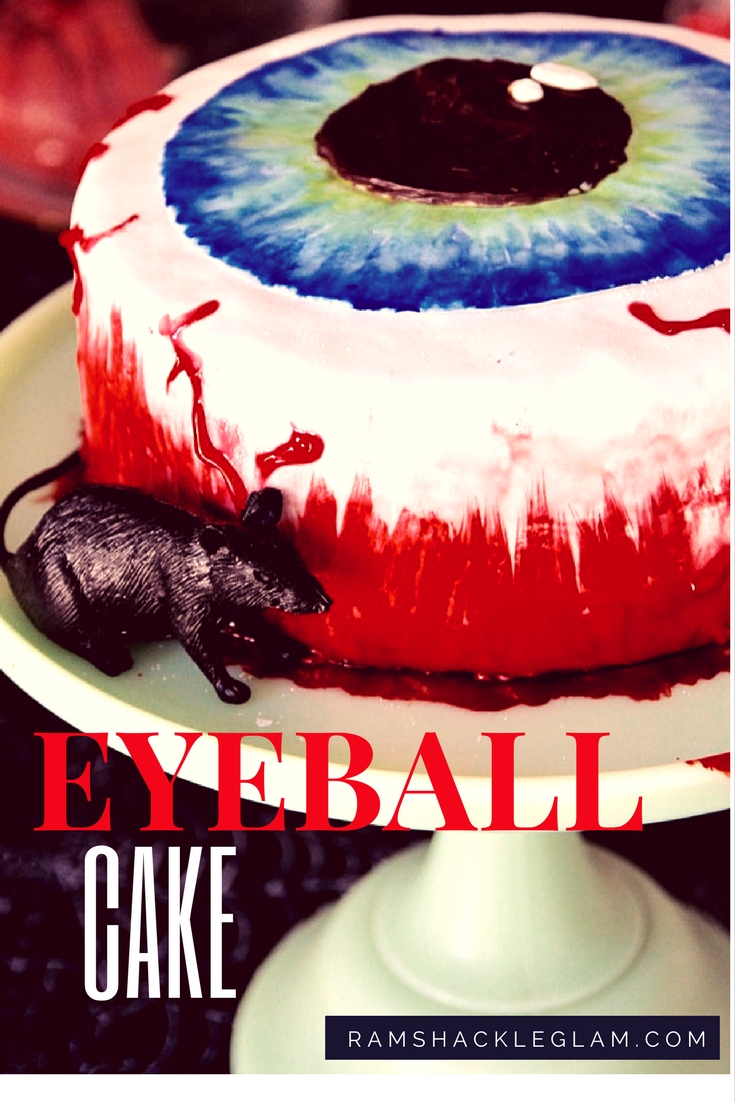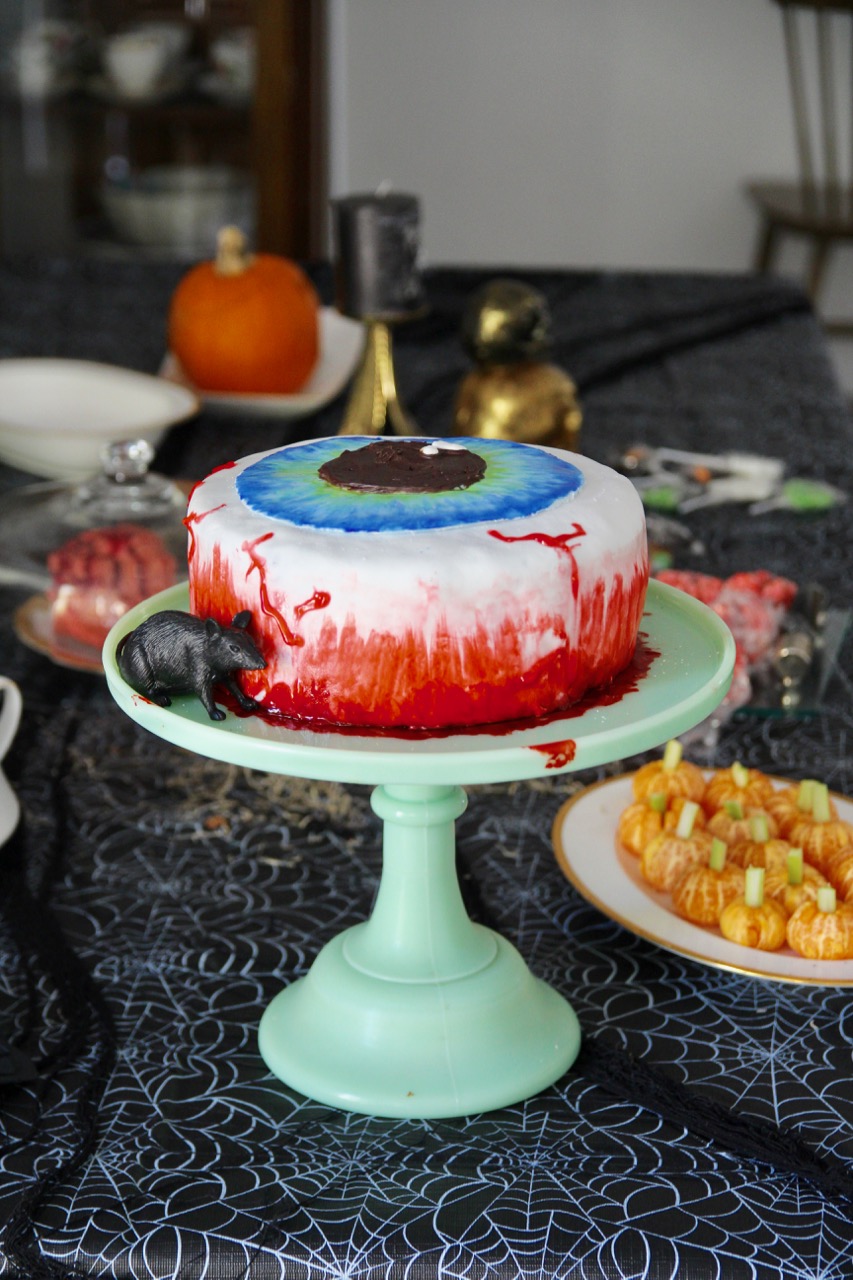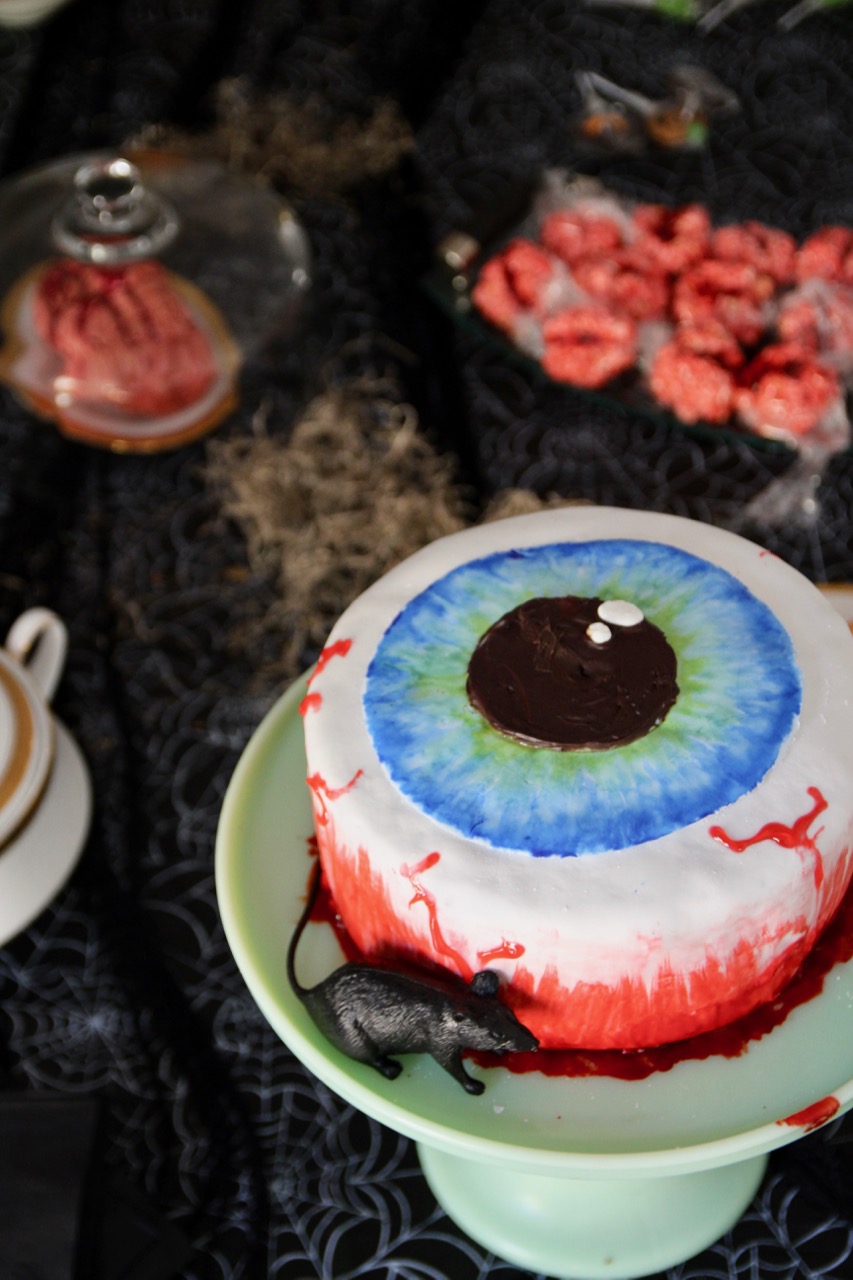
The blood-smudge on the edge of the plate is my favorite part.
My son said he wanted a “spooky cake” for his sixth birthday. Done – except I didn’t want to just do a repeat of last year’s ghost cake. I pulled up a picture of a plain fondant cake in my head – just a smooth, white circle – and tried to imagine what I could turn it into…and then it occurred to me:
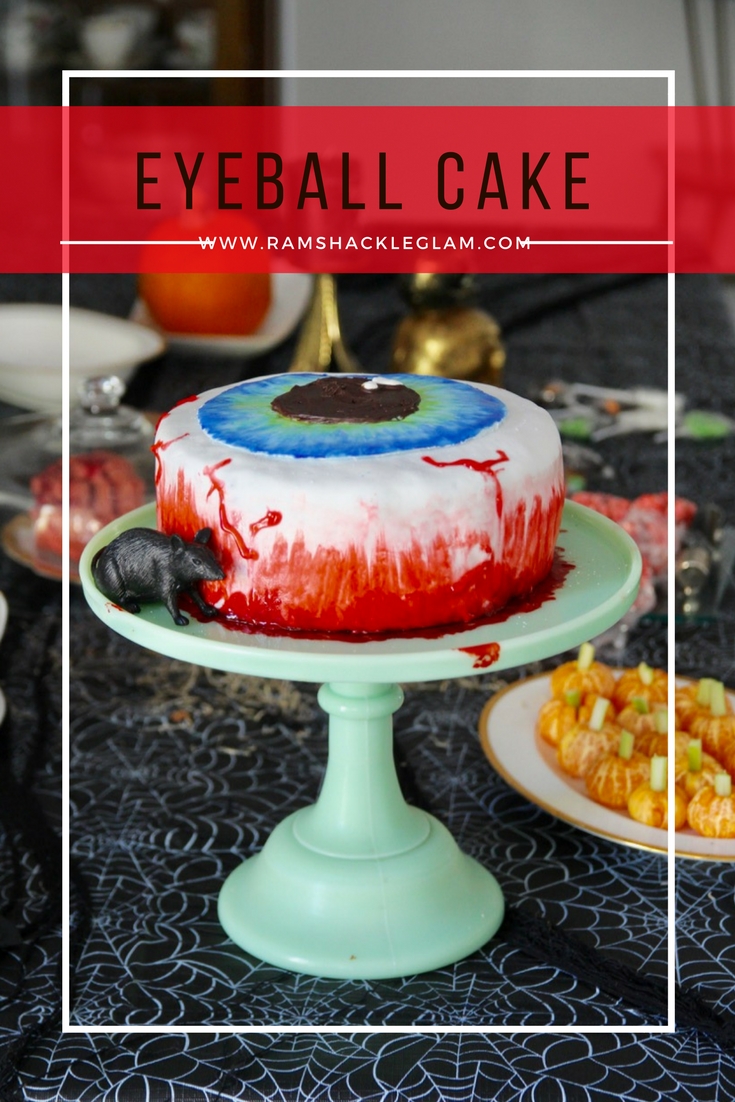
Eyeball Cake.
Oddly enough (or, I don’t know, perhaps not oddly at all) there isn’t much in the way of instructions on the Internet re: how to create an eyeball out of fondant, so I started with this general idea from The Joys of Boys, and then ended up more or less improvising to get the effect I wanted.
What You Need:
- 3 8″ or 9″ round baking pans (you’ll have to adjust the baking time based on which size you use, of course)
- Parchment paper
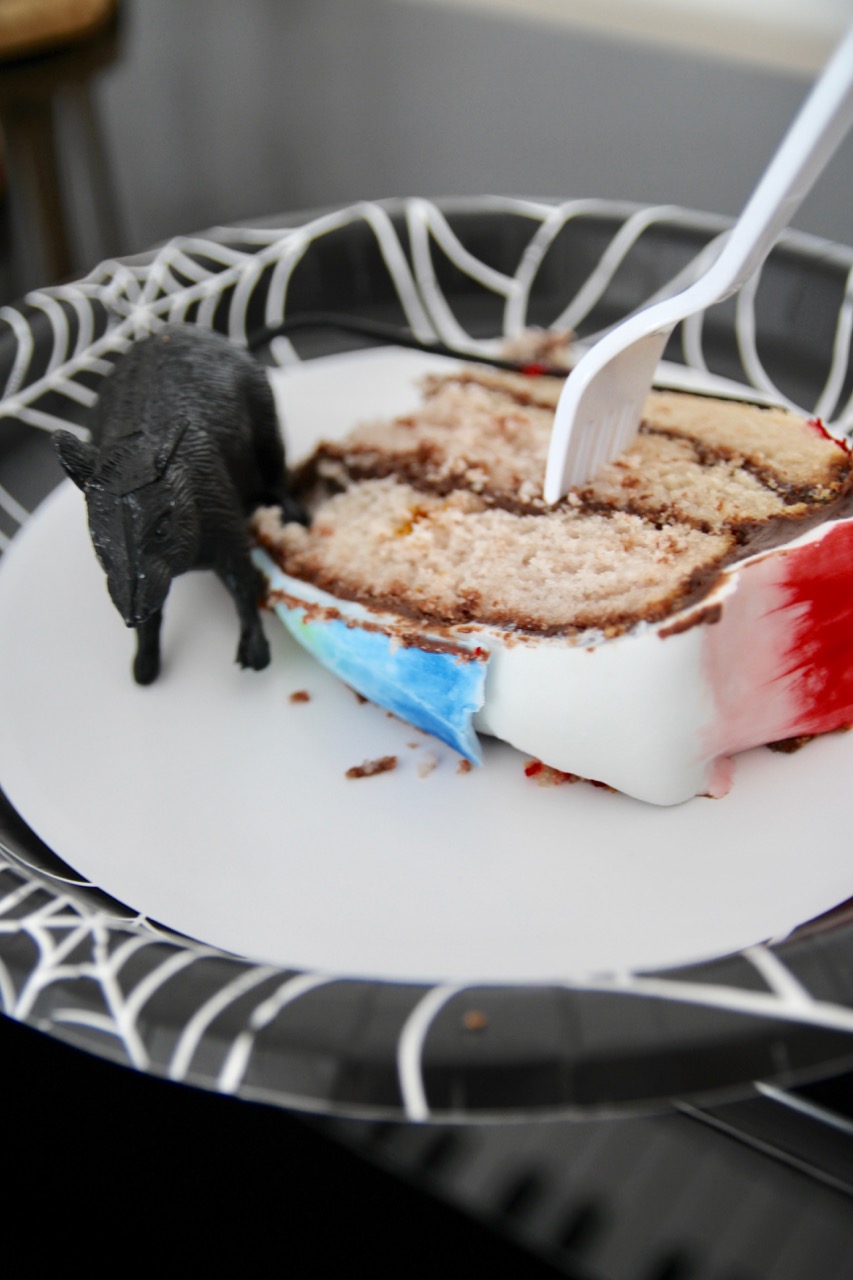
- 2 boxes cake mix (or sure, go ahead and make the batter – you’ll need enough for three cake tins if you’d like to make a three-layer cake like this one, but I love boxed cake mix and feel like fondanting an eyeball gives you a pass on all the rest of it)
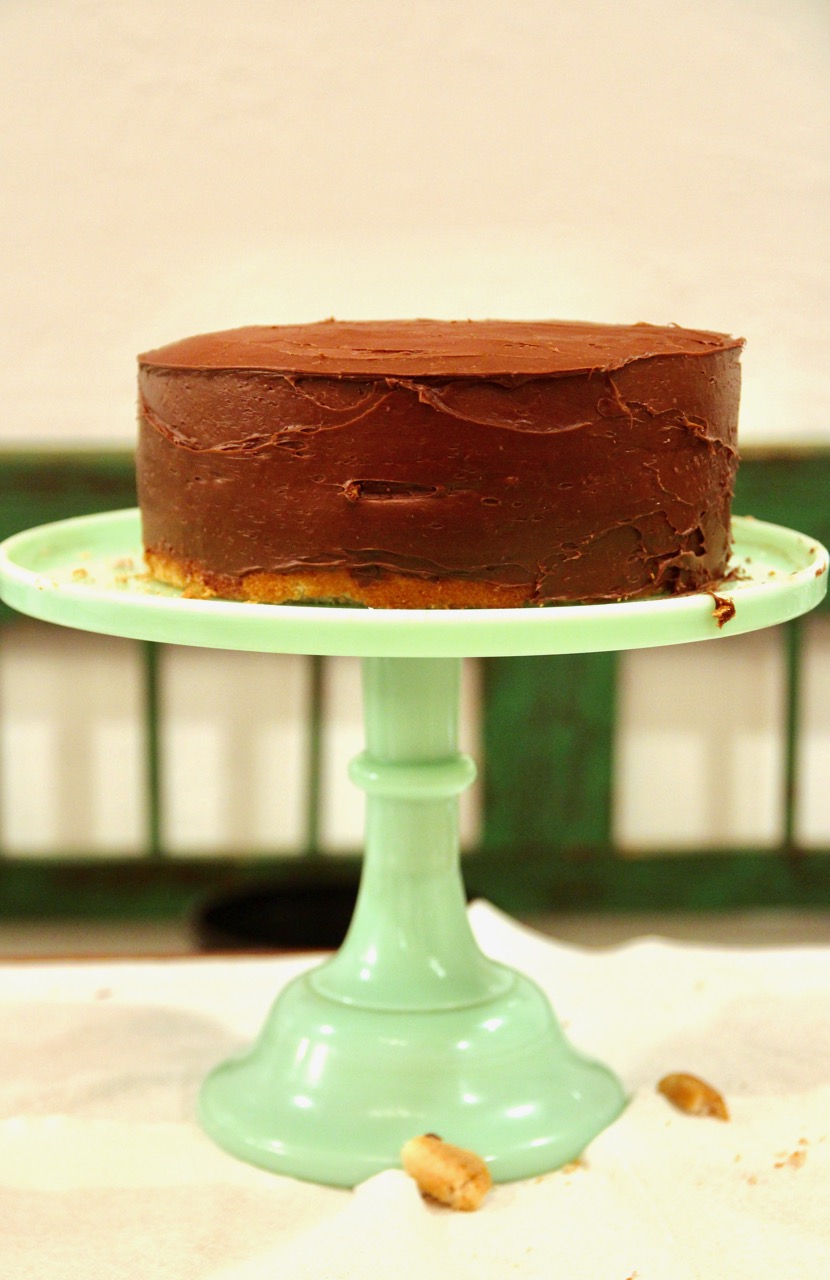
- 2 cans frosting (I used chocolate per my son’s request, but that does make keeping the surface of the fondant snow-white a little trickier, as a heads up)
- A large serrated knife
- 1 24-oz box Decorating Fondant in white
- Red, blue, green and yellow food coloring
- Red icing pen
- A bunch of small bowls
- A small (and brand-new, please) paintbrush
- Optional: A small amount of black fondant (I used chocolate icing for the pupil, but black fondant would look amazing if you can get your hands on some)
The Night Before Decorating: Bake The Cake, And Freeze It.
Alright. So obviously you start by making the cake – you’ll want to do this the day before you plan to decorate it, so you can leave it in the freezer overnight. (It’s not a disaster if you forget to do this; it’s just that working with frozen cake is simpler. Before you make the batter, lightly oil each cake pan, and then cut out circles of parchment paper to fit along the bottom of each.
Combine both boxes of mix into a single bowl, add all the required ingredients, and blend, then pour equal amounts into the three cake pans. Bake according to package instructions. Let the cakes cool, then remove them from the tins, cover each cake with plastic wrap, and place in the freezer for at least a few hours (preferably overnight).
When You’re Ready To Start Decorating, Create A Workspace With Everything You’ll Need
Cover the table, because this can get messy. You’re going to want to have the serrated knife, a cake plate that’s easy to turn, icing, fondant, food coloring, an icing pen, a few small bowls, and a small (clean) paintbrush. Also set out a small bowl of water; you’re going to need this for diluting the food coloring when you create the iris.
(Let me apologize for the yellow-y tint to these photos in advance – that’s what you get when you take pictures at 11PM and forget to light the room well. Eep. You can see the true colors of the finished project in the shots above, taken the next day.)
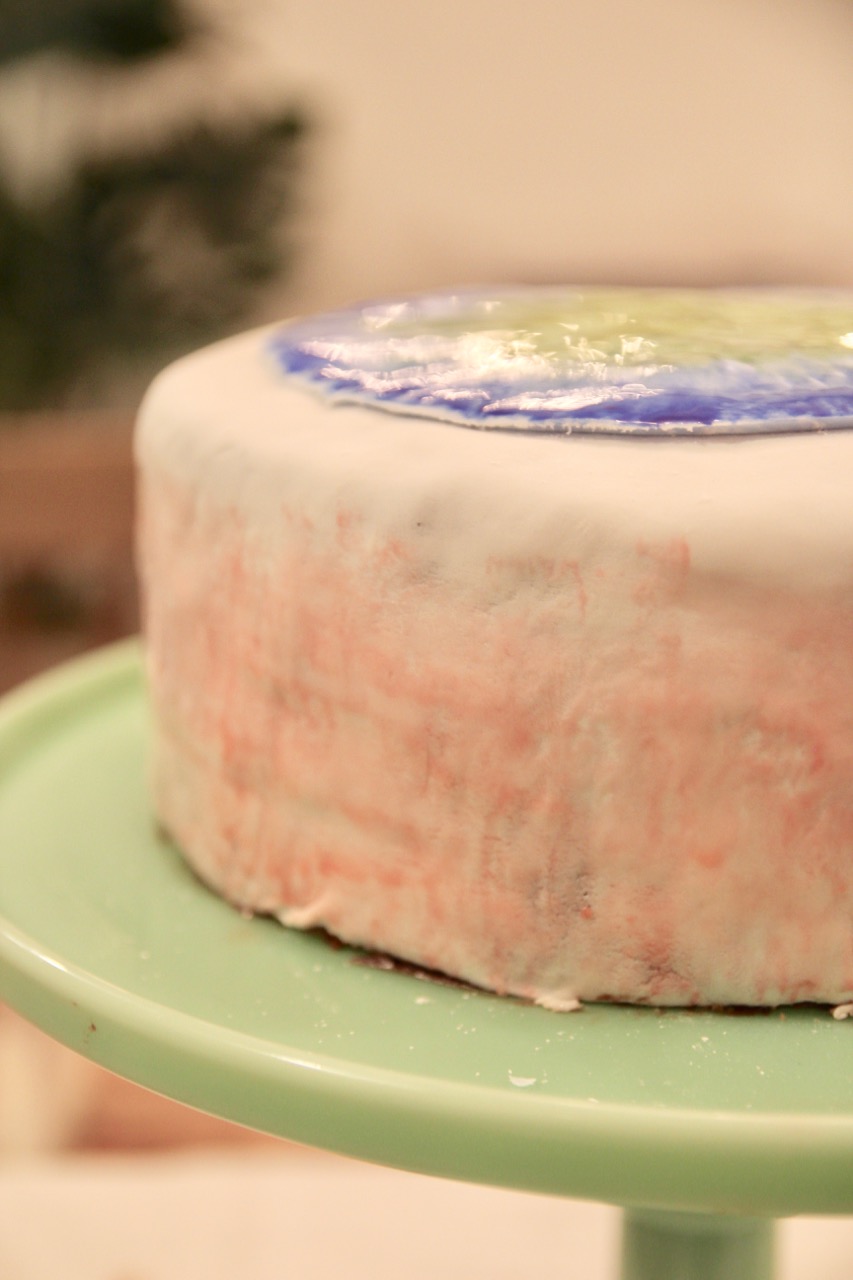
If you’e never worked with fondant before, go ahead and check out this post for a step-by-step: Basically, what you do is cut off the top of each cake so that all three are perfectly flat, thinly ice the entire cake (including in between the layers), roll out the fondant into a large, flat circle, and gently drape it over the cake.
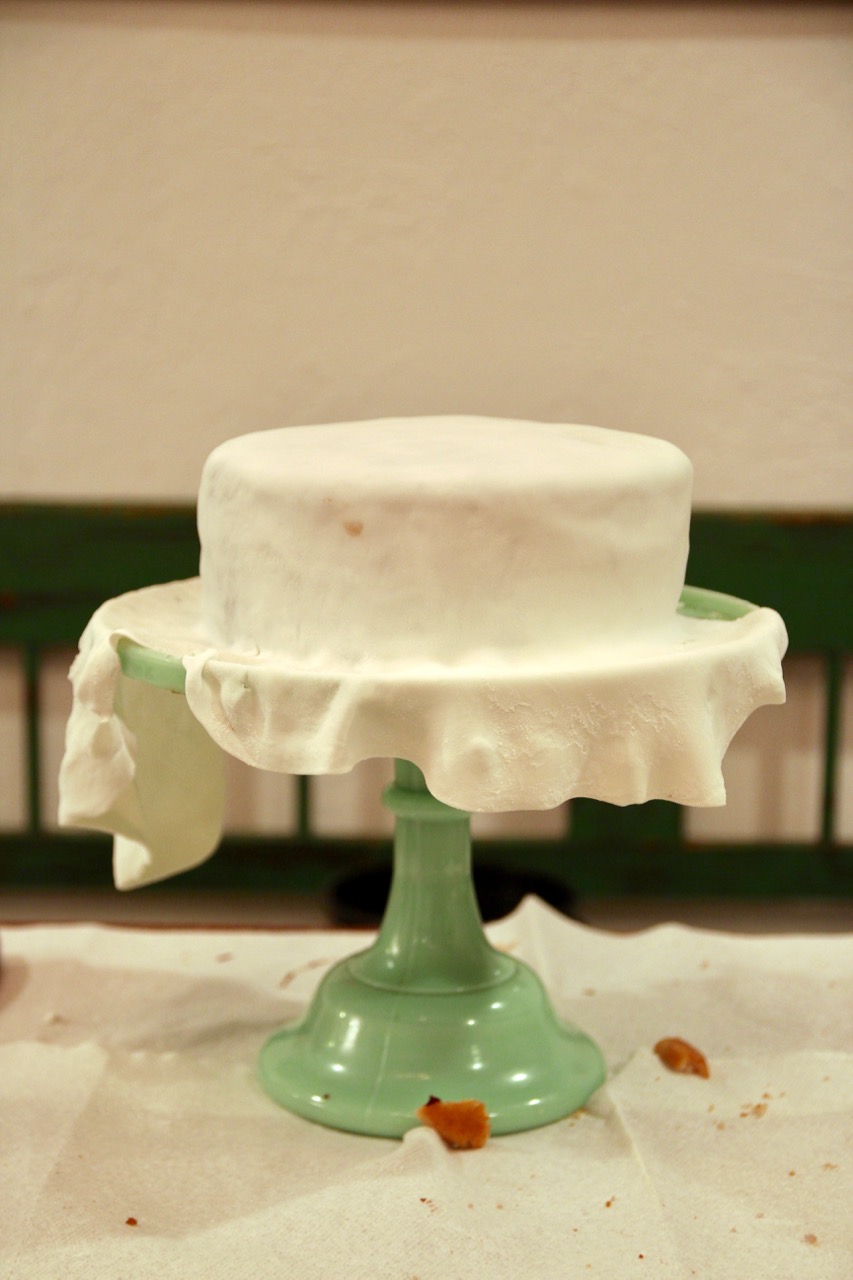
It’s not that hard, but there’s definitely a technique to it, so I recommend watching a tutorial video if you’re nervous.
You can see how, once I cut away the edges of the fondant, some brown is peeking out. That’s the chocolate frosting. Using vanilla would have made my life easier.
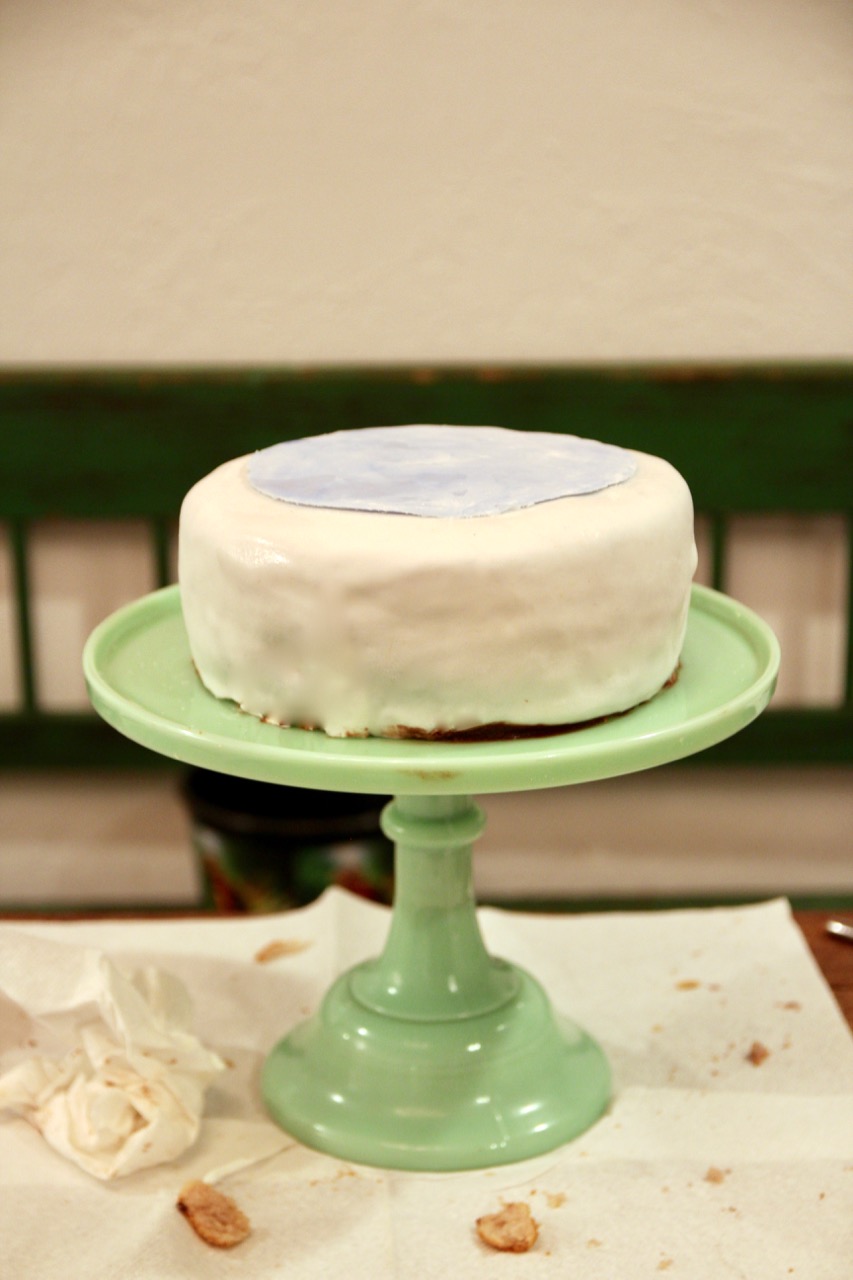
The next step, as you can see in the above photo, is to take a little ball of fondant and add a few drops of blue food coloring to it, to get a sky-blue effect. (Obviously you can make your eyeball any color you choose.) Roll out the blue fondant into a thin sheet, and cut a circle approximately 7″ in diameter. Lightly moisten the cake where you’re going to put the iris before placing it down.
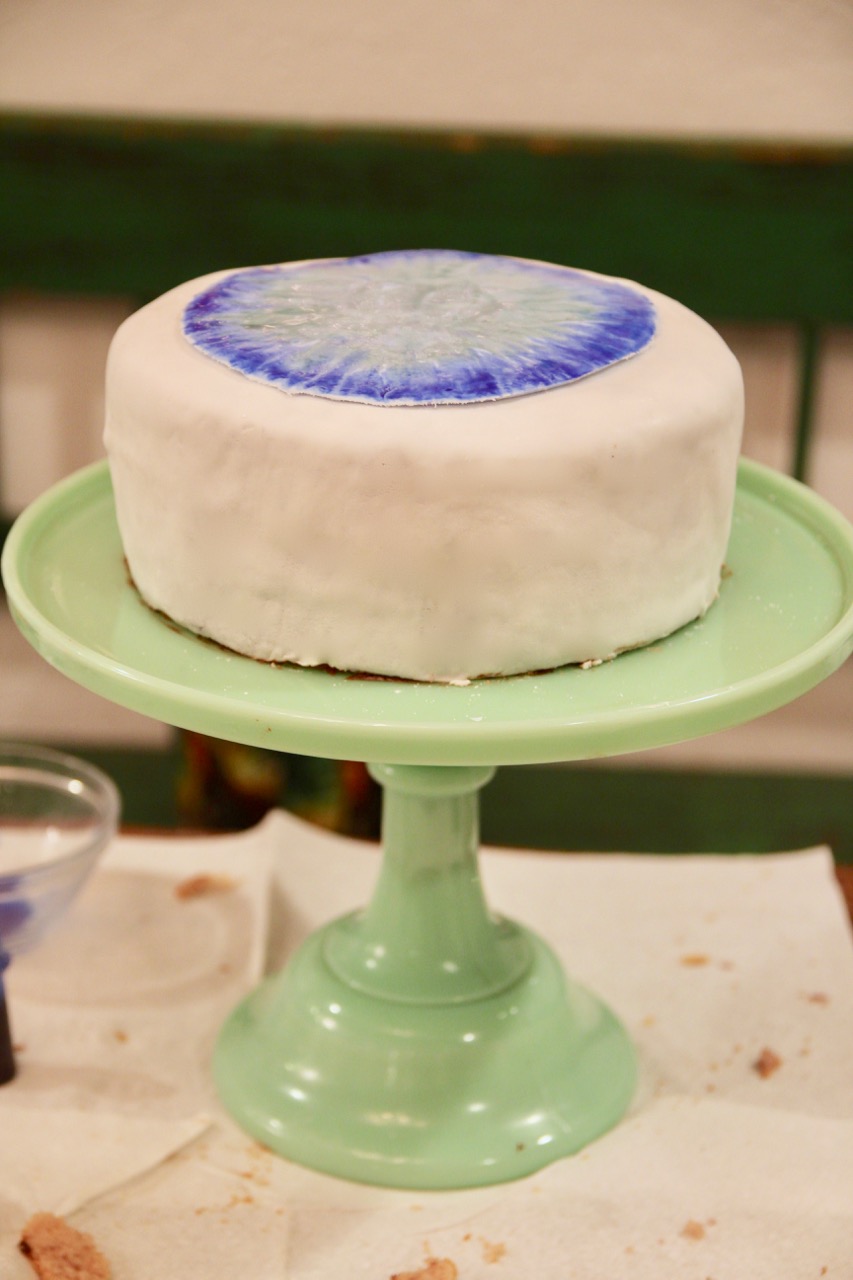
Here’s where you get to be a little artistic. Pour a few drops of blue food coloring into one of the small bowls, and lightly dilute it with water – really just a couple of drops of water should be enough. With your paintbrush, use short strokes starting at the outer edge of the iris and moving towards the center to create the medium-blue ring along the outside.
Rinse out the small bowl, and put in another couple of drops of food coloring – undiluted this time. Go around the very edge of the iris, adding a narrow, darker layer for depth.
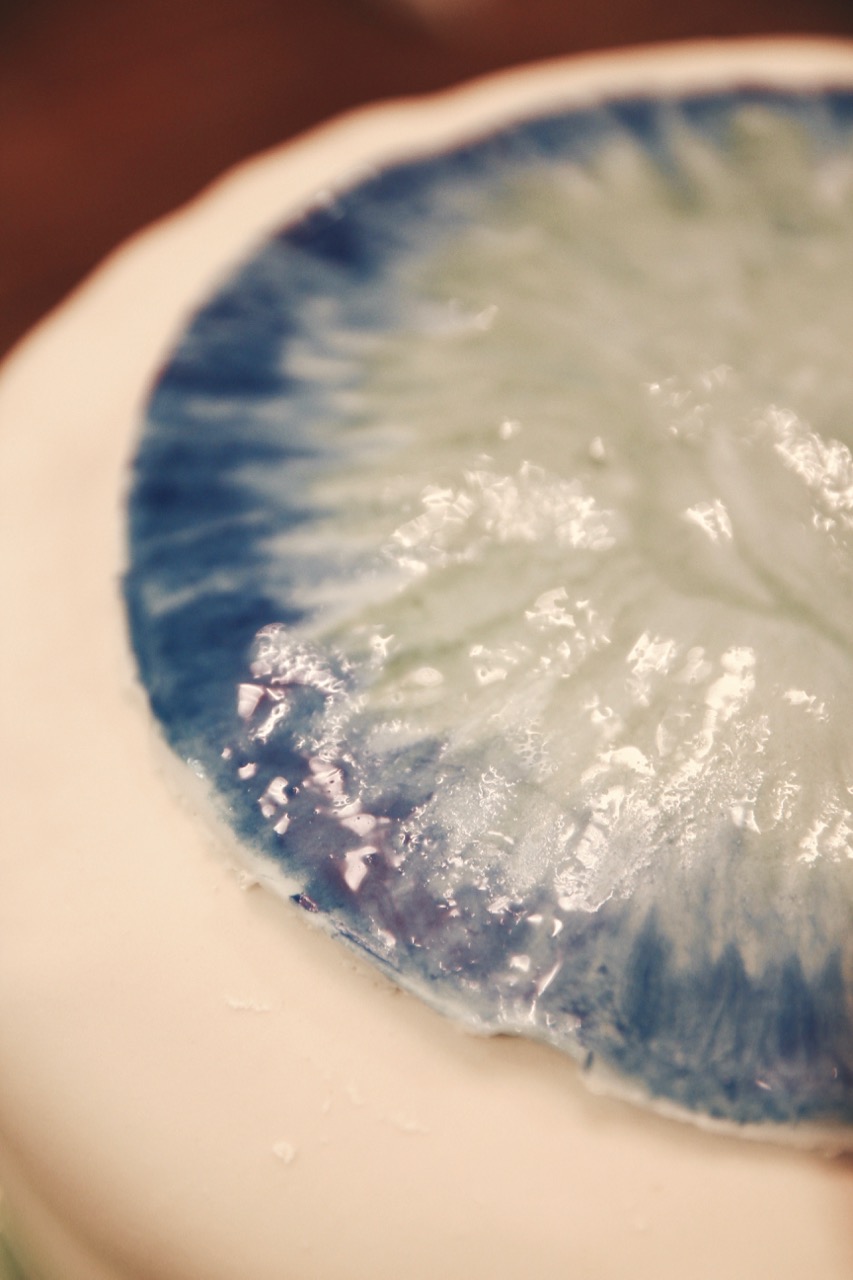
See how there are two shades of blue layered along the outer edge?
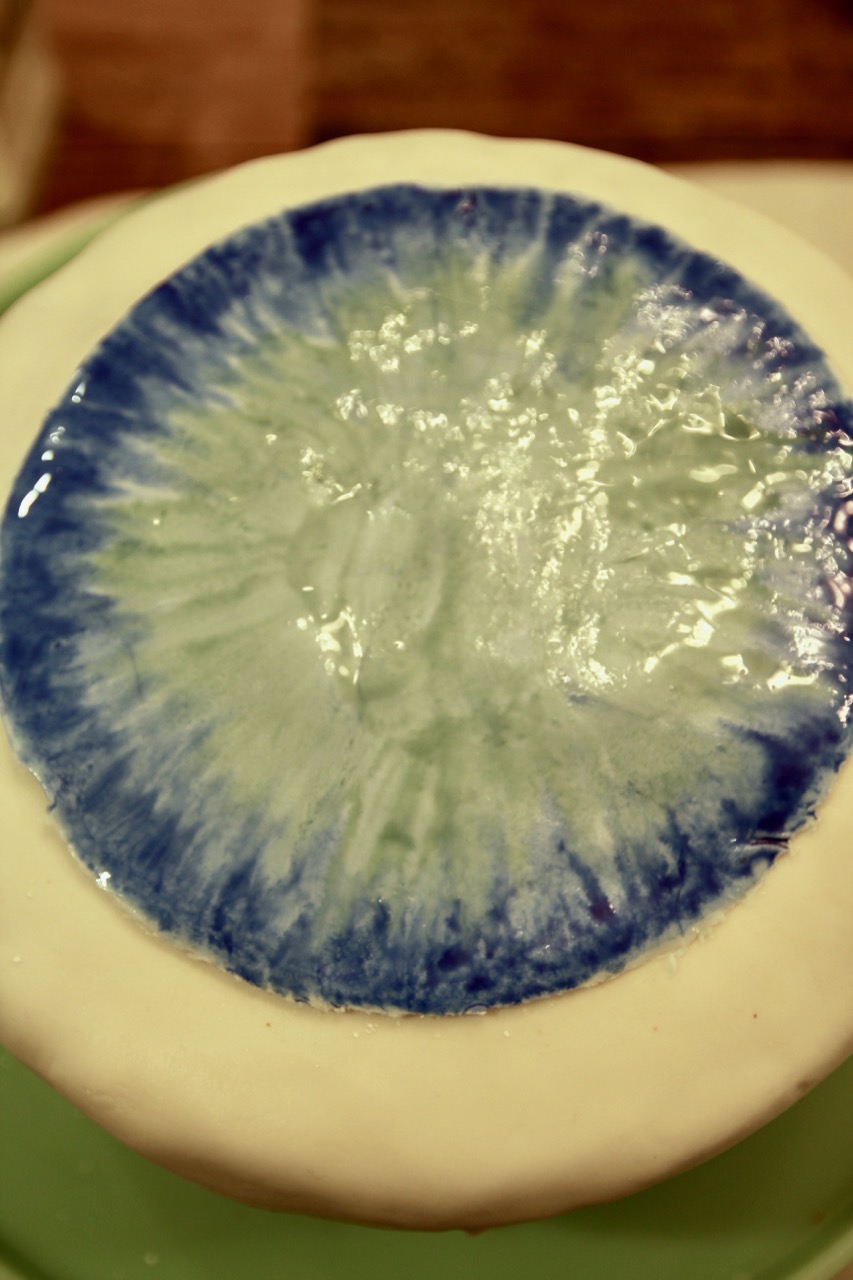
Now combine 1 drop blue food coloring with 1 drop green food coloring, dilute it with a couple of drops, of water, and brush the sheer blue-green over the rest of the iris – the part that you didn’t just paint medium and dark blue.
Dilute a couple of drops of yellow food coloring, and add yellow to the very center of the iris – you’ll want the yellow to extend out juuuuuust beyond the edges of the pupil once you put it on, so keep that in mind.
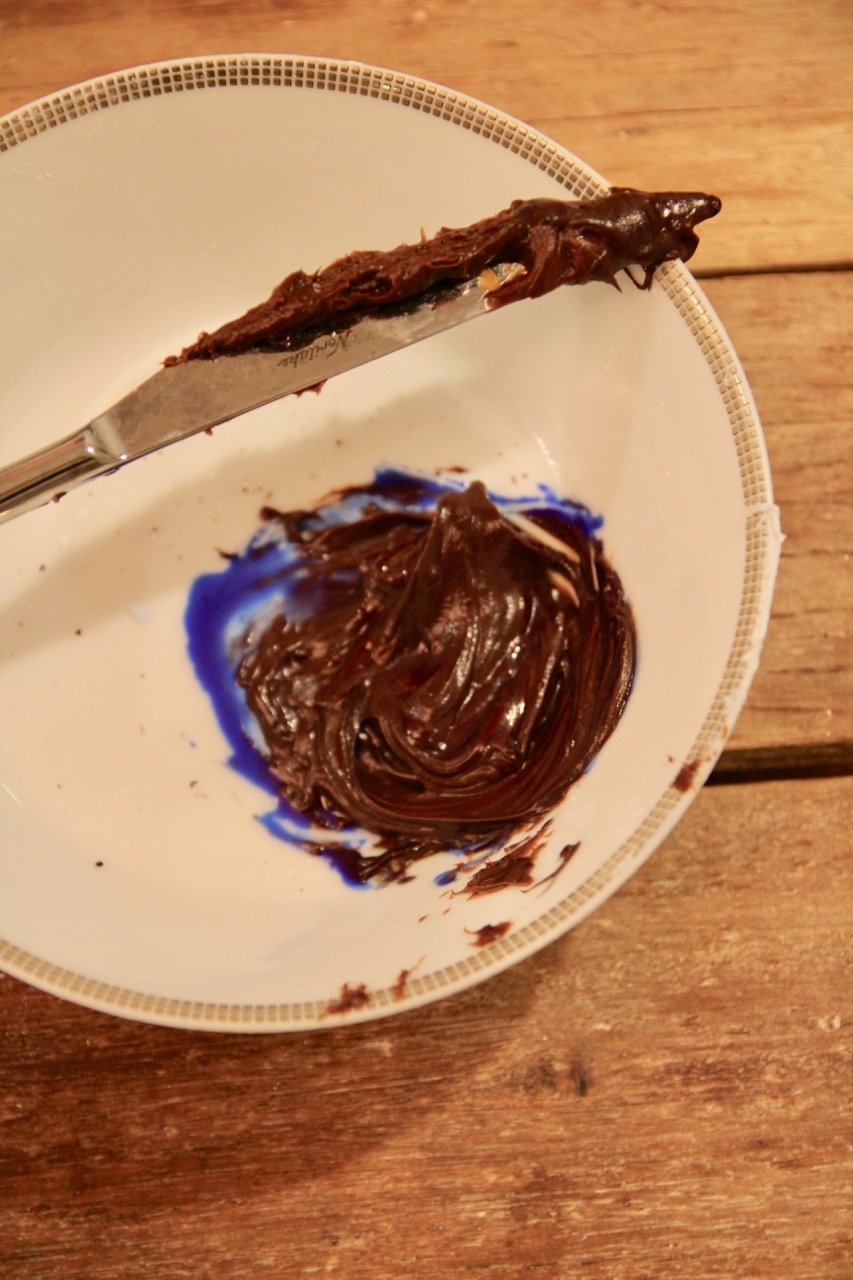
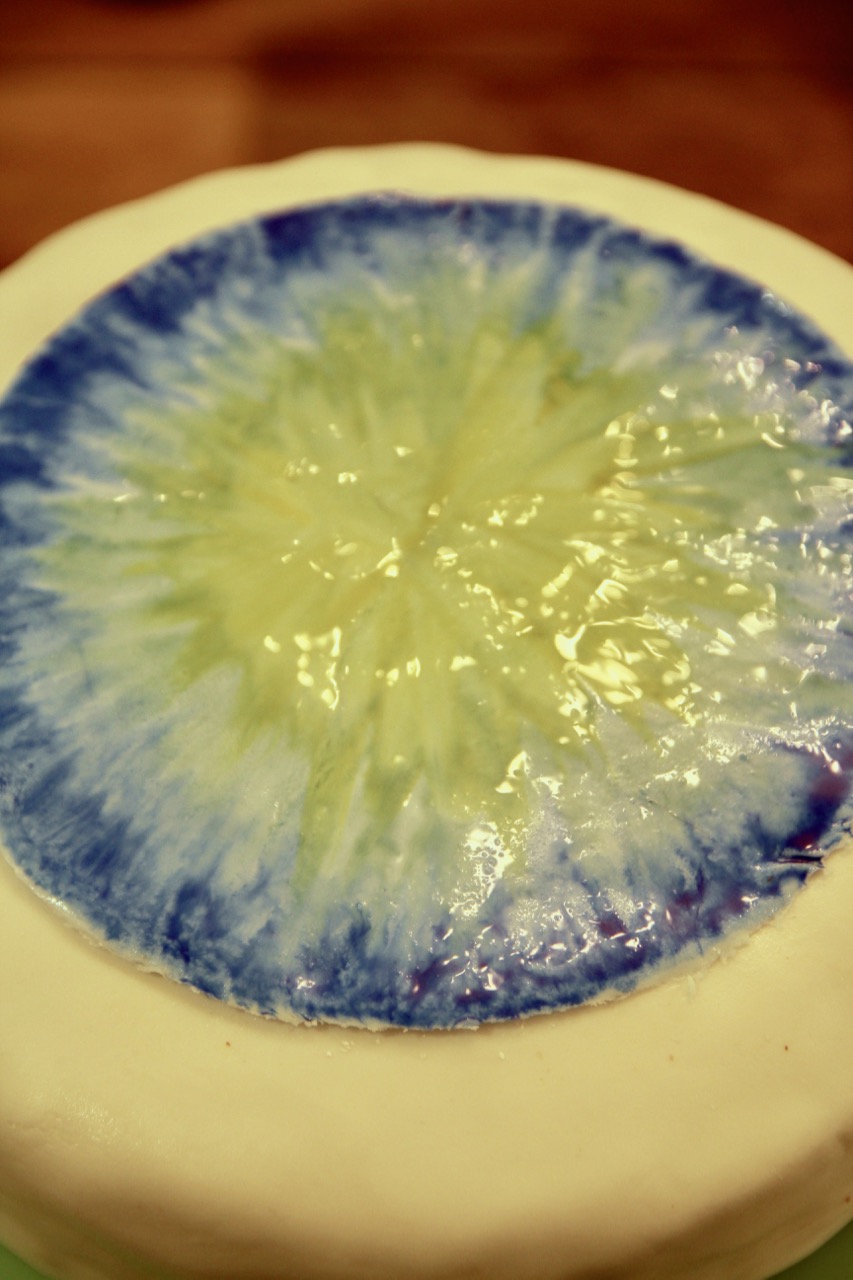
It didn’t occur to me to pick up black fondant, so I was initially stumped at how to make a pupil that looked dark enough. What I finally decided to do: roll out a small ball of fondant and cut out a circle (about 4″ in diameter), then darken some chocolate frosting by adding a few drops of red food coloring and a few drops of blue food coloring to it. I painted the dark-brown icing onto the fondant circle, taking care to keep the edges nice and sharp, and then geeeeeeeently laid it in the center of the iris.
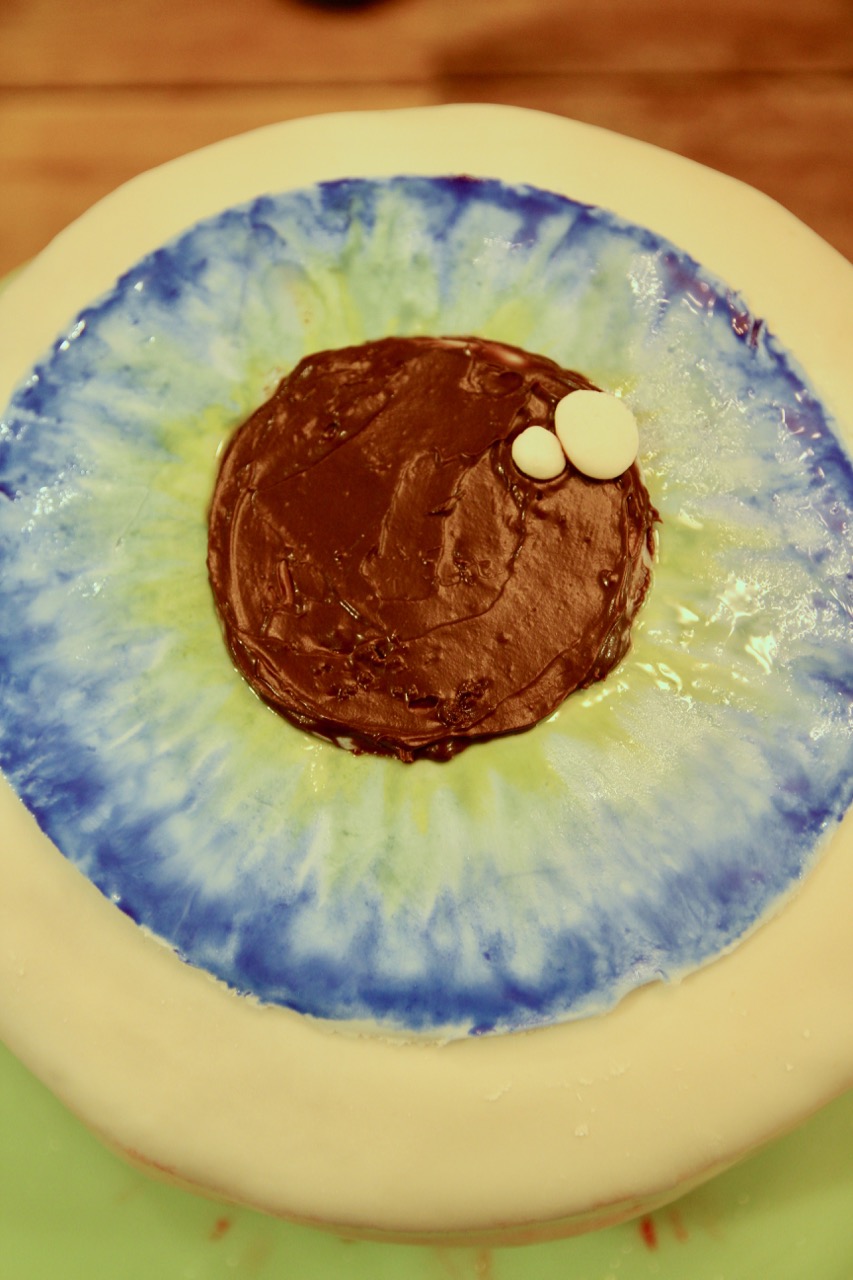
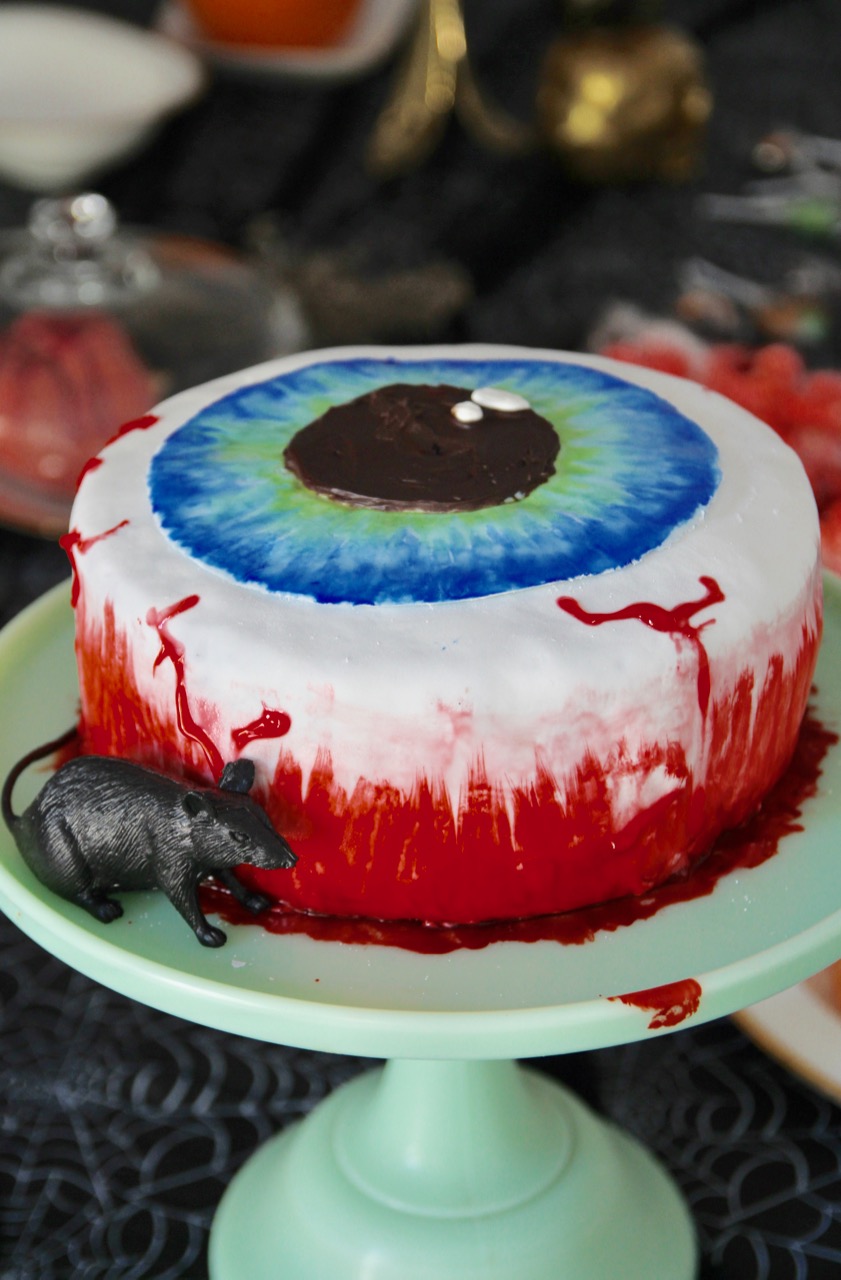
(The two little light sparkles in the corner are a nice touch, I think. Those are just tiny balls of white fondant pressed flat.)
You can stop right there if you don’t want the eye to look bloody and/or bloodshot – but if you’re going for an extra-creepy effect, the next step is to dilute a few drops of red food coloring and create a pinkish wash along the outside of the cake, extending about 2/3 of the way up.
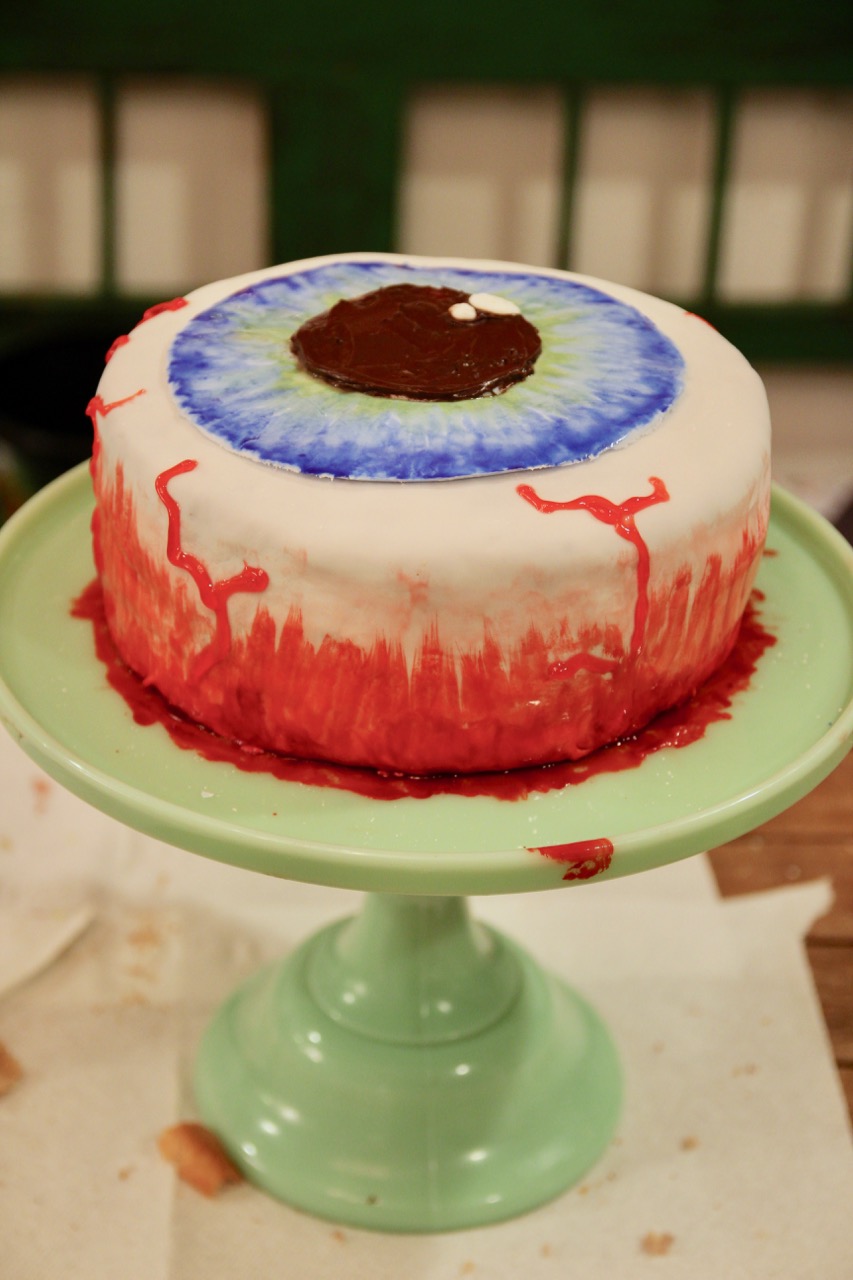
Next, paint strokes of (undiluted) red along the bottom edge – as shown – to get some depth. Use the icing pen to paint on some bloodshot veins, then add a little extra gore to the very bottom with some more red food coloring. And…?
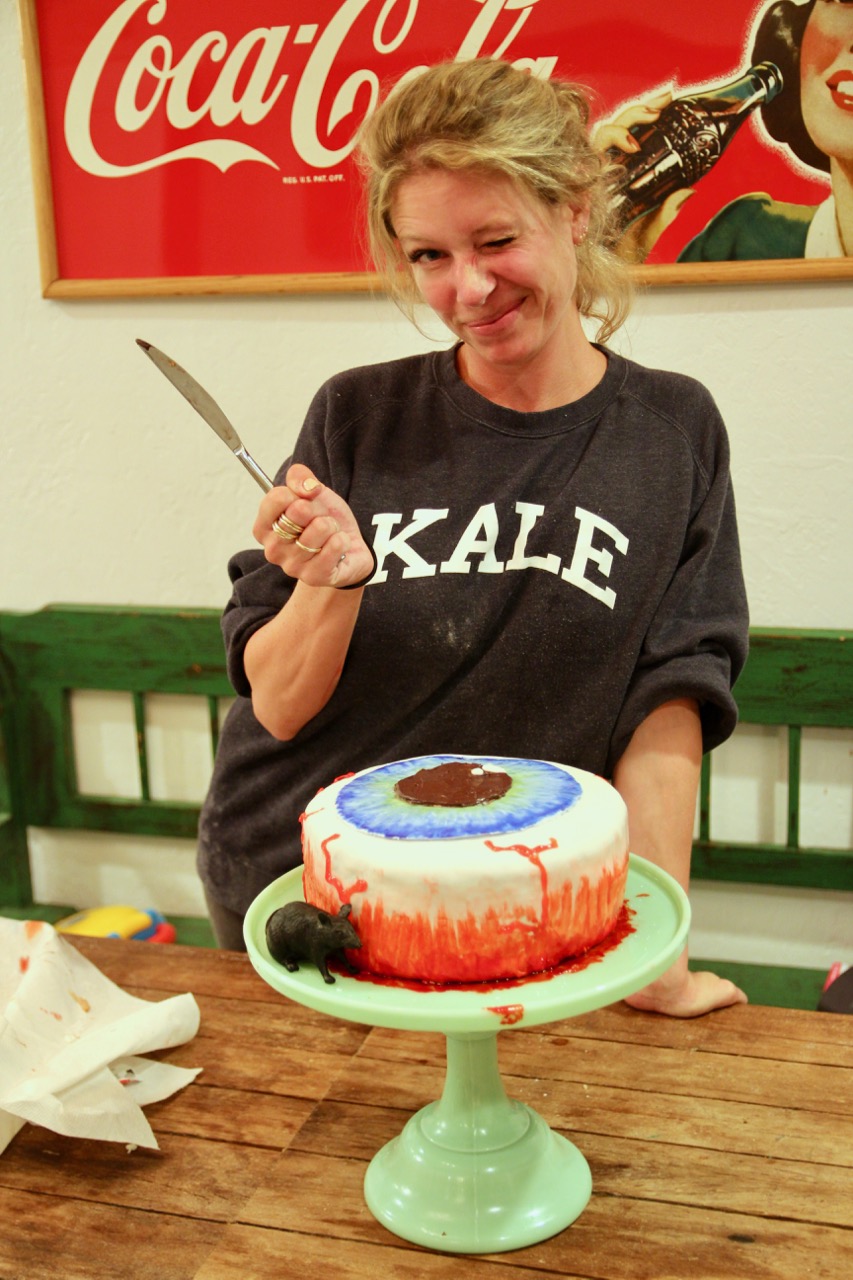
DONE. (You’d look like this if you were fondanting an eyeball in the middle of the night, too.)
Oh, except for the rat. I feel like this cake really needs a rat.