Remember my little run-in with a full jar of gold leaf a few weeks ago? (Not one of my finest moments.)
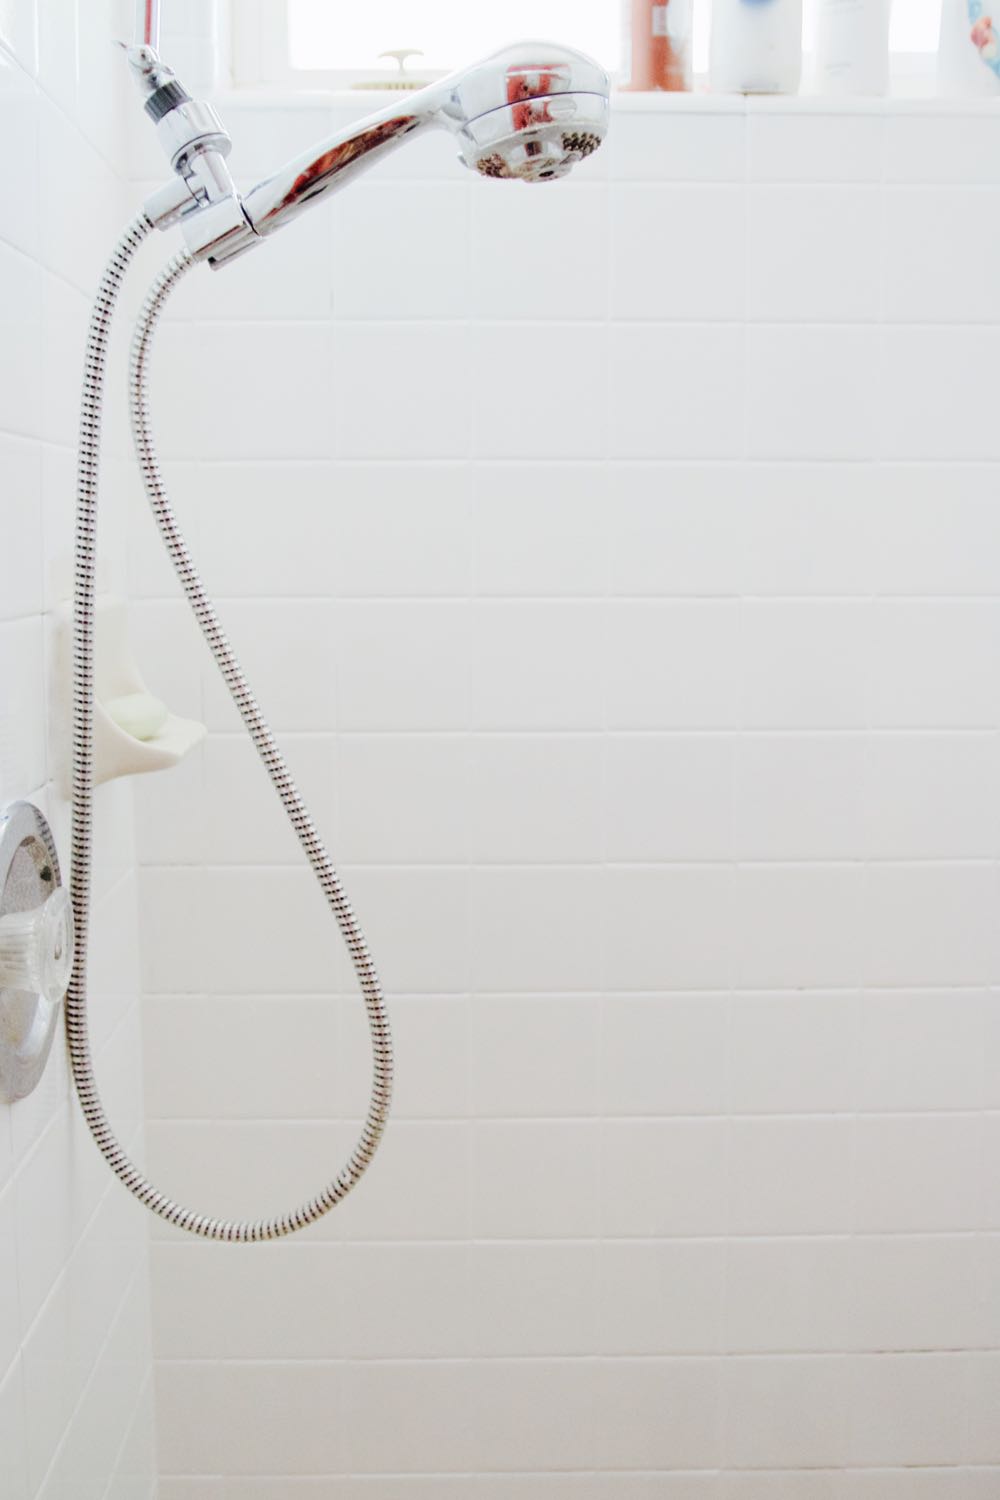
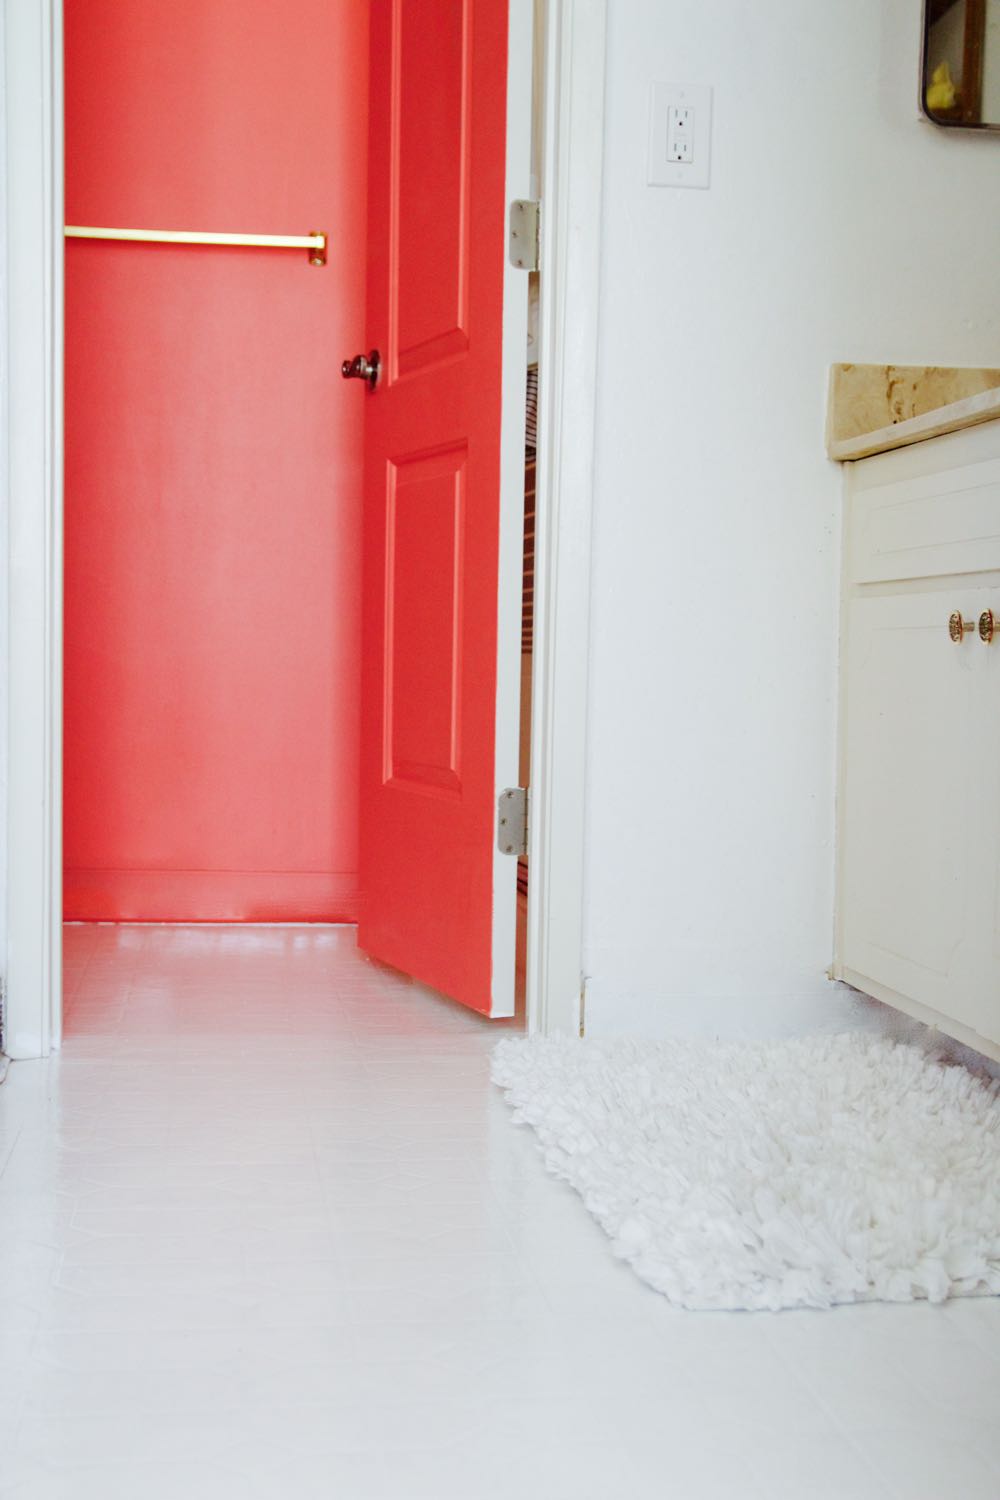
But honestly? I wasn’t all that upset about the fact that I’d just completely destroyed my floor with a permanent paint-splatter. Because I’d already decided that I was going to (finally) do something about the terrible, dark-grouted, 1970s-style tile in our master bathroom. And the solution that I’d come up with would mean that I’d be able to fix up the floor (which was tinted a lovely shade evoking a 1981 urinal) as well…at no additional cost.
Stay with me.
When we first saw our home on a FaceTime video, the master bathroom was one of the spots I sort of shrugged off as “well THAT’S terrible, but obviously we’re going to fix it up.” And then we sort of…didn’t. Because like many people, I prefer to spend my money fixing up spaces that are for all of us – the playroom, the living room, the dining room. I wasn’t especially motivated to spend a bunch of money on a room as un-sexy as a closet-like bathroom that no one will ever see but us.
And besides: MAN, is retiling ever expensive. I briefly entertained the idea of leaving the tile and just swapping out the grout for something lighter-colored, but virtually everybody at Home Depot plus my parents plus my husband plus three separate friends (one of whom is a certified home renovation expert), told me that the process is long and miserable and easy to screw up, and is basically the perfect example of A Thing That One Should Pay A Professional To Do.
Except I have no money for stuff like this right now. And so I’d basically put this item on the back-burner, but when my friend Elise came over to help me paint my bathroom, I mentioned my ugly shower tiles and she said, “Oh, you can just paint over those!” Apparently she’d had the same dark and 70s-ish grout situation in her own foyer, and to spruce it up she had used…
Ba da daaaa…..
Paint.
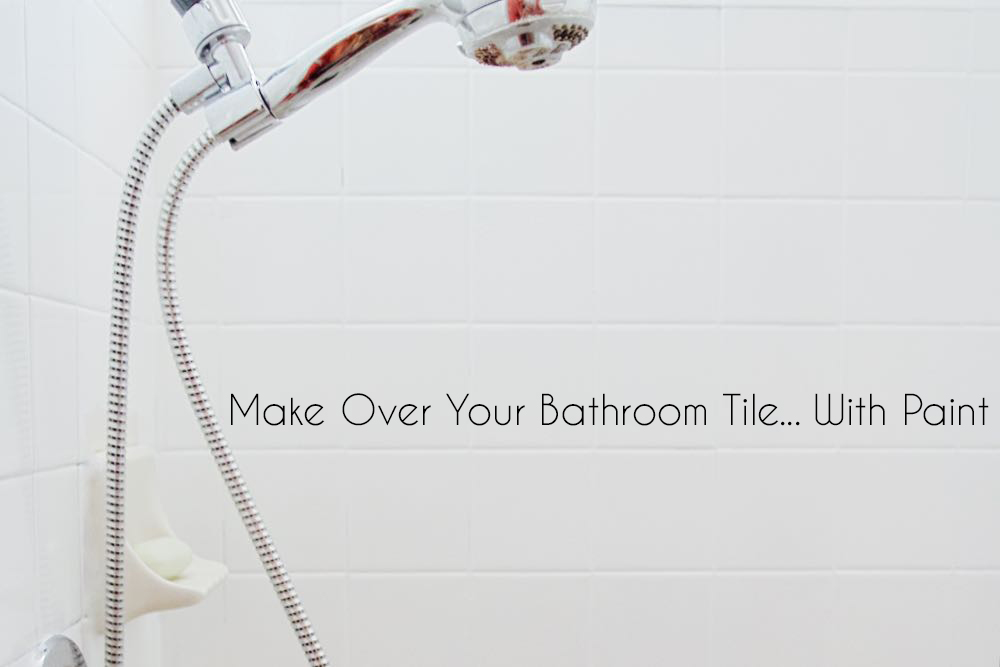
But not just any paint: an epoxy paint specifically created to create a flawless, durable finish on tile.
To be clear: I did not believe her. I’ve done a bunch of research on how to rehab ugly bathroom tile, and “paint them” has never popped up in my search results. But when Elise showed me her (kind of spectacular) before and after shots, I figured…I mean, what was the worst thing that was going to happen? I’d screw up tiles that were already screwed up, and just have to do what I had originally planned to do (hire a professional)?
So I did it. And you know what happened? My bathroom transformed into a FREAKING VISION.
(Or at least as close to a “freaking vision” a bathroom can come when it is approximately four square feet and is possessed of the elegant, cozy appeal of a linen closet, if linen closets contained toilets.)
No but seriously: LOOK.
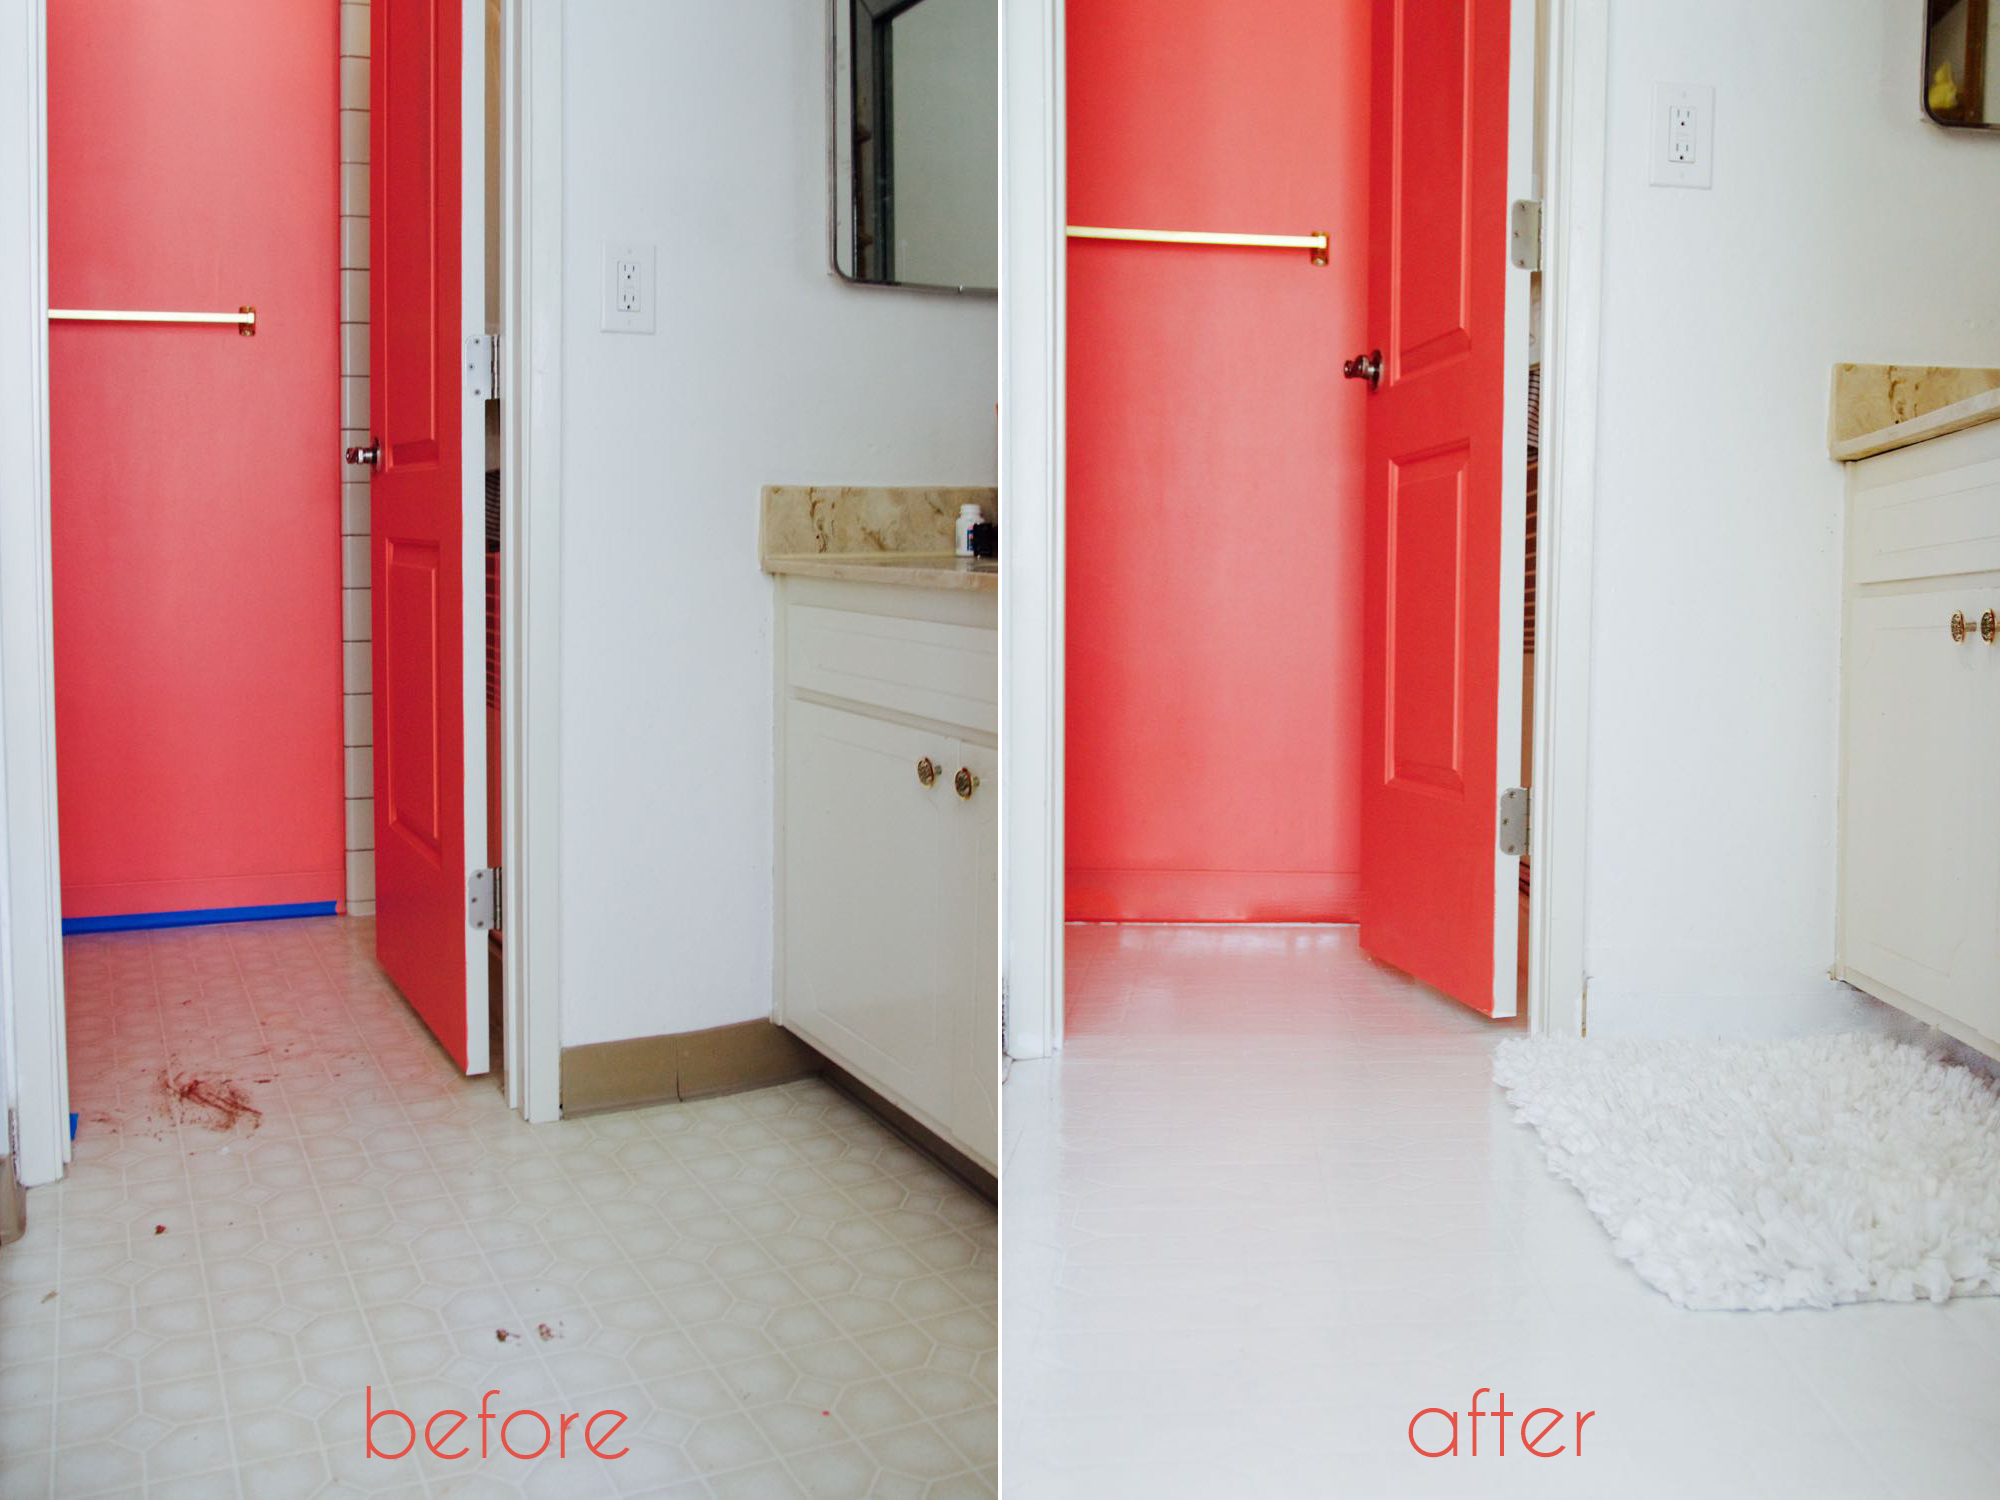
Right?!?! I’m sort of floored. (Floored! Hee.) (Sorry.)
![]() How-To: Rehab Your Bathroom Tile Using Epoxy Paint
How-To: Rehab Your Bathroom Tile Using Epoxy Paint ![]()
- Start by preparing your area: you’ll need drop cloths, painter’s tape (to tape off any areas you don’t want painted), a tray to pour your paint into, a large roller and a small one, and – this is important – excellent ventilation. My bathroom has one tiny window way up by the ceiling, so I put a couple of fans in the room, opened up every window in the adjacent bedroom, and took breaks for fresh air. This is by far the worst part of the process: epoxy paint is super toxic and smells terrible, and it is imperative that you protect yourself, or you absolutely will get sick (I didn’t take frequent-enough breaks, and I ended up nauseated and lightheaded for the next few hours). Get a mask and take the time to set up fans; it’s a big deal. Don’t skip it.
- Next, scrub the ever-loving shit out of every spot you plan to paint. I was doing my shower stall and the bathroom floor, so I went over the area once with a bleach-containing antibacterial spray, and then followed up with a swipe of denatured alcohol (this may be overkill if you’re not working with a space that’s in reasonably decent shape, but better safe than sorry; you don’t want any bacteria/soap scum/whatever hanging out underneath your epoxy paint).
- If you’re so inclined, give the entire surface a light sanding. I did not do this, but I’m also a person who tends towards corner-cutting when it comes to home renovation projects, so take that for what it’s worth.
- Pour the epoxy paint into a tray, and use a large roller to quickly cover the bulk of the surface area (epoxy paint dries suuuper fast, so make sure to catch any drips right away). Then use a small roller and/or an angle brush to get in corners and along edges. Wait an hour or so, and then apply a second coat.
- Don’t touch the area for three days or so, after which you’re OK to go for showers and baths and such.
![]() Pros/Cons Of Epoxy Paint
Pros/Cons Of Epoxy Paint ![]()
PROS:
- It’s a silly-cheap solution ($28 for the paint, about $15 for the brushes, drop cloths, etc).
- It’s relatively easy (really just painting, aside from the ventilation issues and the fact that it dries super-quickly).
- It has the immediate gratification element: an hour or two of work, and your tile looks spectacular.
CONS:
- Oh, god, the smell. Oh god.
- It’s durable, but I’m sure it’s not as durable as actual tile; I definitely expect chipping at some point.
- Even though you’d have to look pretty closely to realize that it’s paint, the overall effect is less upscale than new tile.
Take a look for yourself, and let me know what you think!