Okay, so there was like a zero percent chance that this was going to work.
BUT IT TOTALLY WORKED.
I couldn’t believe it either.
I also couldn’t believe how easy it was, or how pretty the finished product looks (trust me, I was not anticipating success when I started this little project).
I totally think you should make one for your next special occasion. And the best part? You can just use whatever you have lying around in terms of branches/leaves/fruit/berries/etc (I had some dried lavender flowers and pine branches, plus some dehydrated orange slices I shot for an upcoming Babble post, so that’s what went in mine).
Okay, so here’s what you do.
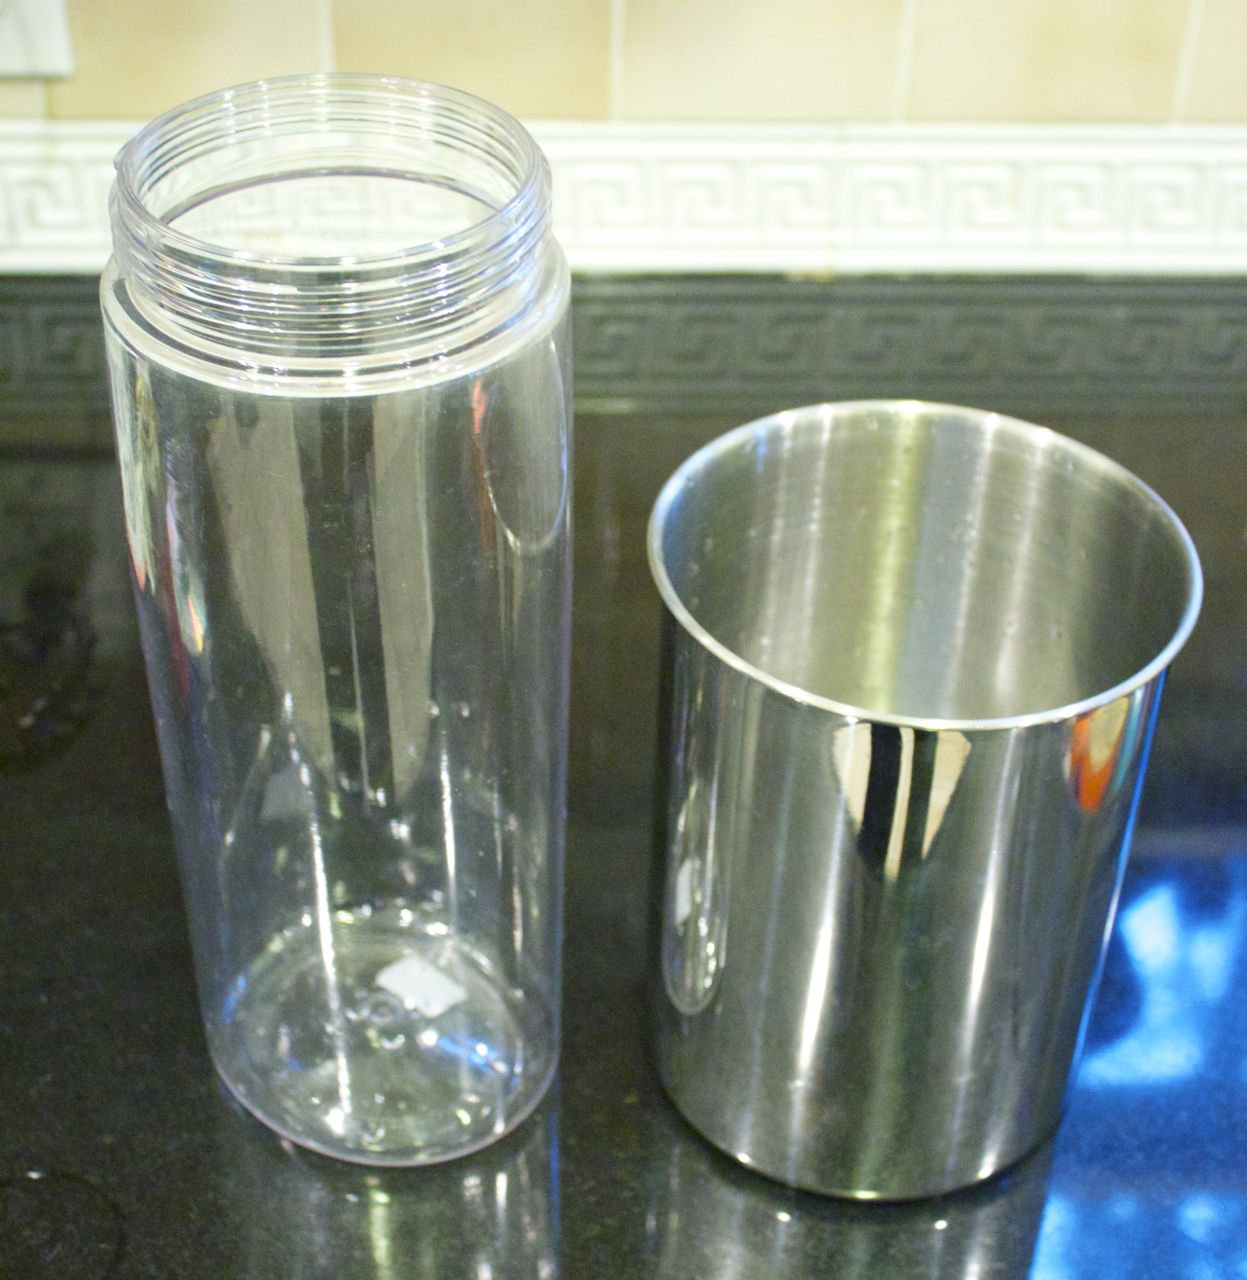
1. First, you need some kind of ice bucket-shaped…bucket. Metal or plastic please, because you will have to run warm water over it later on, and glass will break, and that will be terrible.
2. Next, you need a slimmer vessel – I used a tall, narrow plastic pitcher – to create the space in the center. (Don’t forget to put a bottle of wine into your container to make sure it fits before you get started.)
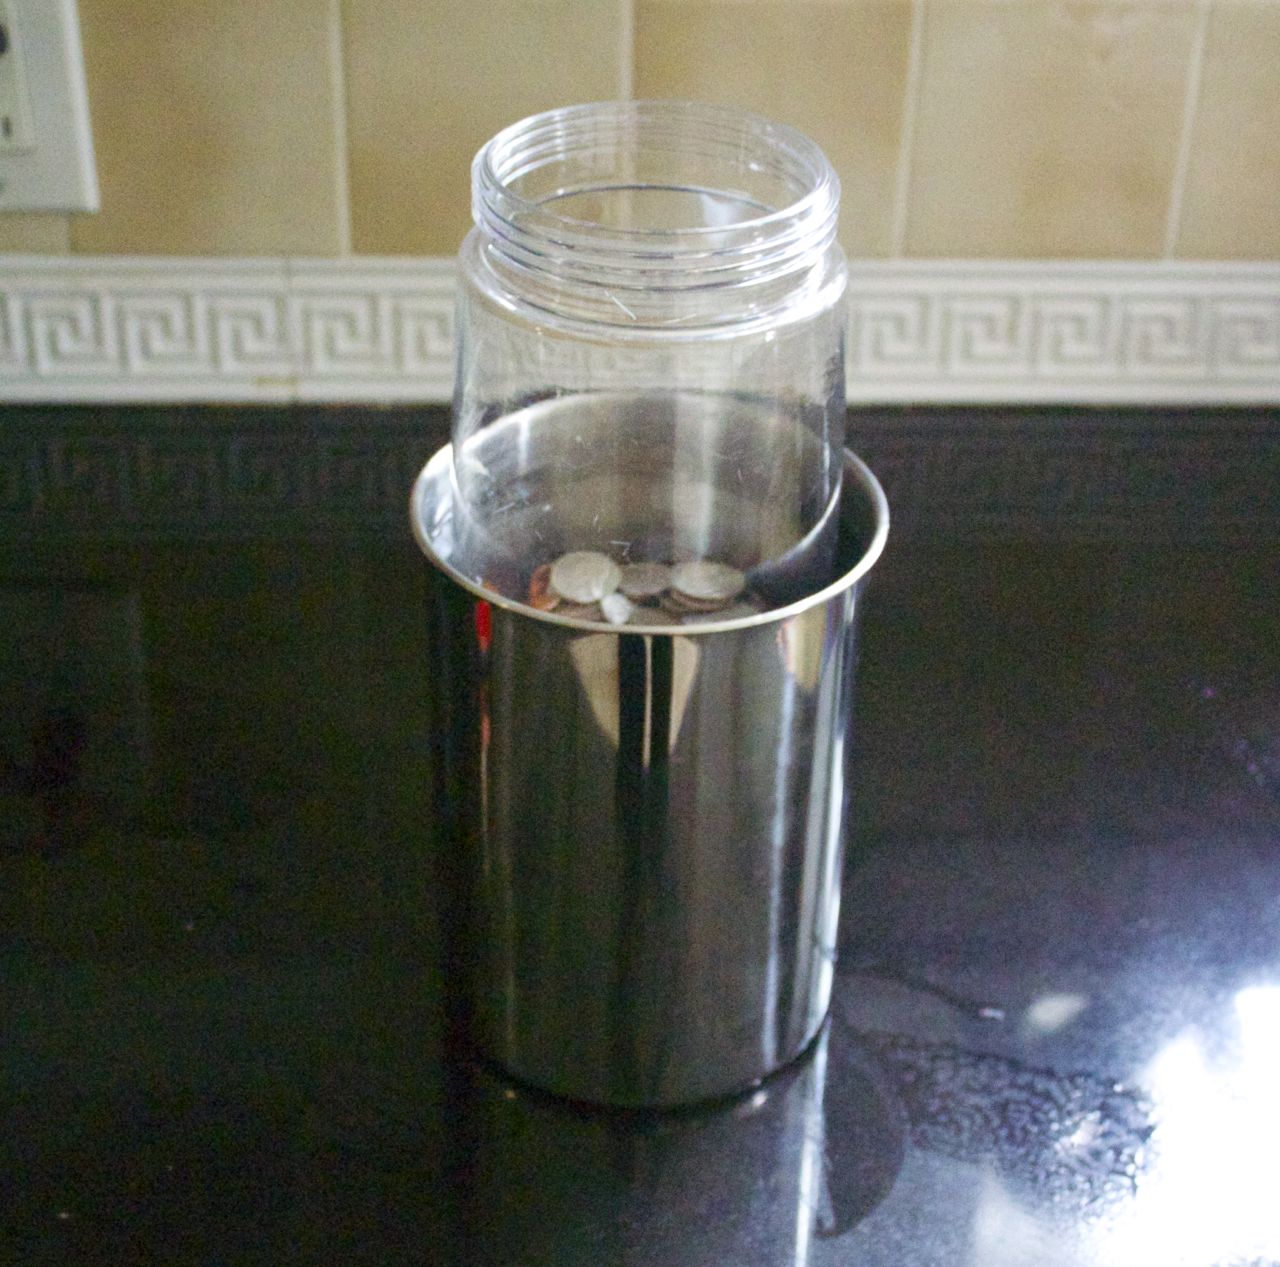
3. Now you need to weigh down that center container. Coins work perfectly, but rocks would do nicely, too.
4. Place the center container in the larger container, and fill the gap between the two with water (distilled water will dry perfectly clear, but the point of this is to make life as easy as possible for you while still allowing you to be all impressively crafty, so let’s stick with the stuff from the tap, k?).
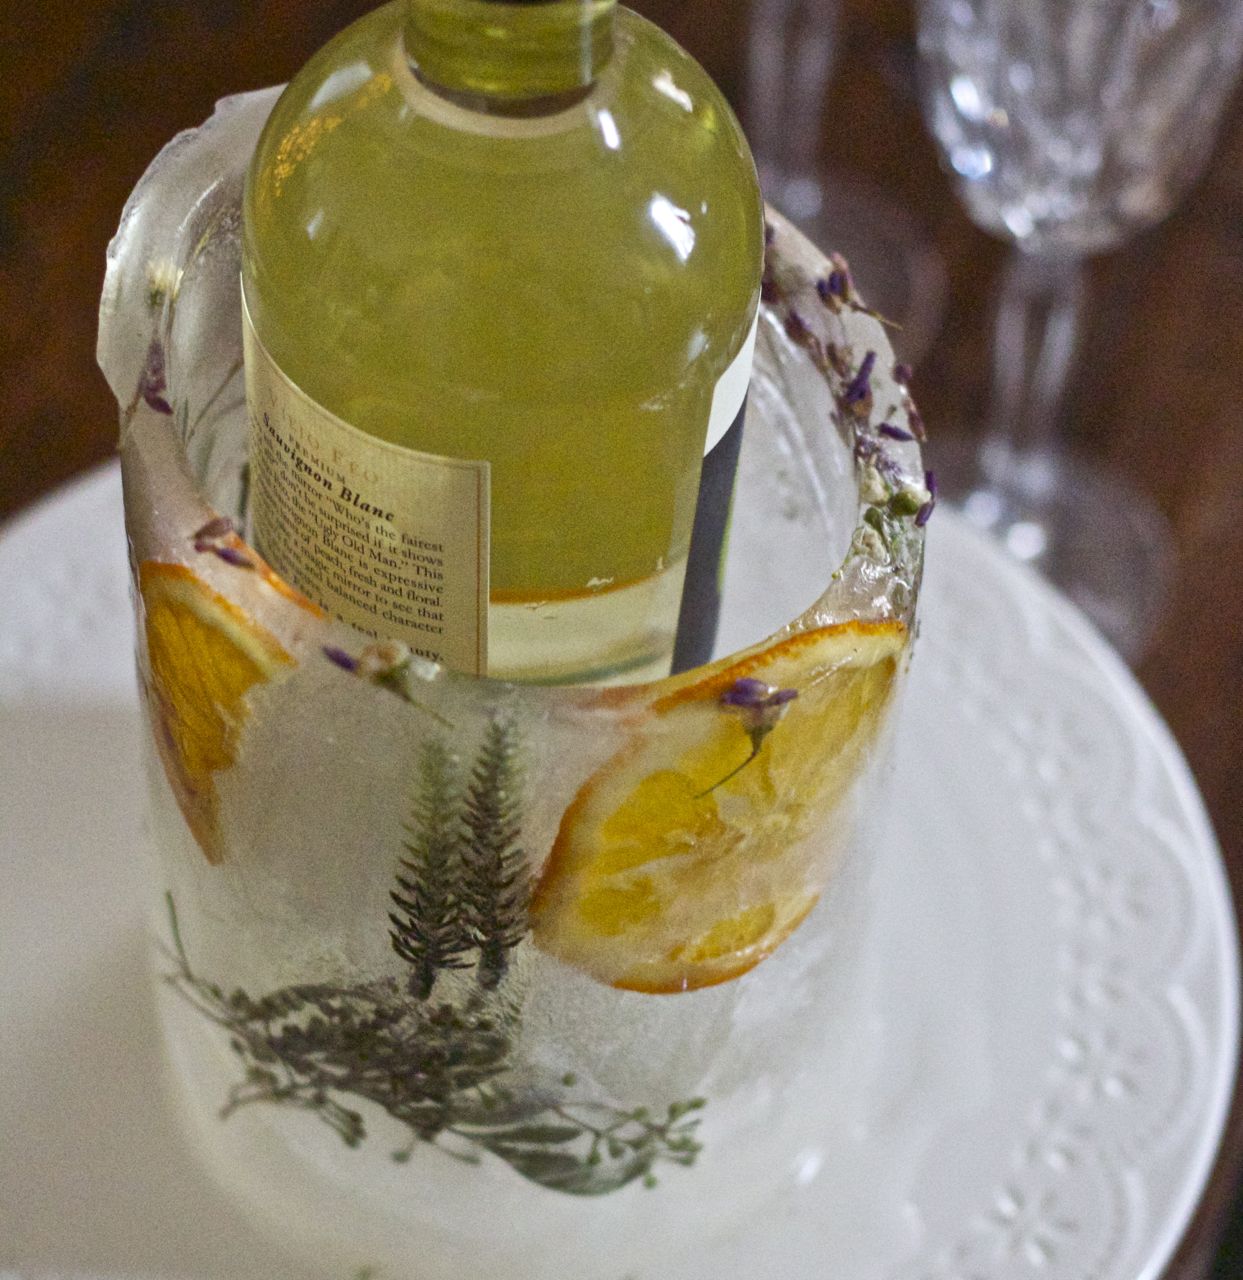
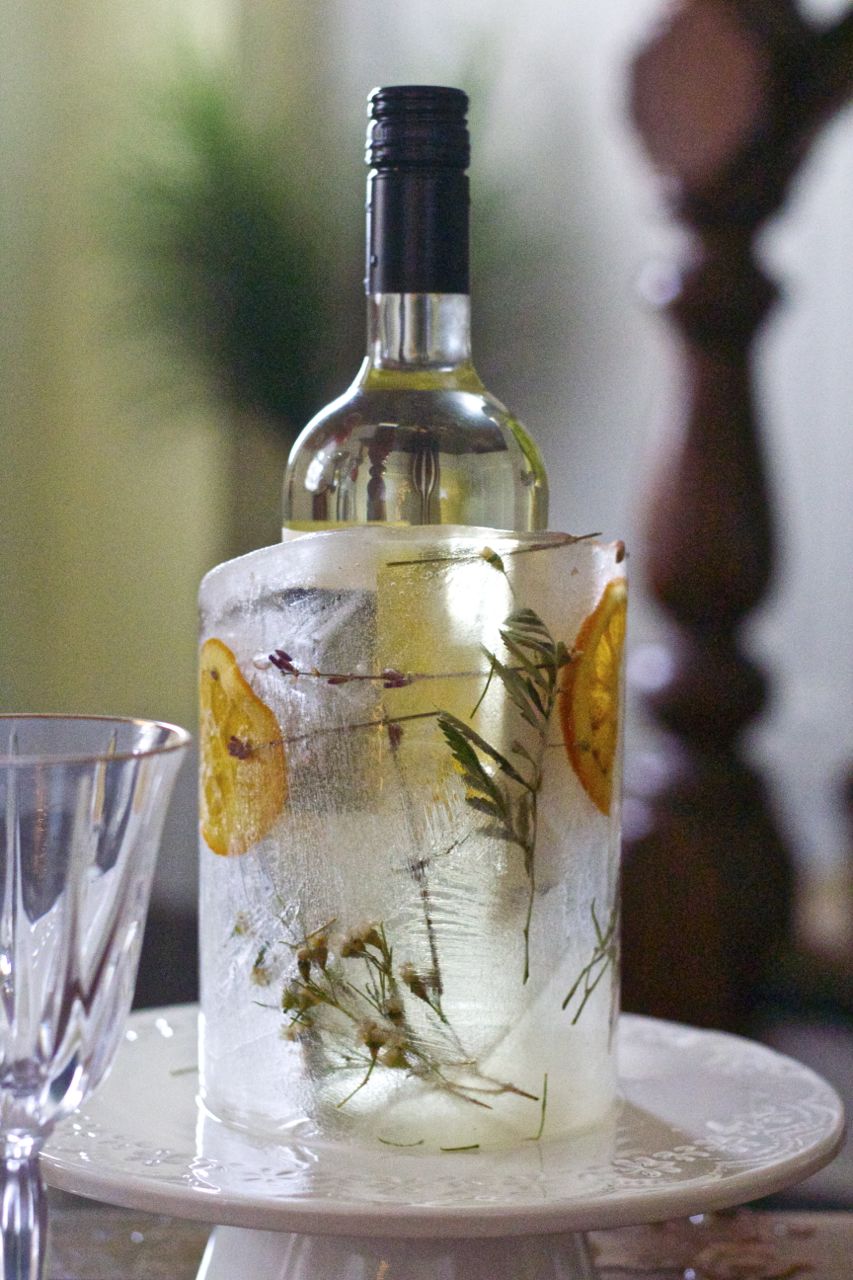
5. Now just stuff whatever you want to add into the water-filled gap: cranberries and pine branches (or the dried oranges and branches pictured here) are pretty for Christmas, but you can totally make it seasonal by swapping in, say, pussywillows (winter), rose petals (Valentine’s Day), brightly colored leaves (autumn), brightly colored flowers (spring) or a selection of citrus fruits (summer). If you use berries, they may float to the top and create a bit of a ring; you can use branches to pile on top of them and kind of hold them down if you want a more sprinkled-throughout feel.
6. Put your bucket in the freezer and let sit overnight. Mine sat on a slight angle, so it created that sort of slanty look we’ve got going here. Let’s just go ahead and pretend that I did that on purpose “to show more of the wine bottle label.”
Aaaaanyway.
7. To remove the bucket, you’ll need to fill the center container with warm water; it should slide right out. Then just run a little warm water over the outside of the bigger container, and it should come out easily.
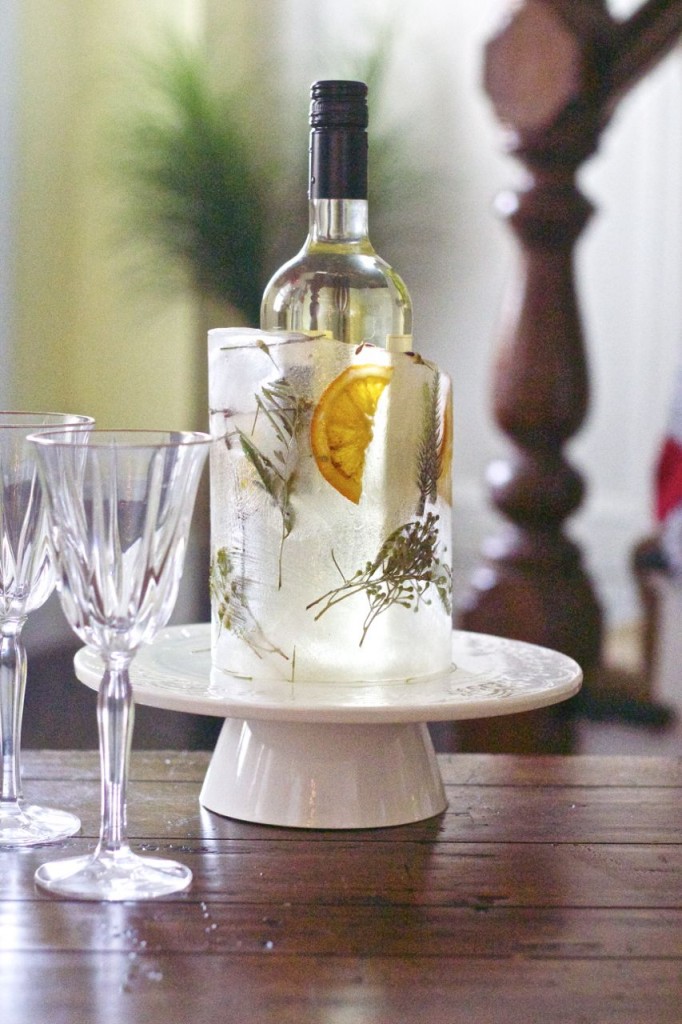
I displayed my bucket on a cake plate to be all fancy, but you should definitely use something with some sort of rim to catch drips as the night goes on.
And! This is totally not one of those DIYs that you see on Pinterest and are all, “Well, that looks pretty. I will totally never do that.” The ratio of pain-in-the-ass-ness to impress-your-friends-ness is excellent. You should totally try it.

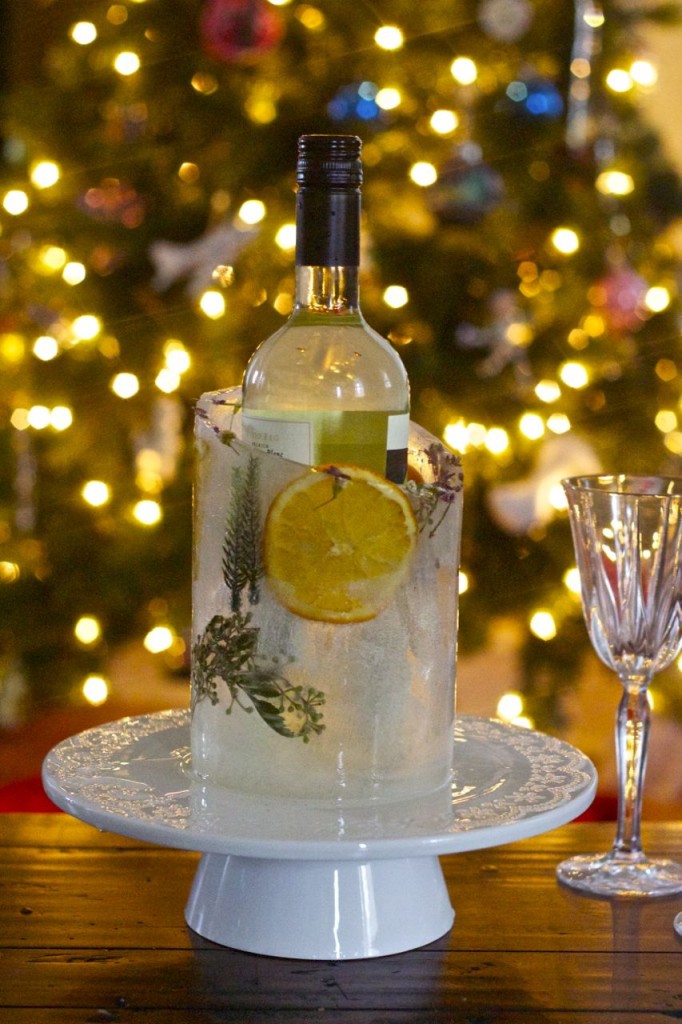
Witness the grand festivity.
{ Follow along on Twitter, Instagram or Facebook }
{ Subscribe to the RG YouTube channel }


