From time to time I get asked for food photography tips, and the answer is…I have no idea. I am the kind of person who has a strong physical reaction to the very idea of reading an instruction manual, so if my photos are anything other than absolutely terrible, please let me assure you: it’s an accident.
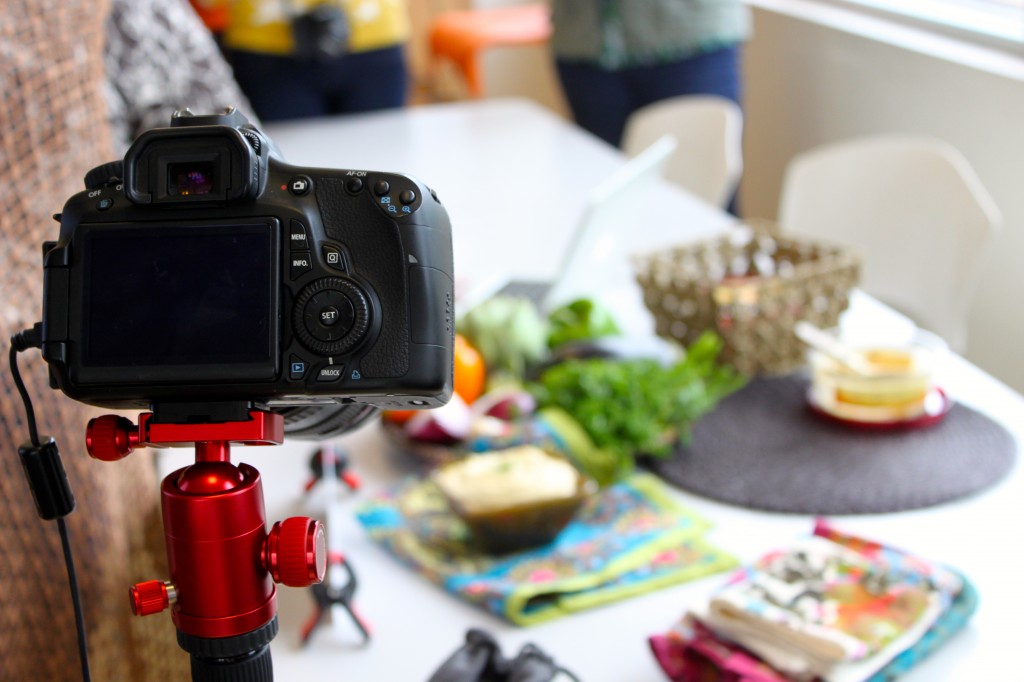
I’ve sat in on a couple of photography lessons before, but yesterday’s (run by the people behind Smith Bites) was fantastic.

– Food loves natural light, and your very best light will be found on an overcast day
– To simulate the overcast effect on a bright day, use a diffuser (about $30 on Amazon)
– Gauze and linen can sub in for a for-real diffuser in a pinch
– Using a tether and a tripod (basically, setting up a feed from your camera to your computer) can vastly reduce the number of photos you have to take (and edit)
– Shadows can be great for contrast, but you can purchase an inexpensive bounce board to fill any spots that are too dark
– Gold bounce boards warm up a shot; silver ones cool it down
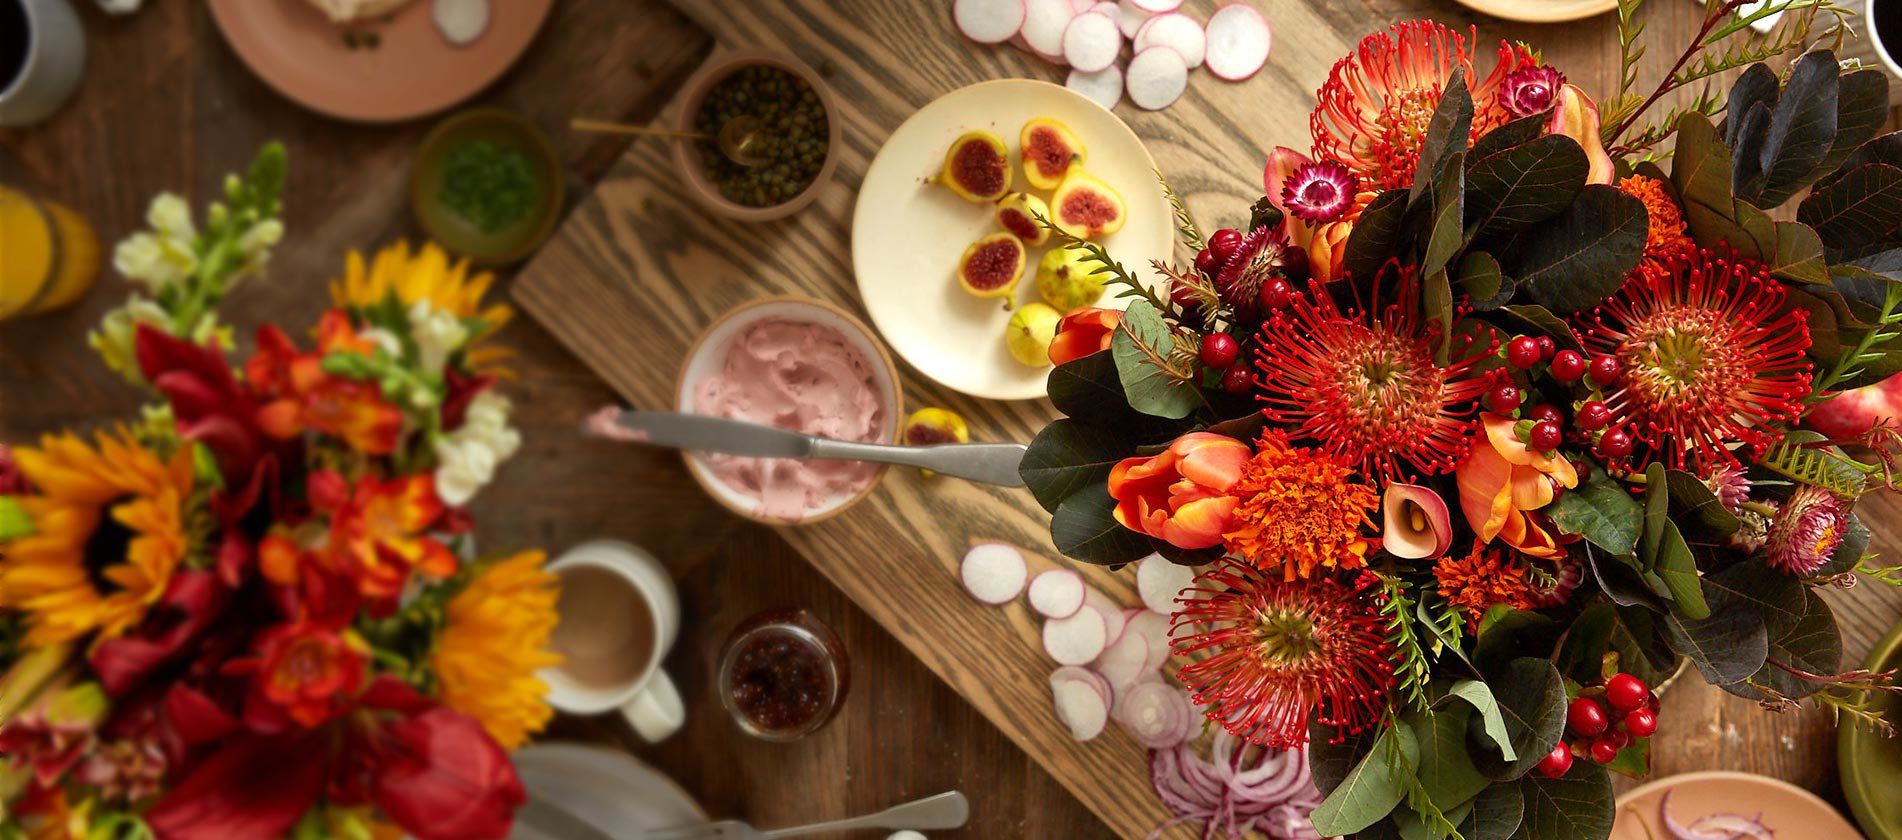
– Rather than using a large dinner plate, go for small bowls and dessert plates; you’ll get more detail that way
– Look for dishes and bowls with a little texture to add interest
– When shooting a sort of “boring” food (like…uh…hummus), add texture and/or color to the product with swirls and garnishes (a drizzle of olive oil, nuts, and greens all work well)
– To help “tell the story” of a food, it’s nice to use an ingredient that’s actually in the dish you’re shooting as background or as garnish
– If you’re making a sort of bland-looking dish (like, say, chicken noodle soup), consider reserving a few ingredients so that you can use them as garnish in the final product (for example, top chicken noodle soup with some uncooked diced carrots and celery, which will have better color than the cooked stuff)


