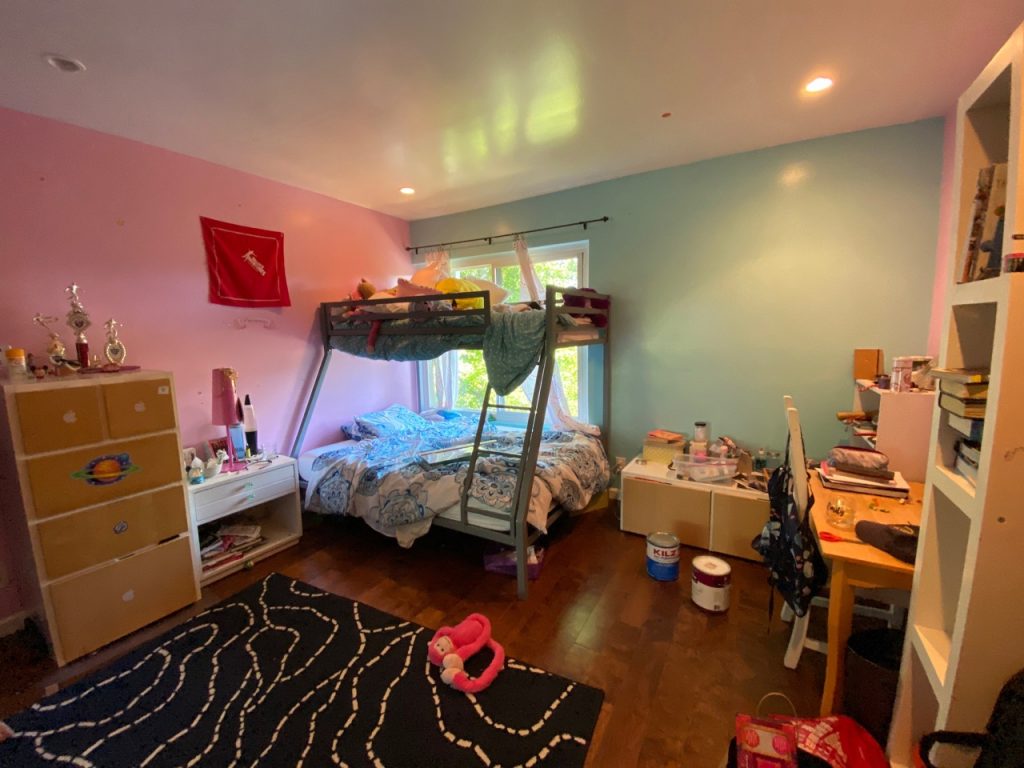
Before
When I was 9 or so, I decided that I wanted my bedroom to be painted in shades of purple and teal (it was 1990; I have no other excuse for this) – and my parents, to their immense credit, let me actually do it. Which is great! Everyone should have a regrettably painted preteen room; it’s a rite of passage.
But another rite of passage is when you age out of that room, and suddenly find yourself wanting something a bit more…peaceful. The teenage years can be rough ones, and I think having your own space to retreat to is an absolute essential. So when my friend Margo’s daughter Claire told me that she didn’t like her room anymore and wanted something that felt more “her”….
I mean: PROJECT. We scheduled the makeover for the very next weekend, and I swear to you: Margo, Claire and I made this transformation happen in less than 24 hours.
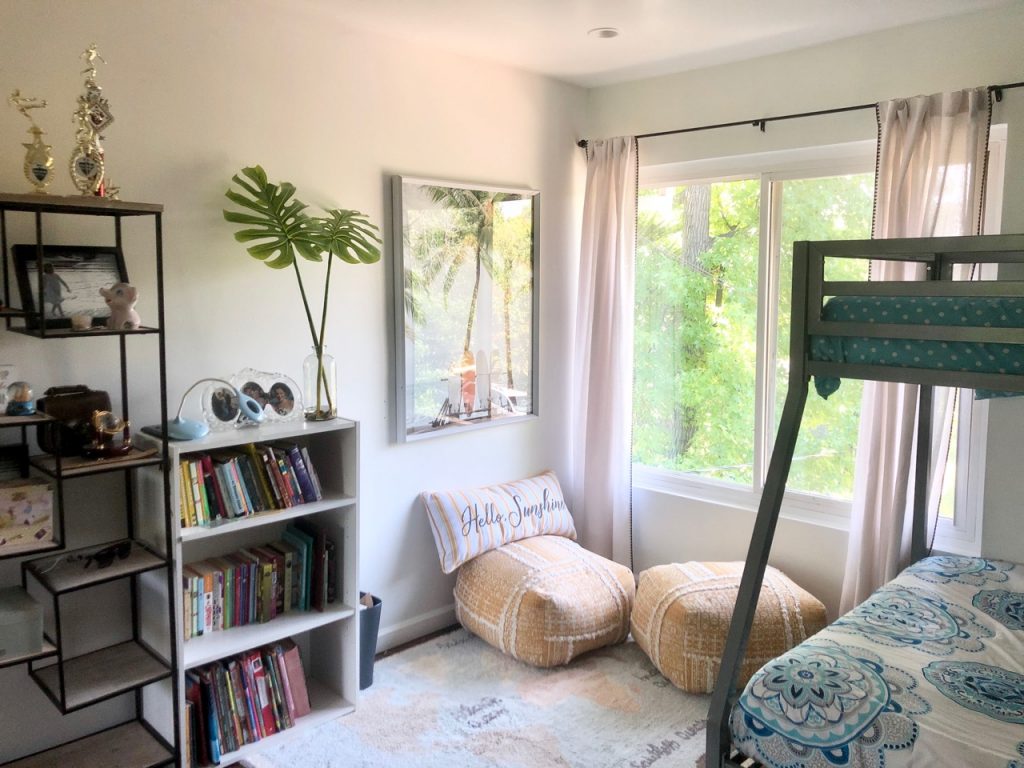
After
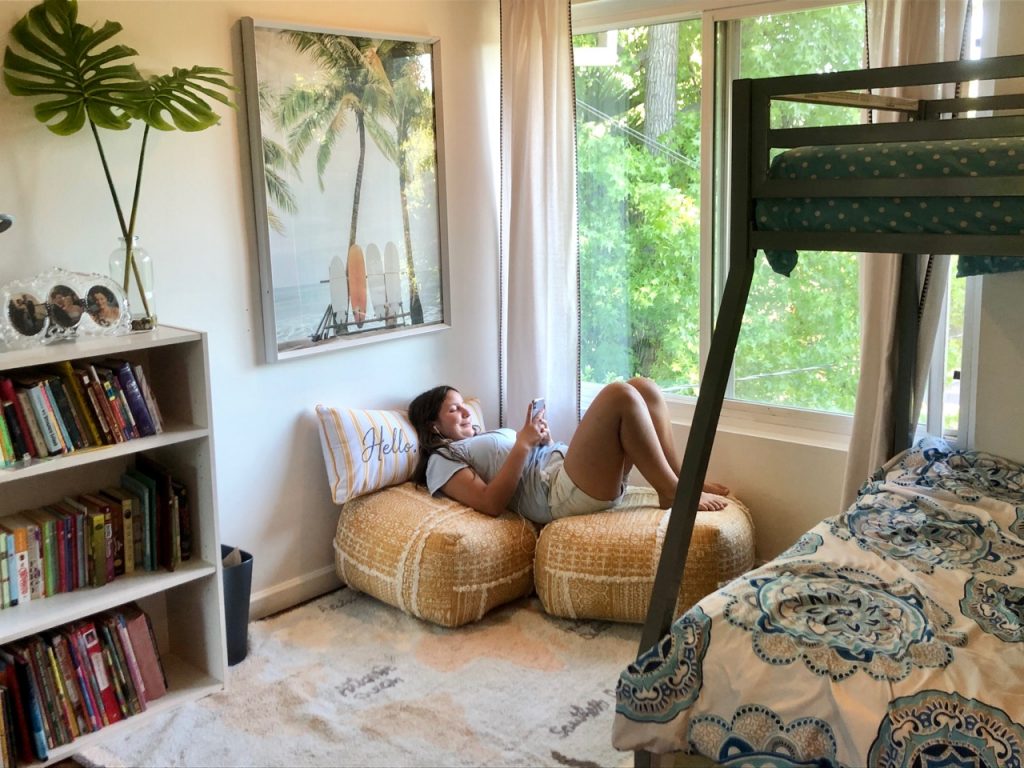
I mean. LOOK AT THAT.
Here’s another angle:
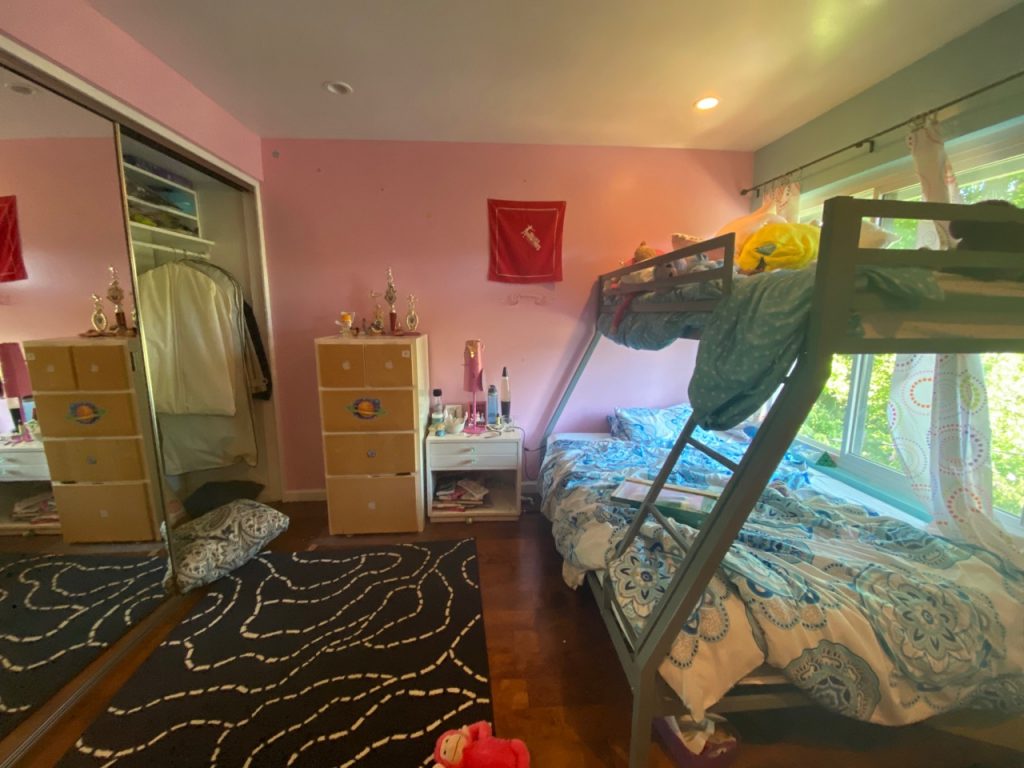
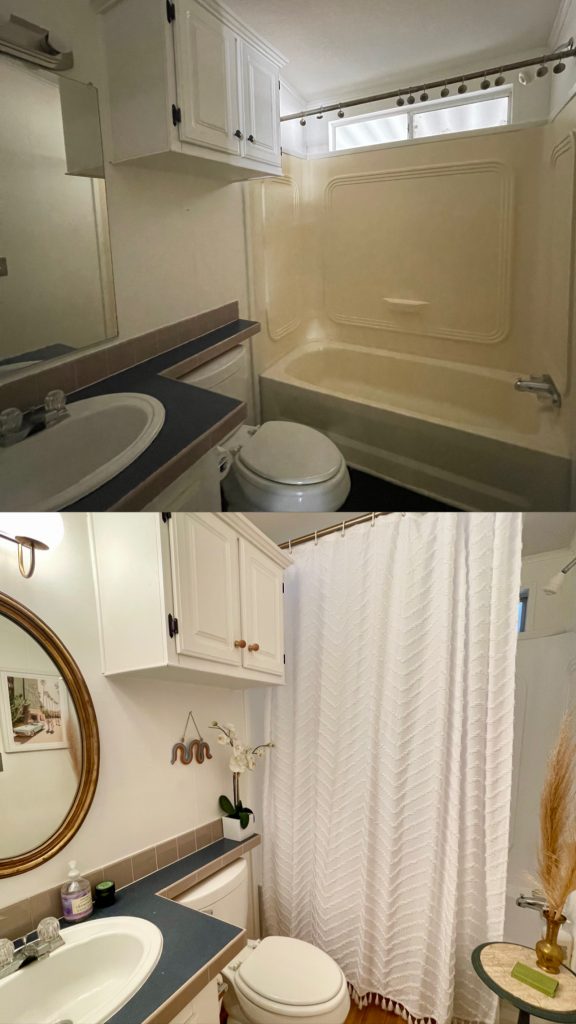
Before
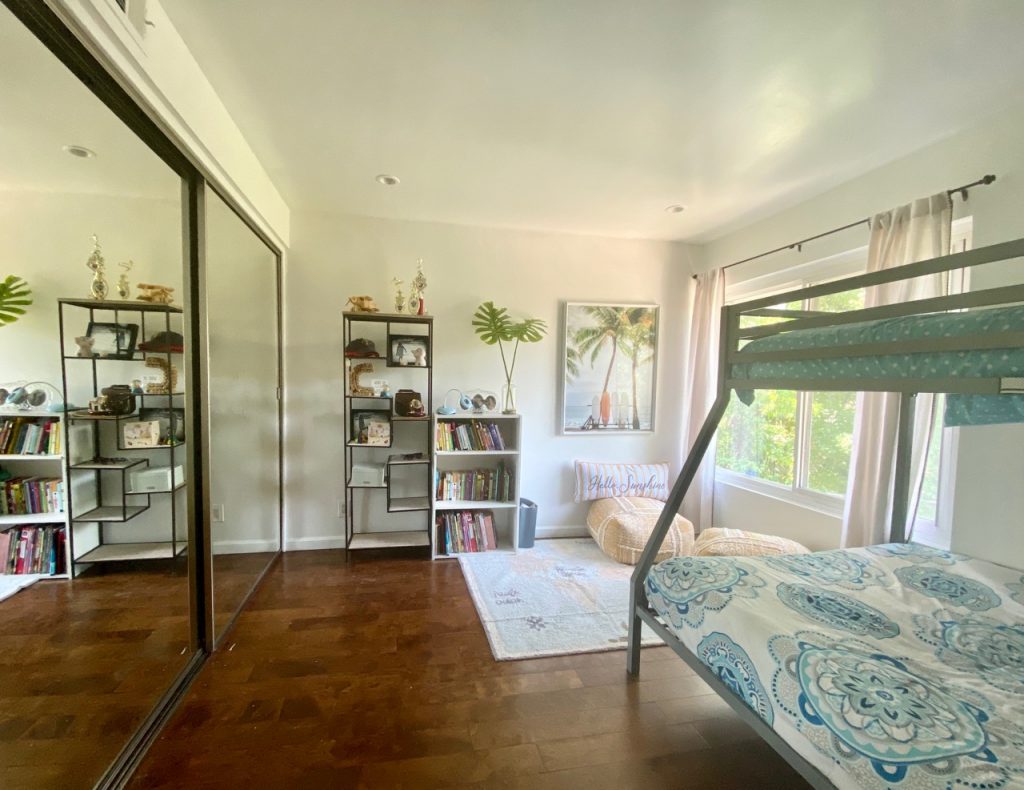
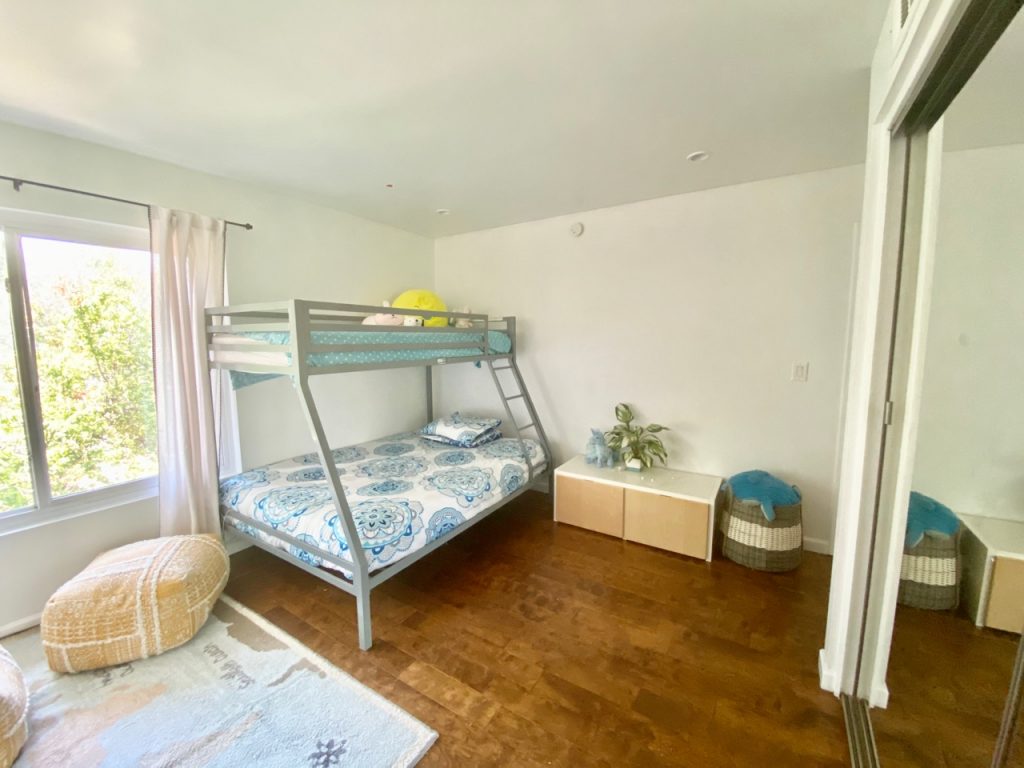
After
The plan is a gallery wall of Claire’s paintings on that blank space.
So here’s what we did.
Step 1: Purging
Kids age out of their things crazy-quickly, so a whole-room purge can be super dramatic. Claire was able to get rid of about 1/3 of her books, toys, and tchotchkes – all pieces she’d just aged out of. We also designated specific areas for specific categories of “stuff” – like a box just for “special things,” a basket for stuffed animals, and so on.
We also – and this was huge – made better use of the space by moving the dresser and a cabinet into the empty hanging space in the closet. I do this with my own kids’ rooms, as well – since kids don’t have much clothing that requires hangers, there’s a ton of usable space in there.
Step 2: Painting
Next, we dragged all the remaining furniture into the center of the room, and put down drop cloths and such. We used a primer first – those are some BRIGHT colors – and then did a coat of Behr Falling Snow: A bright white with cool undertones.
Step 3: Decorating
Obviously this was my favorite part: Claire and I set off for HomeGoods with a $300 budget, and came home with the following:
- Oversize surfboard photograph ($80) (similar)
- Basket for stuffed animals ($30) (similar)
- Faux monstera branch in vase ($24) (similar)
- 2 pouf floor pillows ($60/each) (similar)
- “Hello, Sunshine” pillow ($16) (similar)
Total: $270
(I also threw in a washable World Map rug from Lorena Canals that I bought ages ago and never used.)
I love it. But – far more importantly – Claire loves it. Mission accomplished.