One of the major things I miss about living close to my friend Erin is our little (and big) projects. We were just constantly deciding that we wanted to try things, and then doing them. All by ourselves. And they usually worked out! (I’d venture that our success rate has far more to do with Erin than with me, but I’m happy to bask in the residual glory.)
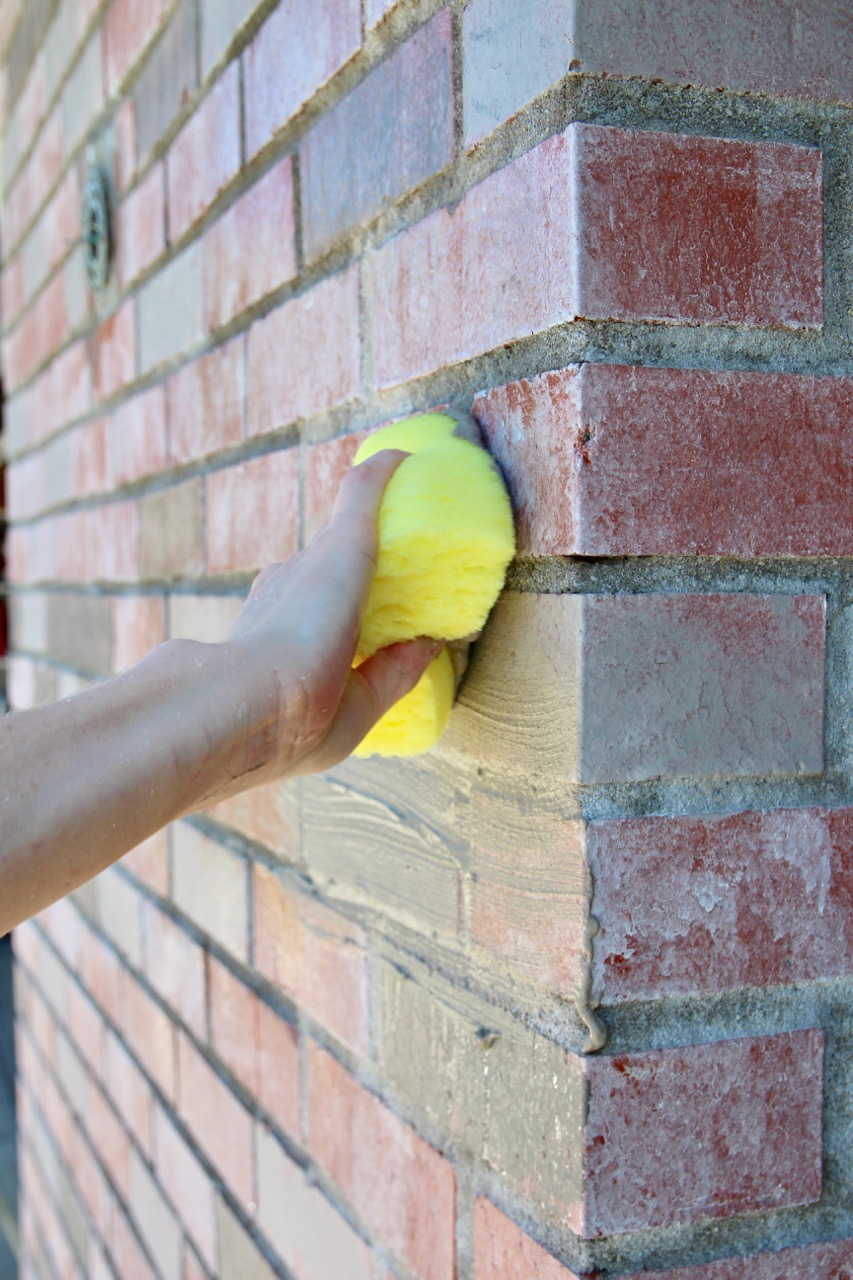
Like remember that time we just went ahead and transformed the exterior brick on my house?

And the time that we made all my daughter’s Moana Cake dreams come true?
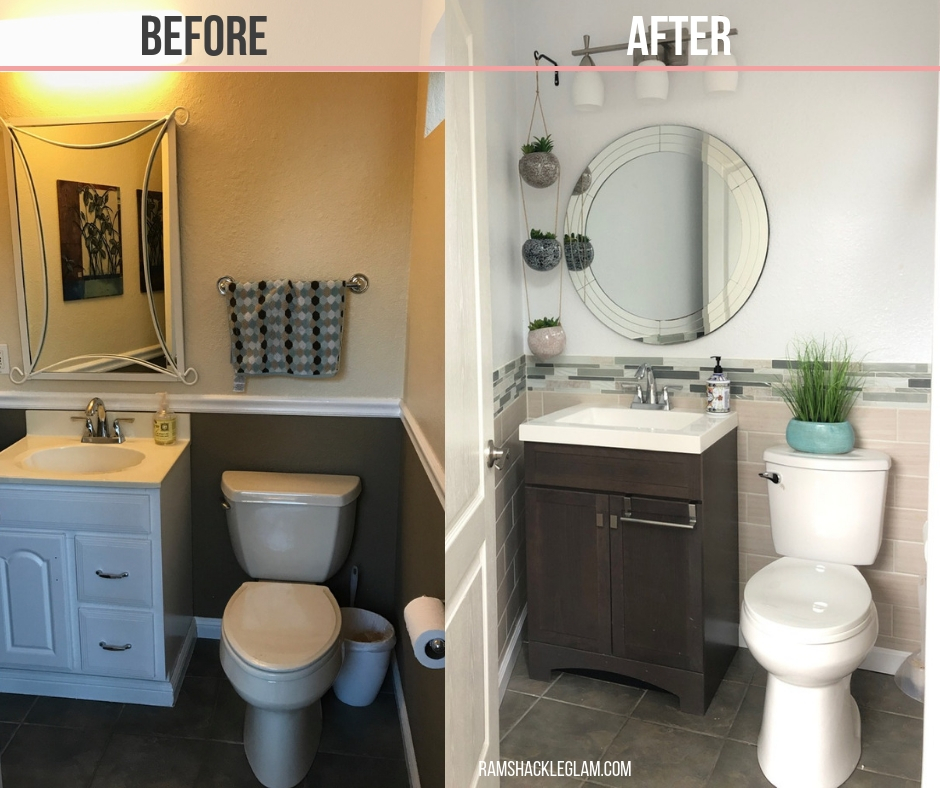
We (OK, again, mostly Erin, BUT I HELPED) completely transformed her hallway bathroom…for less than $700. Which I know doesn’t sound possible. So let me walk you through what we did.
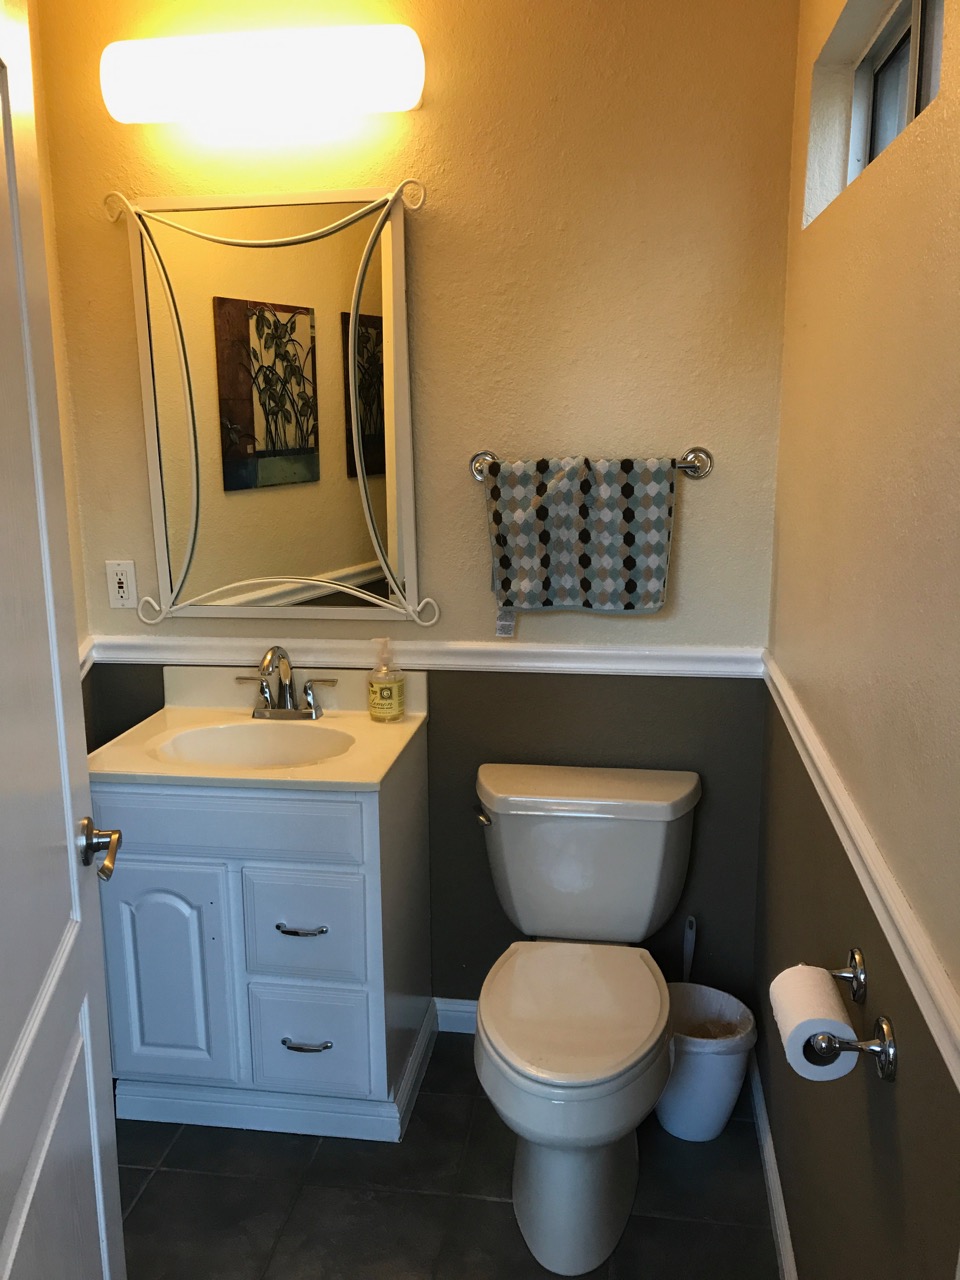
Here’s the before. It’s not terrible, just…dated. The clamshell sink, the wall color, the fixtures – none of it was quite Erin’s style. The only thing she decided to keep was the floor, simply because it was pretty nondescript, and because replacing a floor is a whooooole ‘nother ball of wax.
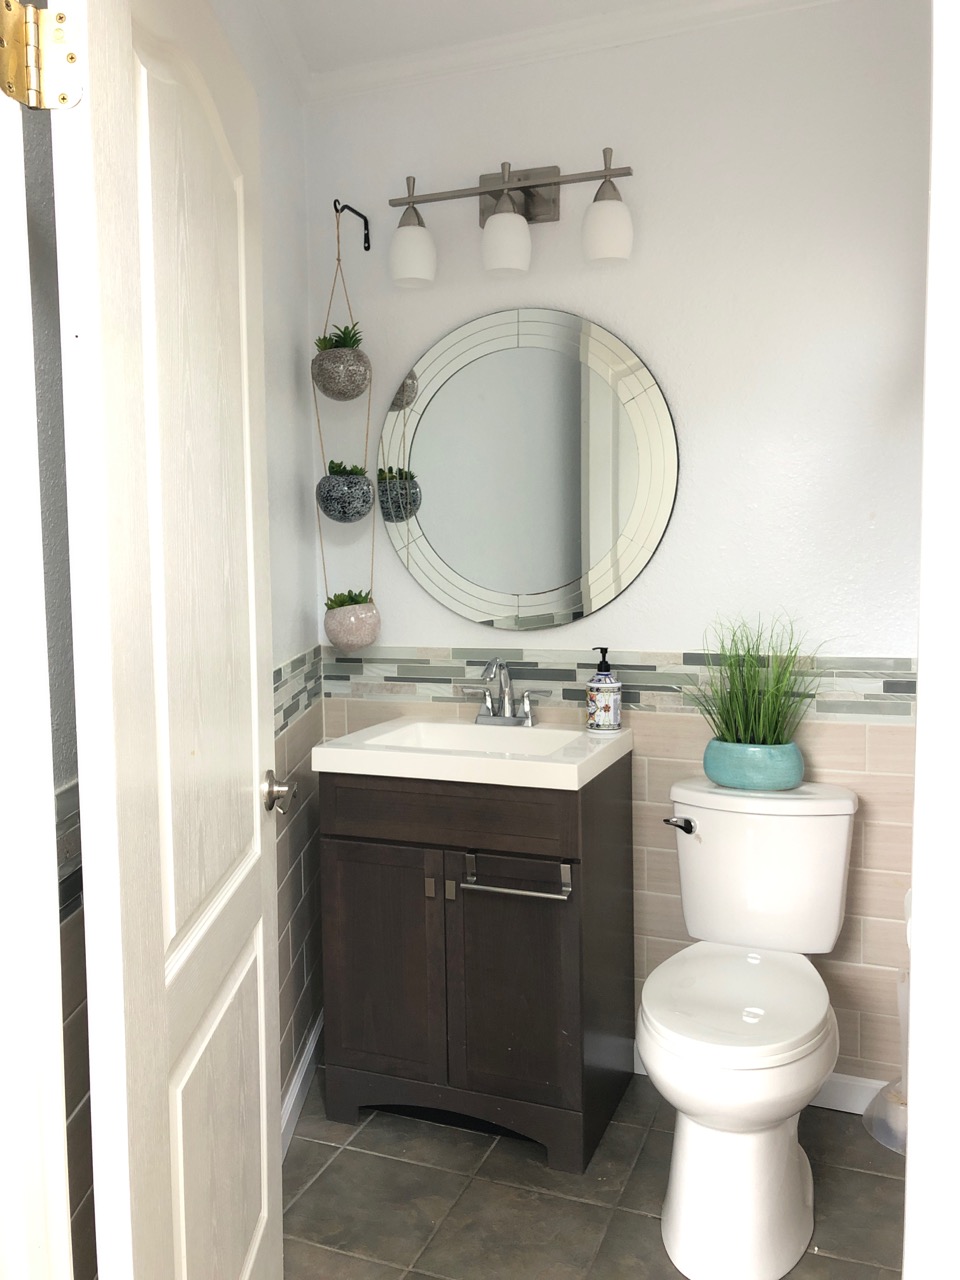
Aaaand here’s the after.
The two things we did that made this renovation so affordable:
1. We found the vanity, the light fixtures, and all the accessories at a contractors warehouse called HD Home Supply. If you’ve never been to one (and there are other warehouses that go under different names)…do it. They’re Home Depot-style stores that sell everything from lightbulbs to tiles to kitchen tables, all at a fraction (and I do mean a fraction) of the price.
As an example, I found my own front door there for about $1.5k less than the exact same door cost at Home Depot. The only caveat: You can’t really go to a contractors warehouse wanting something specific; you kind of have to just see what they have, and run with it.
Here’s a breakdown of the pricing for everything Erin bought at HD Home Supply:
- Vanity: $150
- Toilet: $100
- Tile: $150
- Light fixture: $50
- Mirror: $50
- Faucet: $50
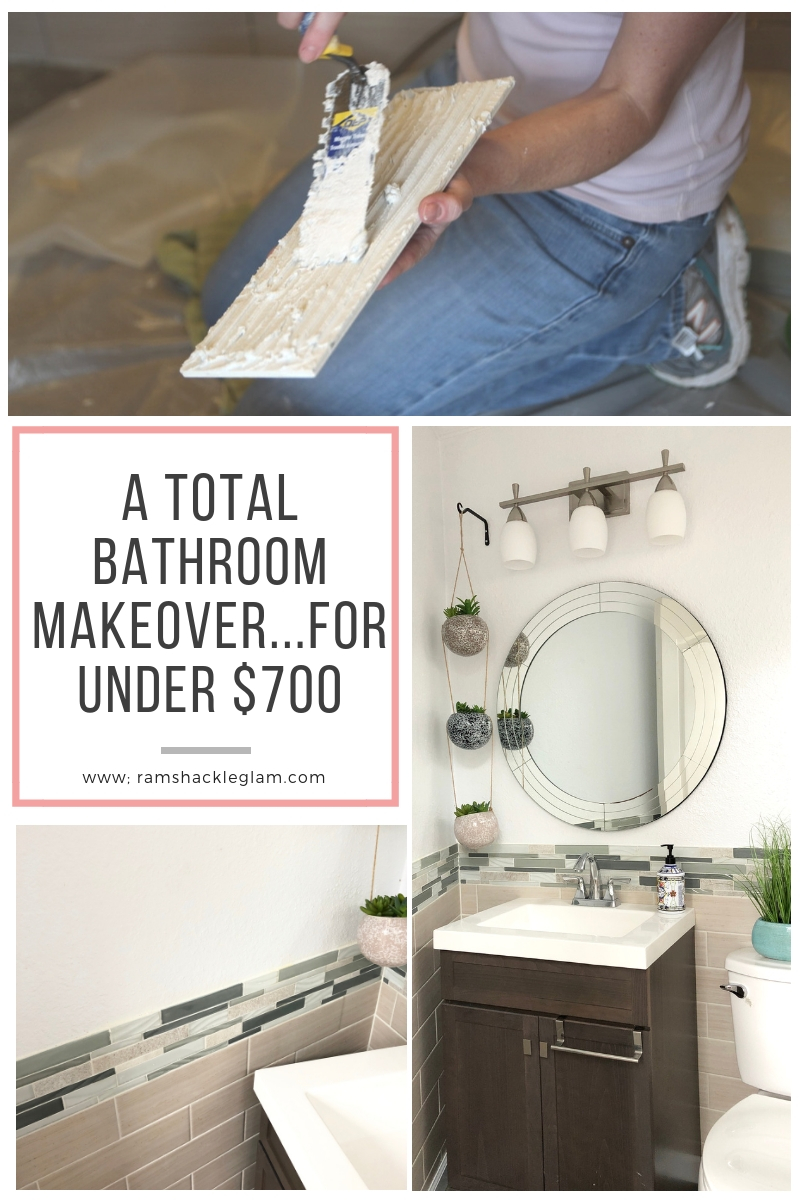
2. We did as much work as possible ourselves. Erin’s husband installed the vanity and fixtures, and she and I did the tiling – which ended up inspiring me to do my own tiling project in my own bathroom, because it’s not only totally doable, it’s actually kind of…dare I say?…fun.
Here (for those of you who, like me several months ago, have no idea how one might even begin tiling) is how you tile a bathroom.
- First, you remove any existing tiles, spackle any holes, etc. If none of that is an issue, just wipe down the walls and give them a light sanding with rough sandpaper.
- The bottommost layer of tiles is the one you’ll have to worry the most about, because if that’s not level, the whole wall will be off. So: Use a level. (And then periodically check in with the level as you continue the tiling process, to make sure all is well.)
- Measure the length of the wall, and do a flat-lay of the tiles to determine which tiles will have to be cut, and by how much (use a pencil or wax crayon to mark where you’ll have to make the cuts). We rented a tile saw so we could trim the tiles ourselves – and, OK, tile saws definitely look scary, but wear sturdy gloves, wear eye protection, and go ahead and give it a shot. Once you get the hang of it, it’s fun; I swear. Just don’t cut off any fingers, please.
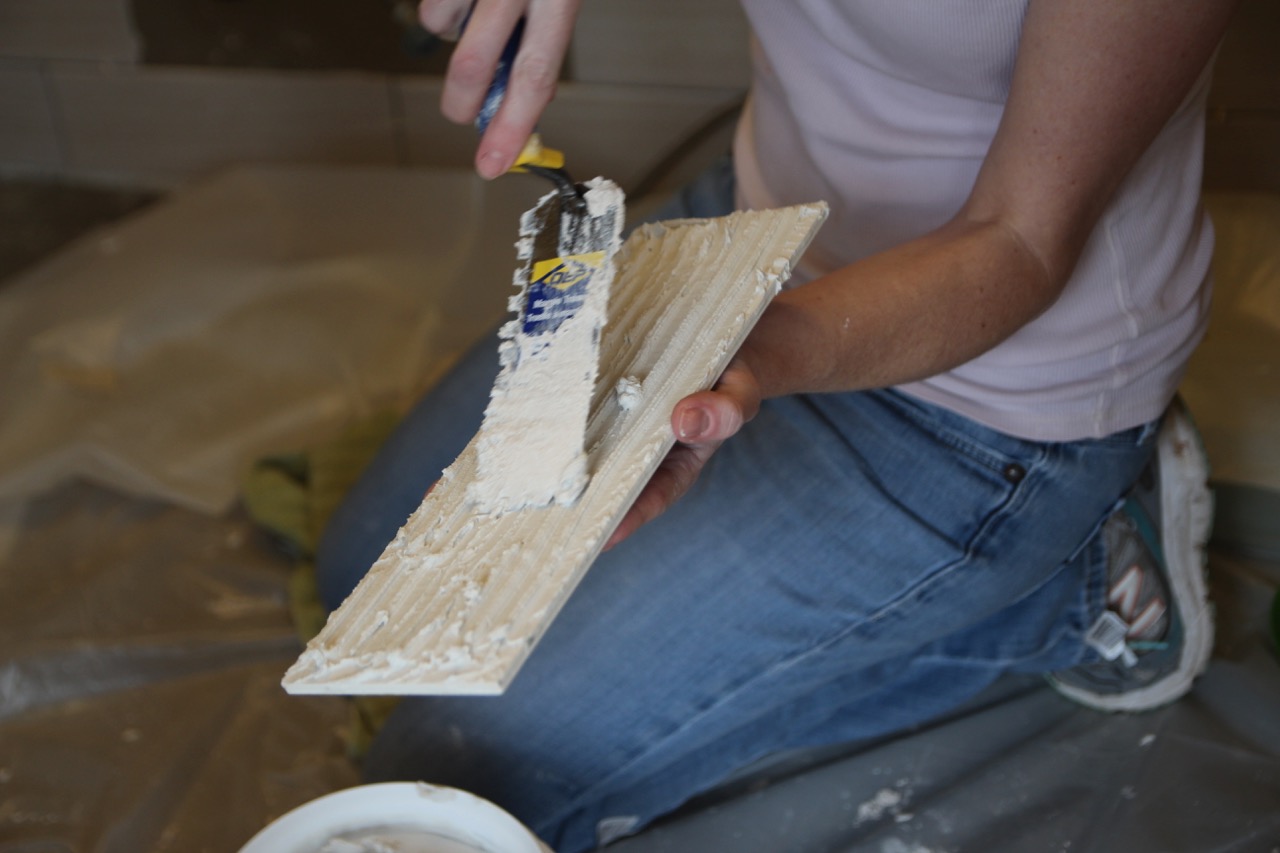
- To stick the tile to the wall, you need to apply Pre-Mixed Thin Set Mortar both to the wall itself, and also to the back side of the tile, using a scraper to make sure you get a thin layer with grooves (as pictured below).
- I think it’s vital to let that bottom row dry completely, to make sure that you have a perfectly level foundation upon which to lay the rest of the tile.
- To keep the tiles perfectly spaced, buy little plastic thingamajigs that are conveniently called “spacers,” and insert them between the tiles both horizontally and vertically. Like this:

Important note: If you’re tiling an area that’s going to get wet (the inside of a shower, for example), you’re going to need to make adjustments. And these tiles are placed very close together, so Erin and I skipped the grout – but whether or not you need grout is going to depend on the look of your particular project.
Additional costs for tiling:
- Mortar, spacers, misc supplies: $40
- Tile saw rental: $80
Total cost of renovation: $670