Ever see something in a store, and think oh, I could totally make that! And then you realize that there’s a reason why you’re working in, say, ad sales rather than running an adorable little shop in Brooklyn specializing in hand-whittled incense burners shaped like sloths? Because even though hand-whittling may seem like a thing you should be able to do, it actually…isn’t.
Which is all to say that the other day I saw something in a store, and thought oh, I could totally make that!
And then I DID.
#micdrop
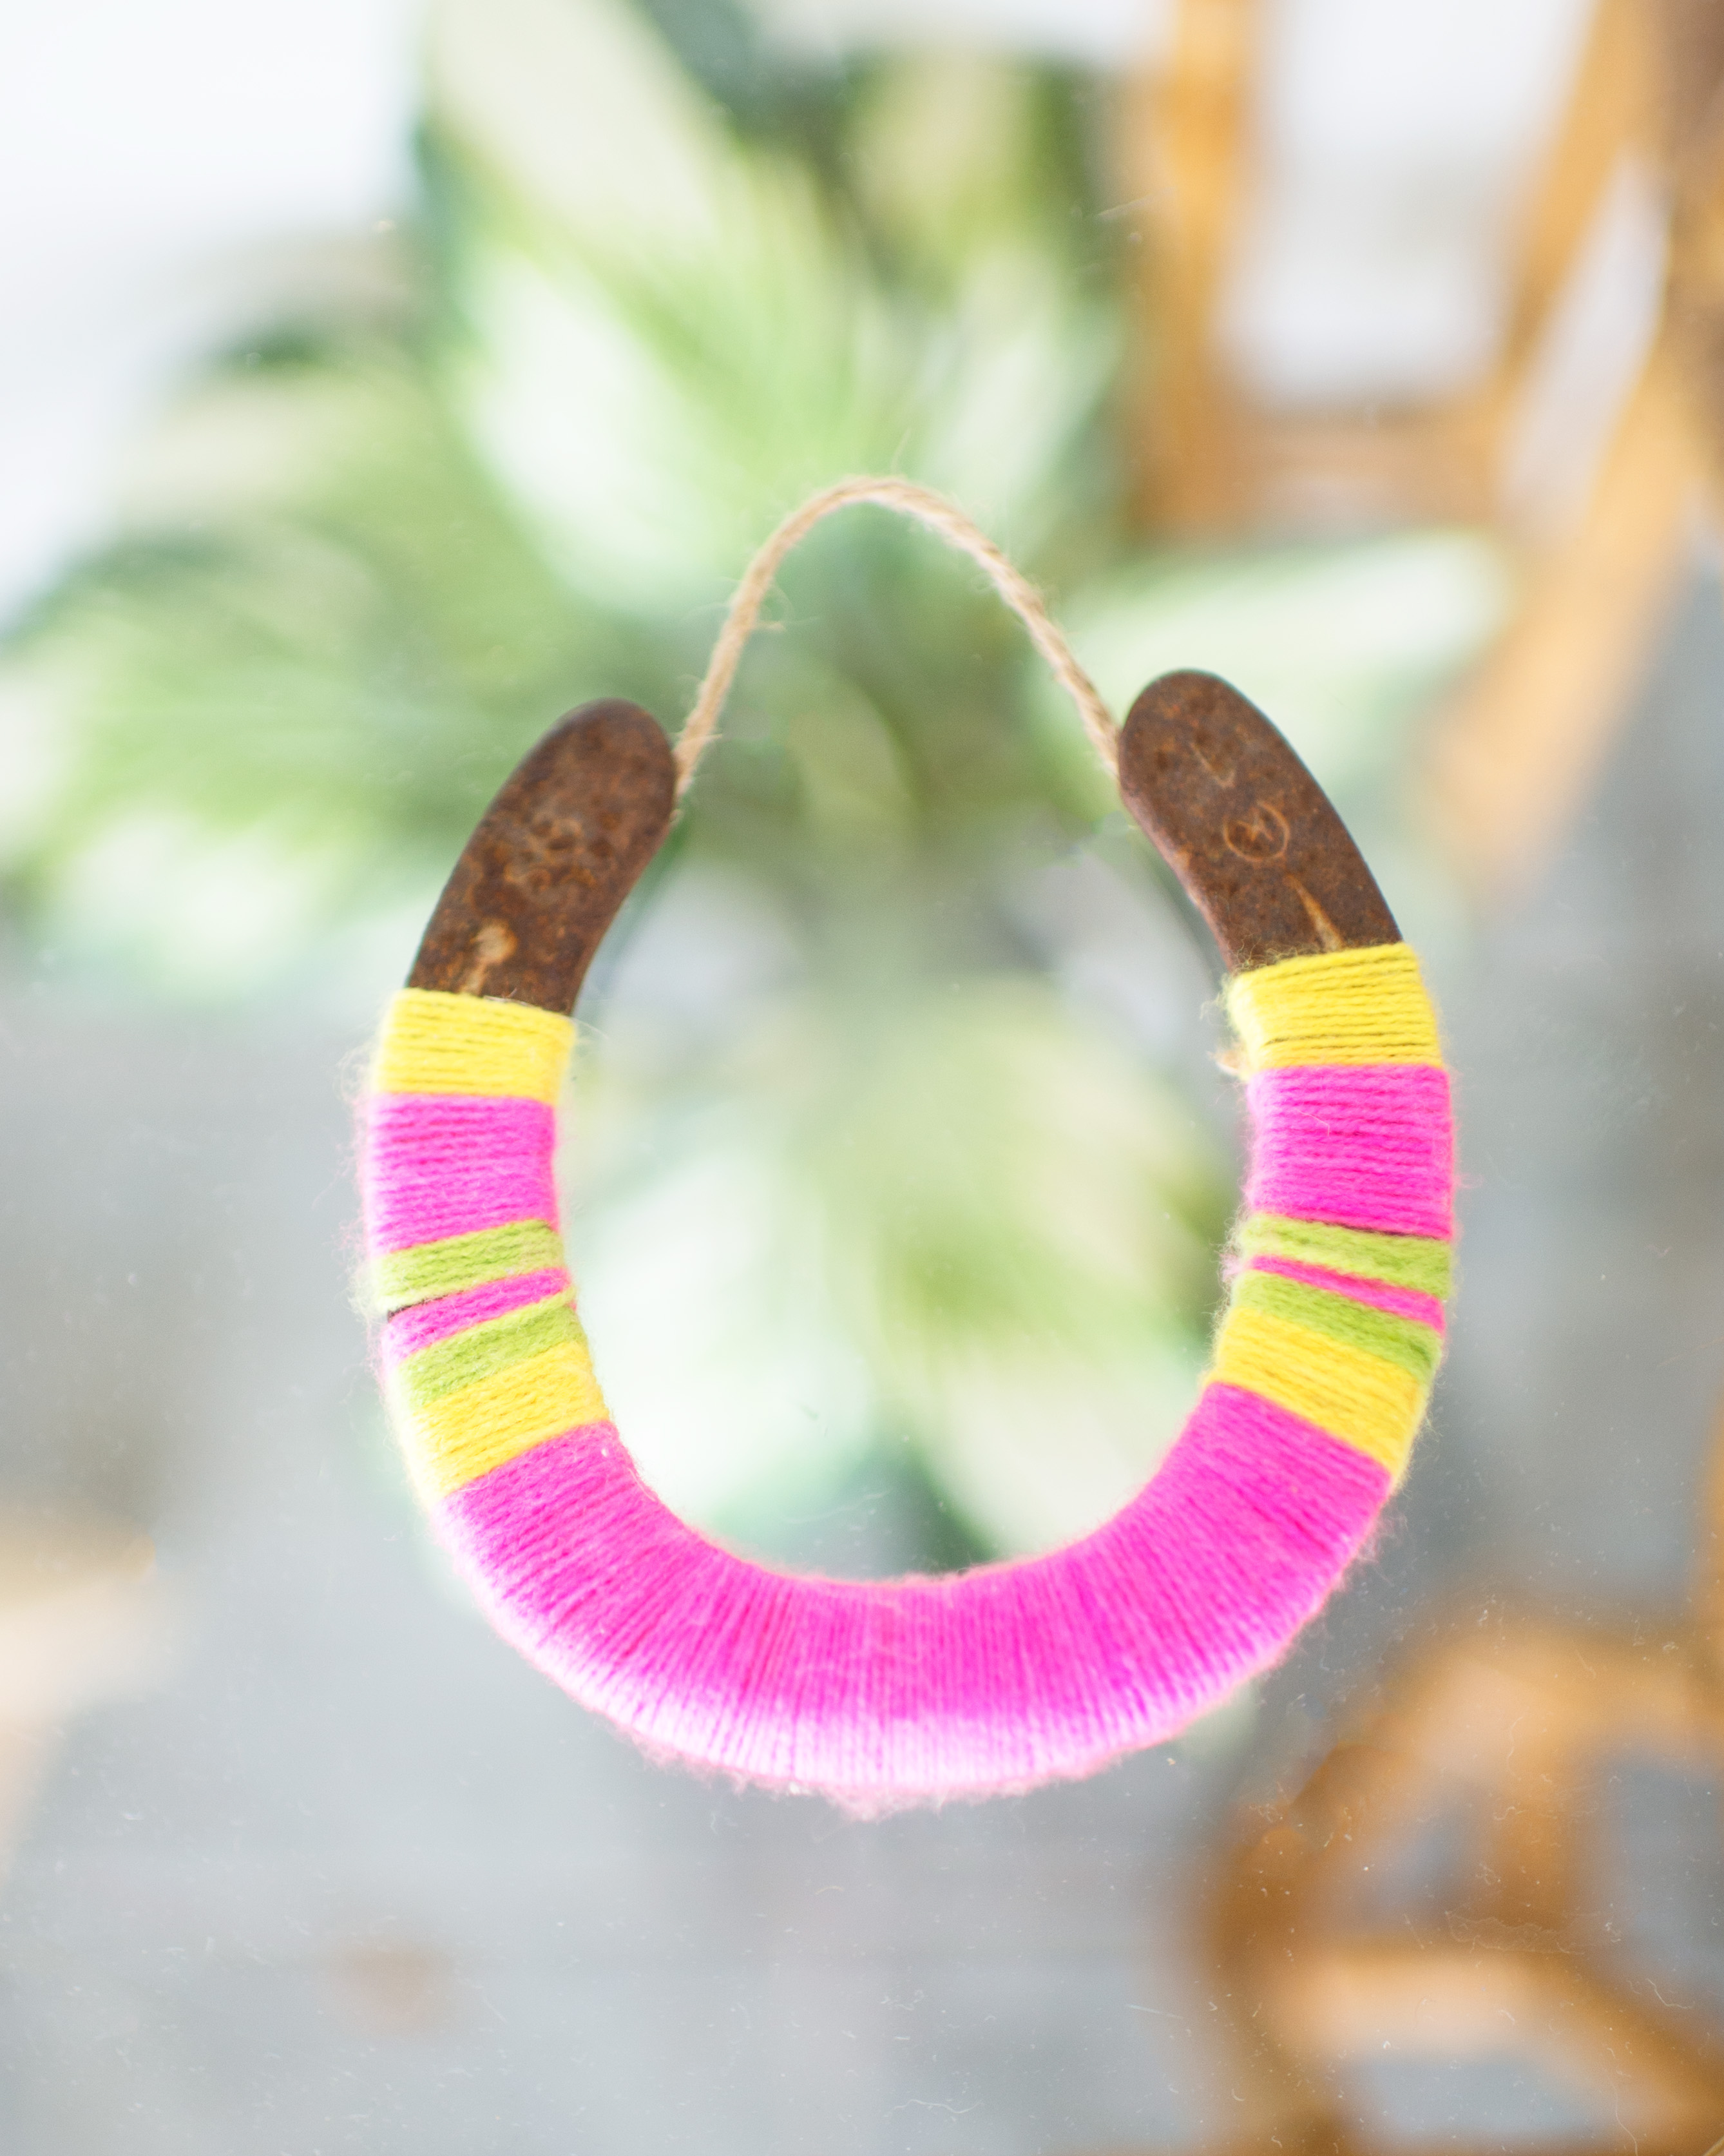
I mean, mine wasn’t nearly as good as the one I saw in the shop, or the ones they sell on Etsy, but it was my first try, so give a girl a break. And also, as crafts go, it’s super easy (once you get your hands on a horseshoe, which actually aren’t all that hard to find – try Etsy or Amazon), really inexpensive, and the sweetest handmade housewarming gift I can personally think of.
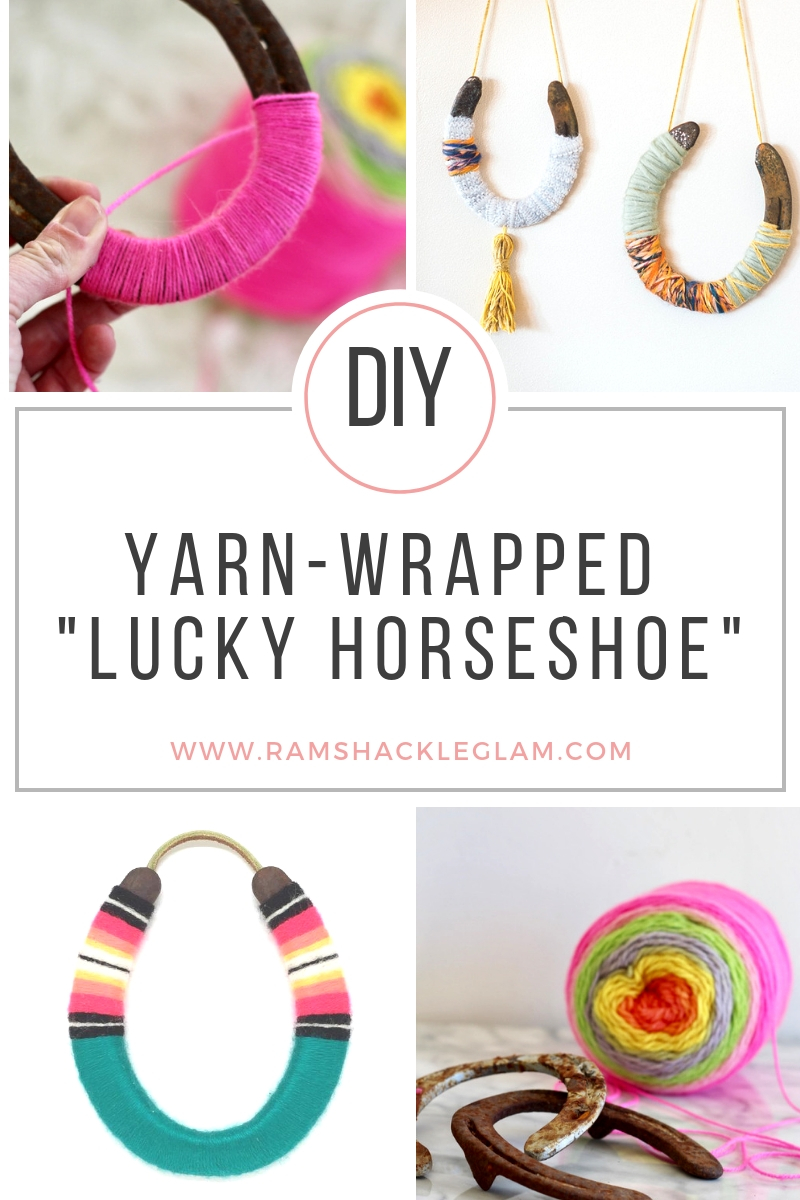
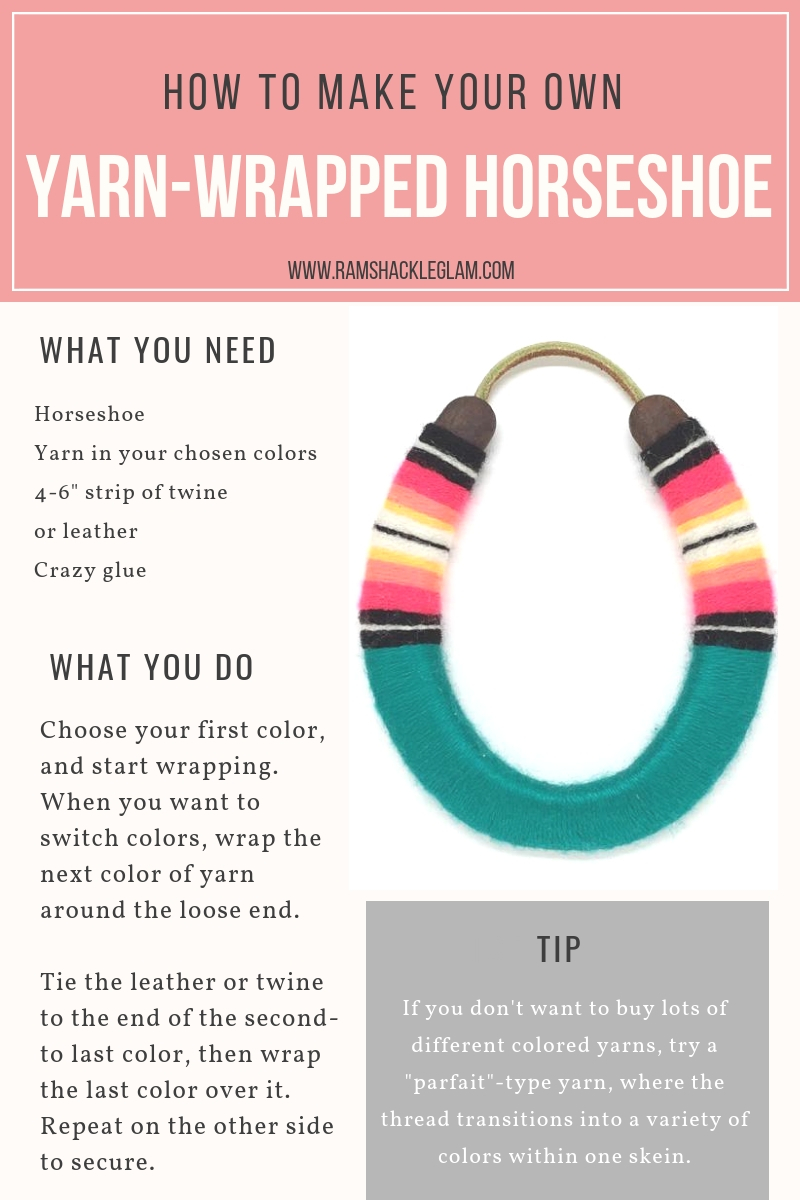
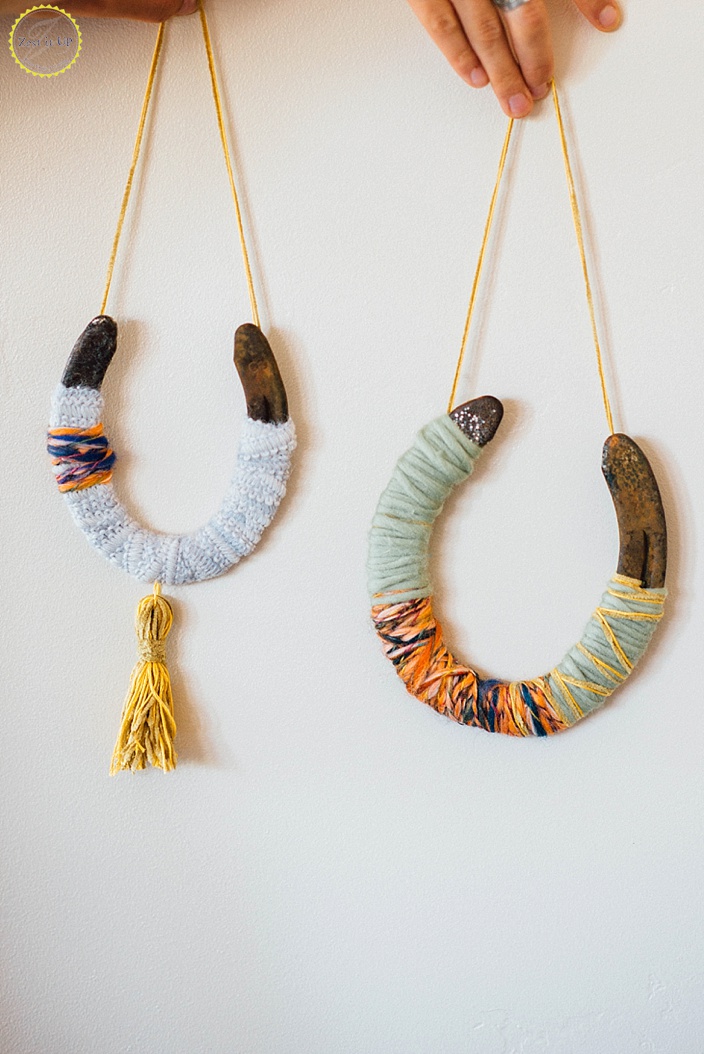
DIY YARN-WRAPPED LUCKY HORSESHOE
What You Need:
- Horseshoe
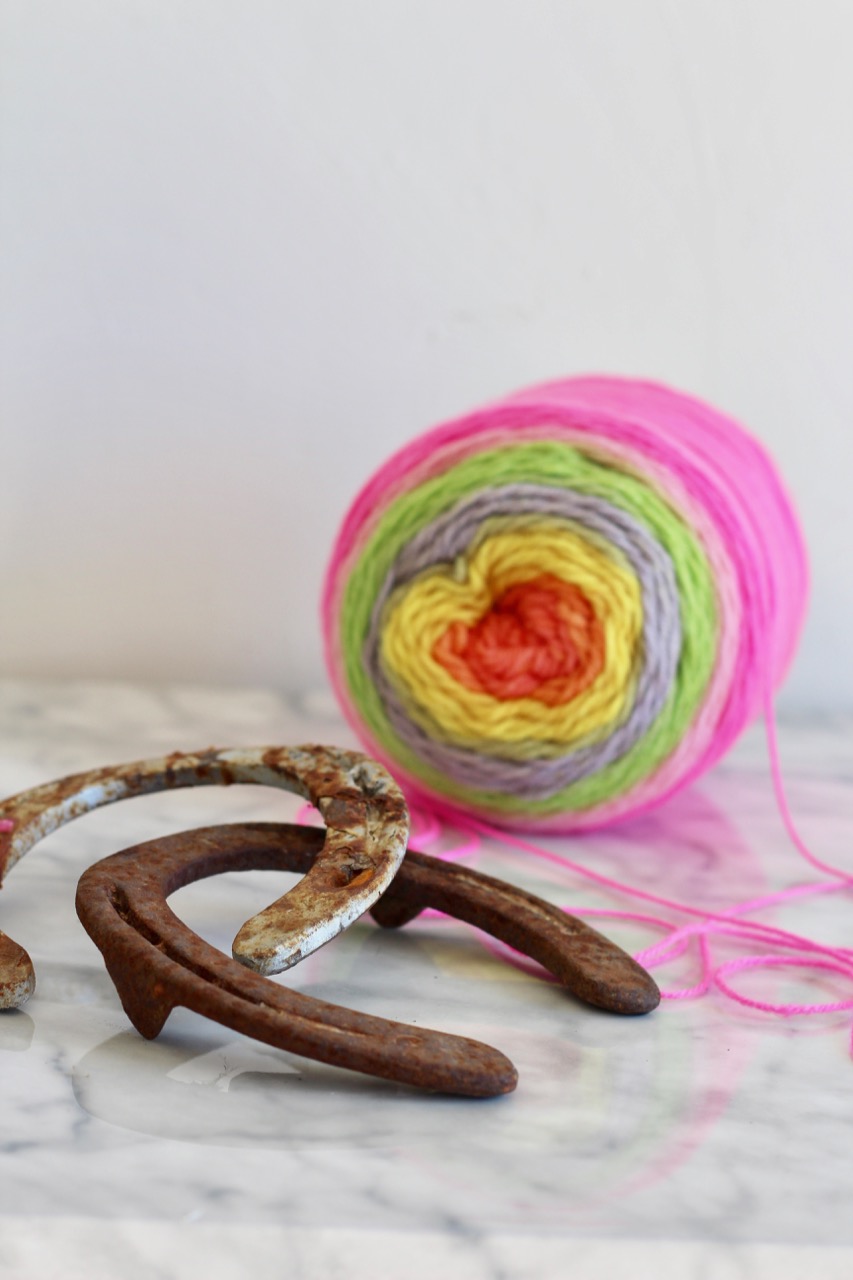
- Yarn in the colors of your choice (tip: if you don’t want to buy a whole bunch of different colors, you can buy a parfait-style skein with multiple colors on a single roll, as pictured above)
- Small piece (like 4-6″) of leather or twine for hanging
- Crazy glue (optional, but a good idea IMO)
What You Do:
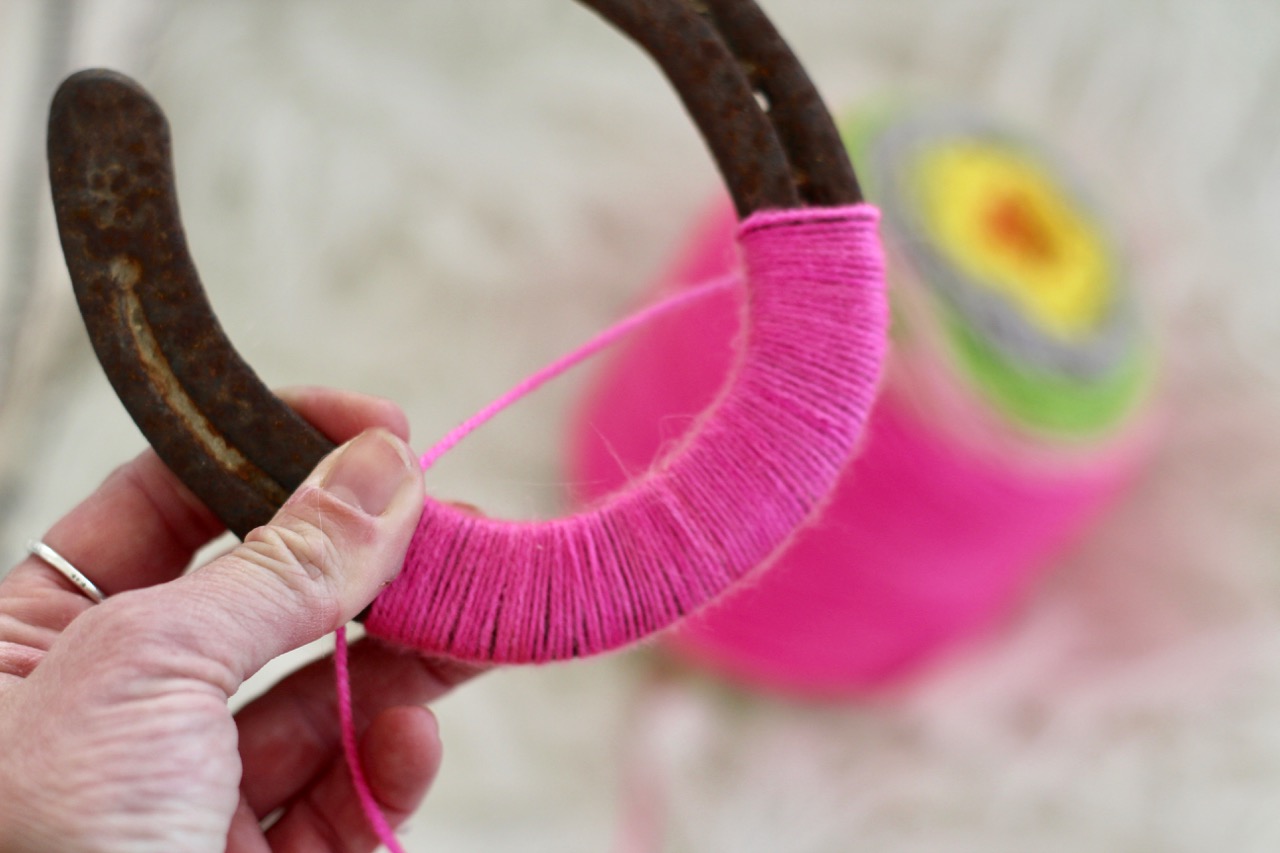
1. Just pick your first color, and start wrapping. You can wrap in a sort of layered, bulky style that’s a little less precise than the look I went for, but a touch easier. If you want the same kind of striped look that I chose, start with one color (wrapping the yarn a few times over the loose end so it stays in place).
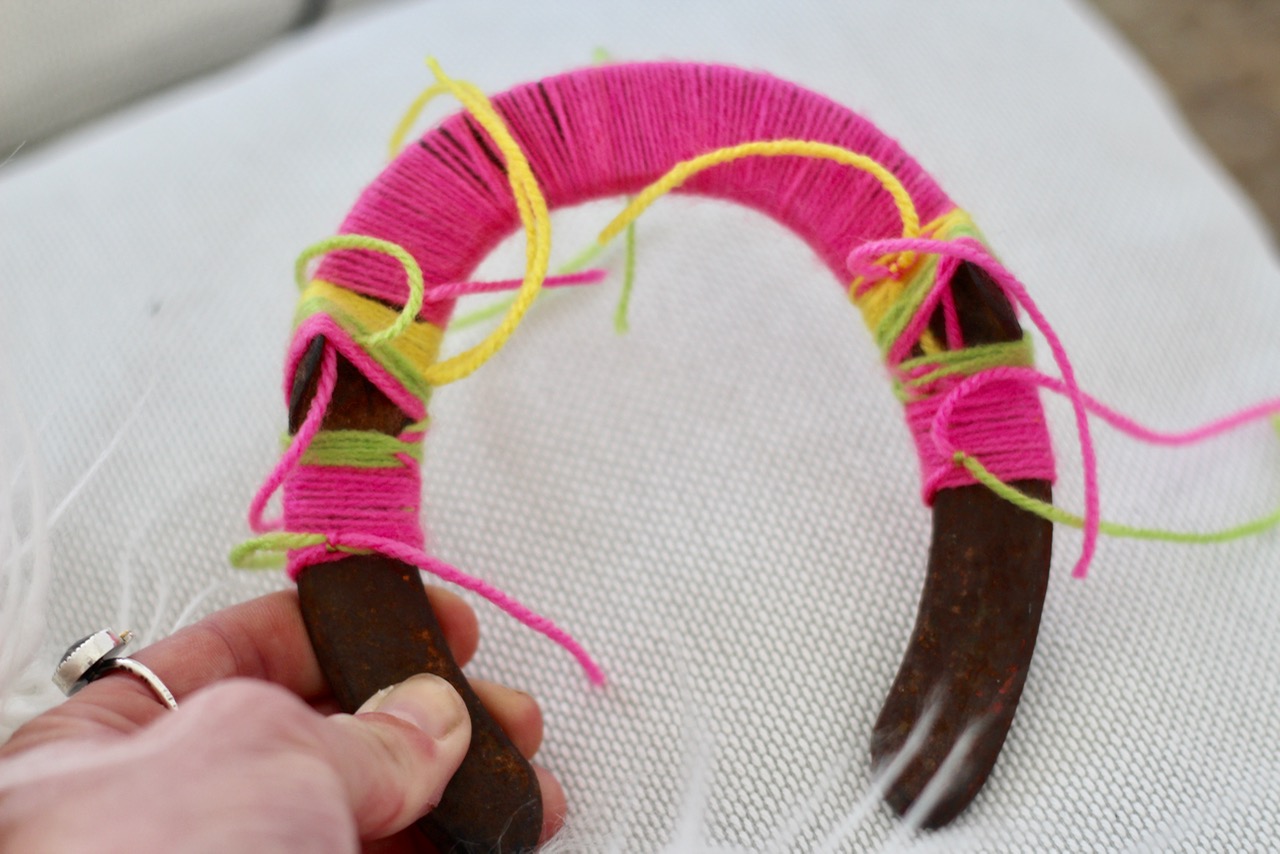
2. To transition to a new color, I experimented a bit – with varied results, as you can see – and found that the most secure way to do this was to snip off the first color into a longish loose end, then start wrapping the second color over the loose end of the first color, and then later tie the loose ends on the back of the horseshoe together before snipping them down.
3. Use the last few yarn-wraps to secure your leather or twine to the horseshoe.
4. Last step, which is optional but that I found helpful: Take some crazy glue, and brush the entire back side of the horseshoe, pressing the loose ends into place and making the whole deal a lot more secure.
Product image of my horseshoe by Cloth & Stone. Bottom image via.
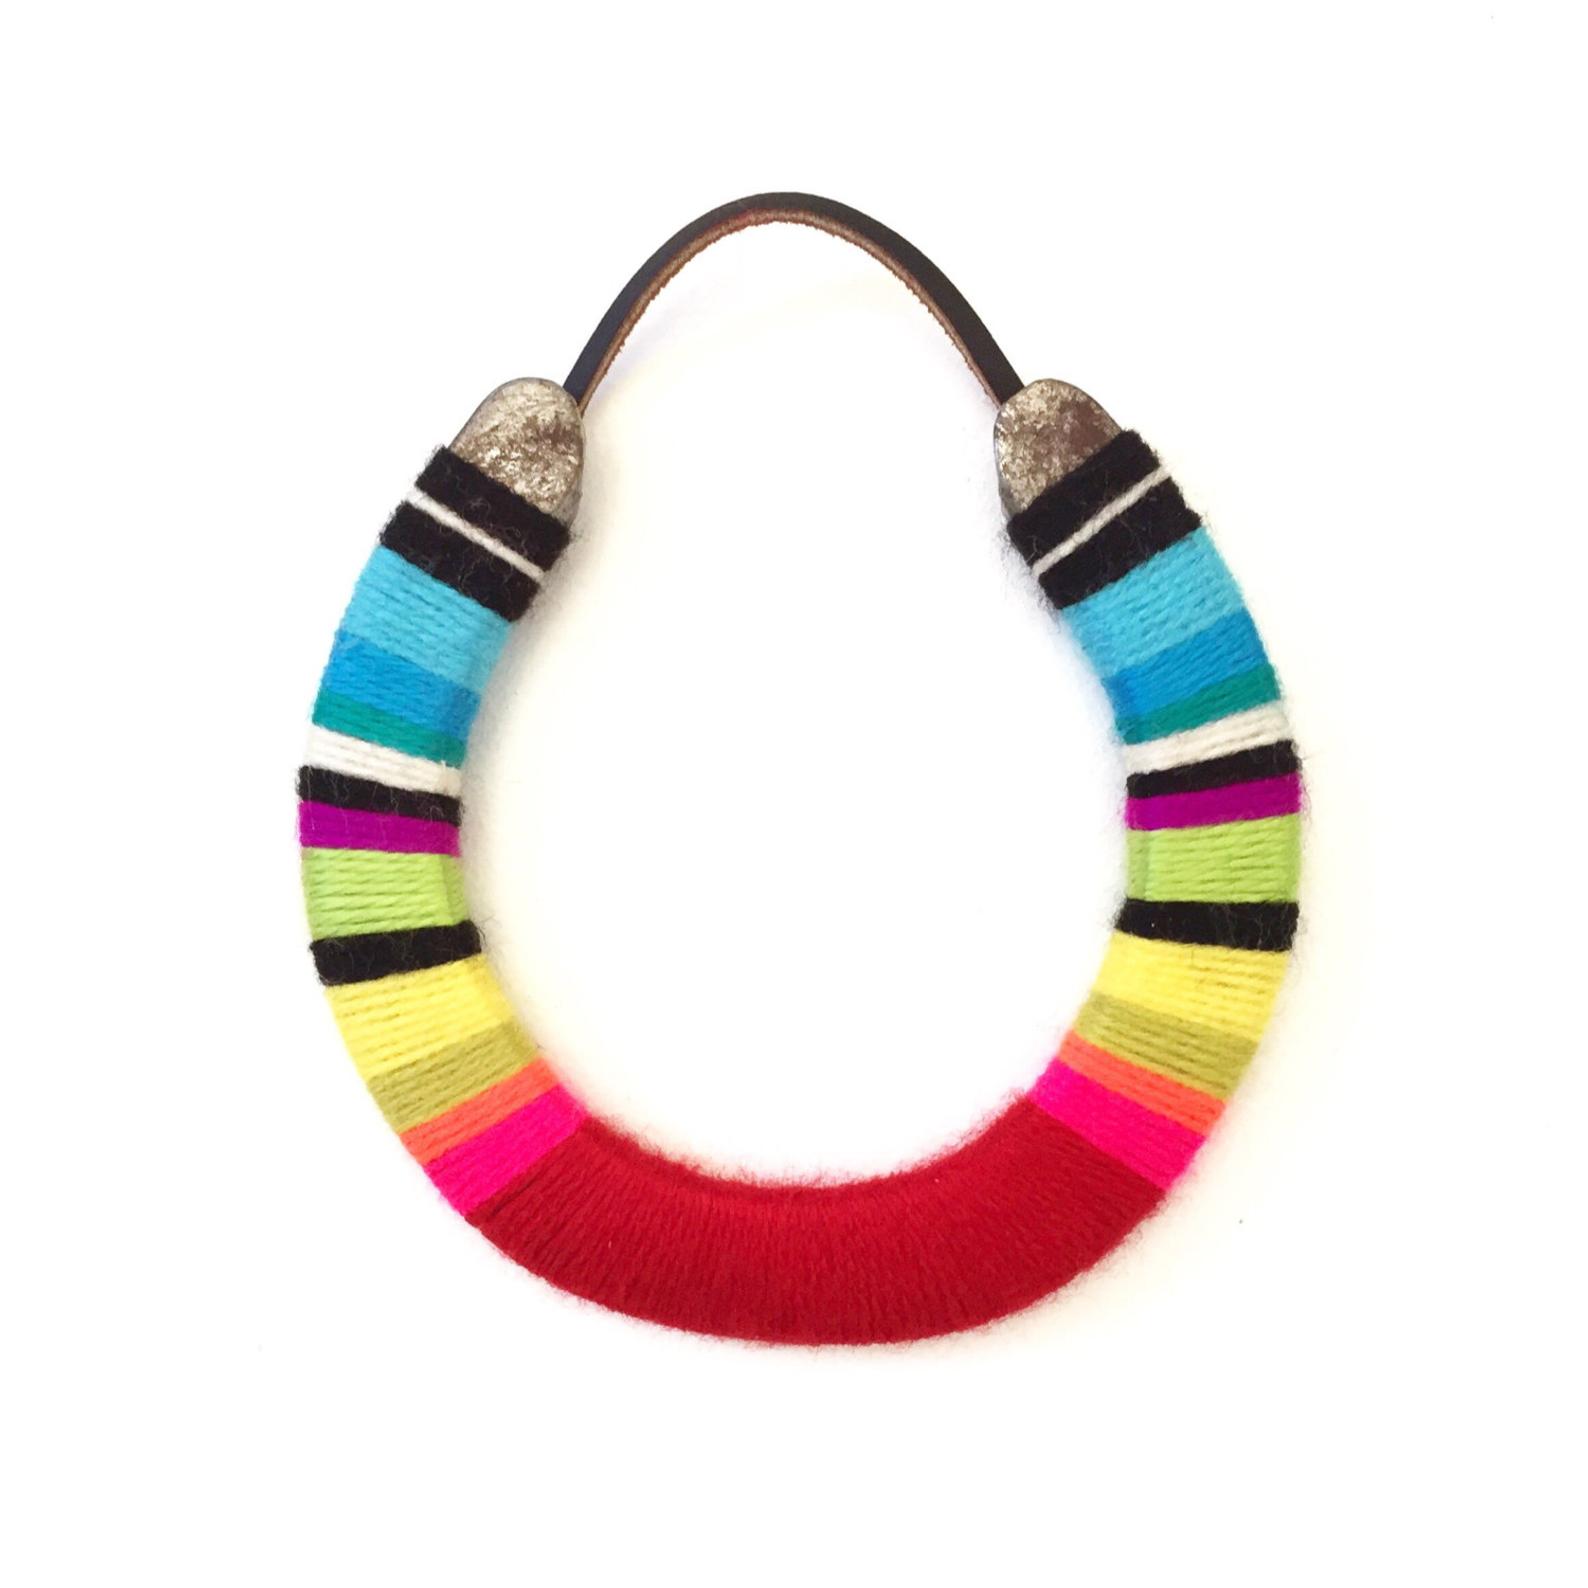
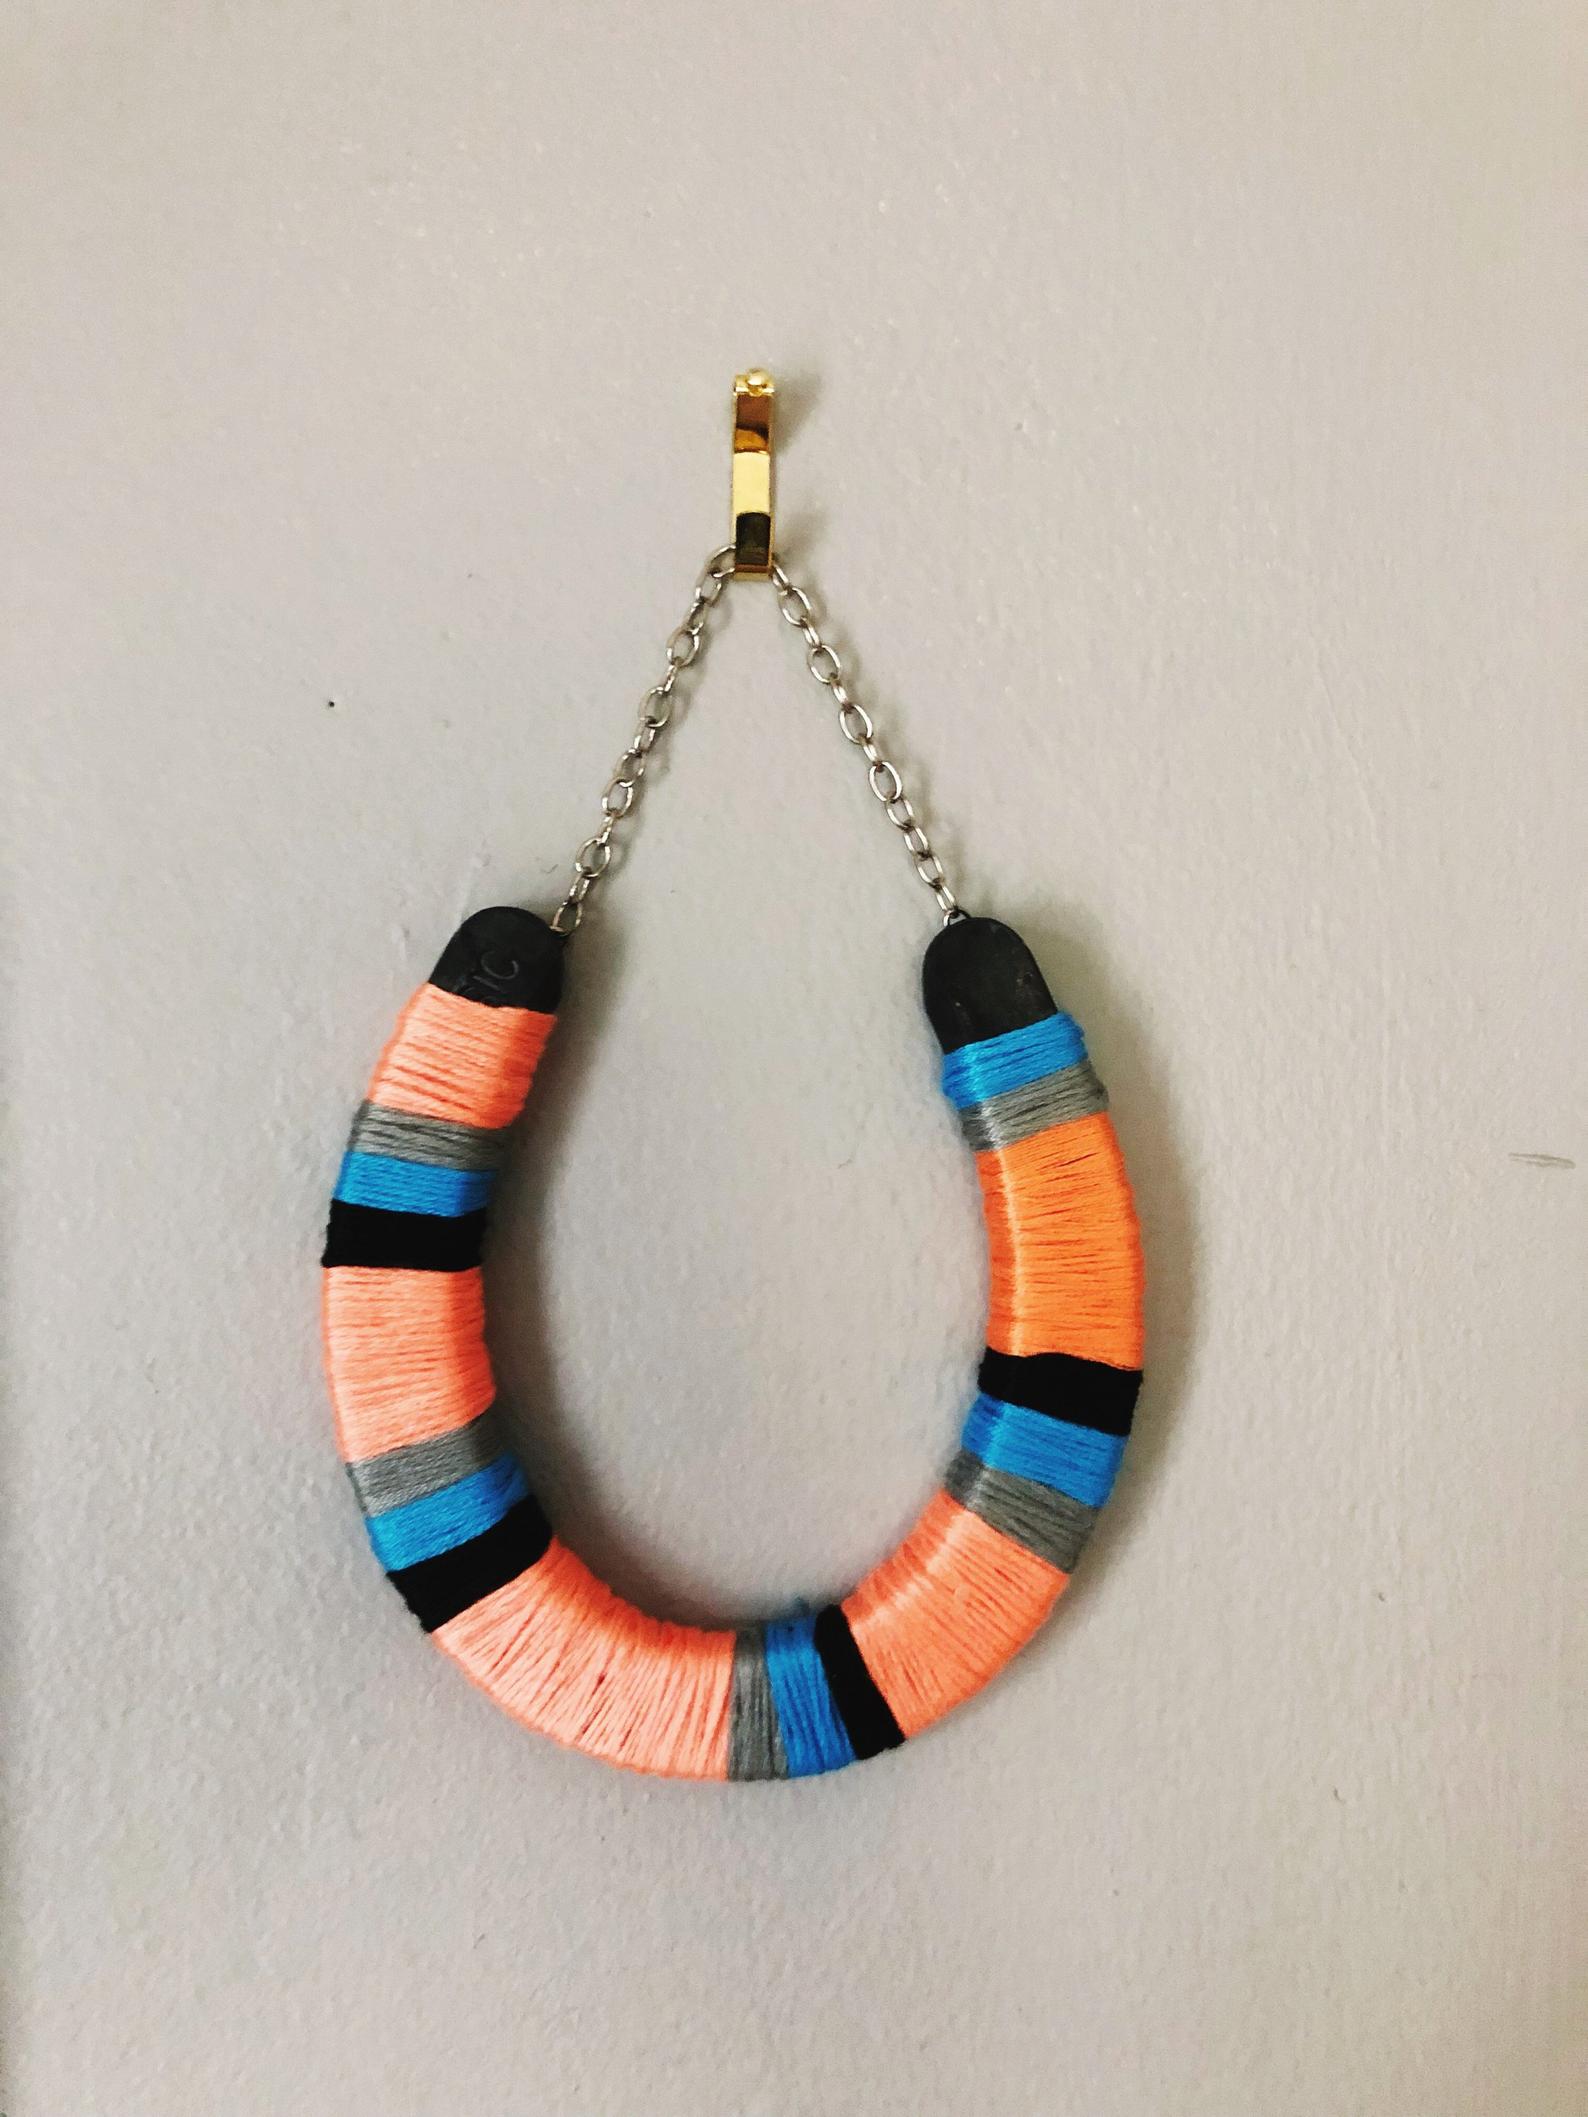
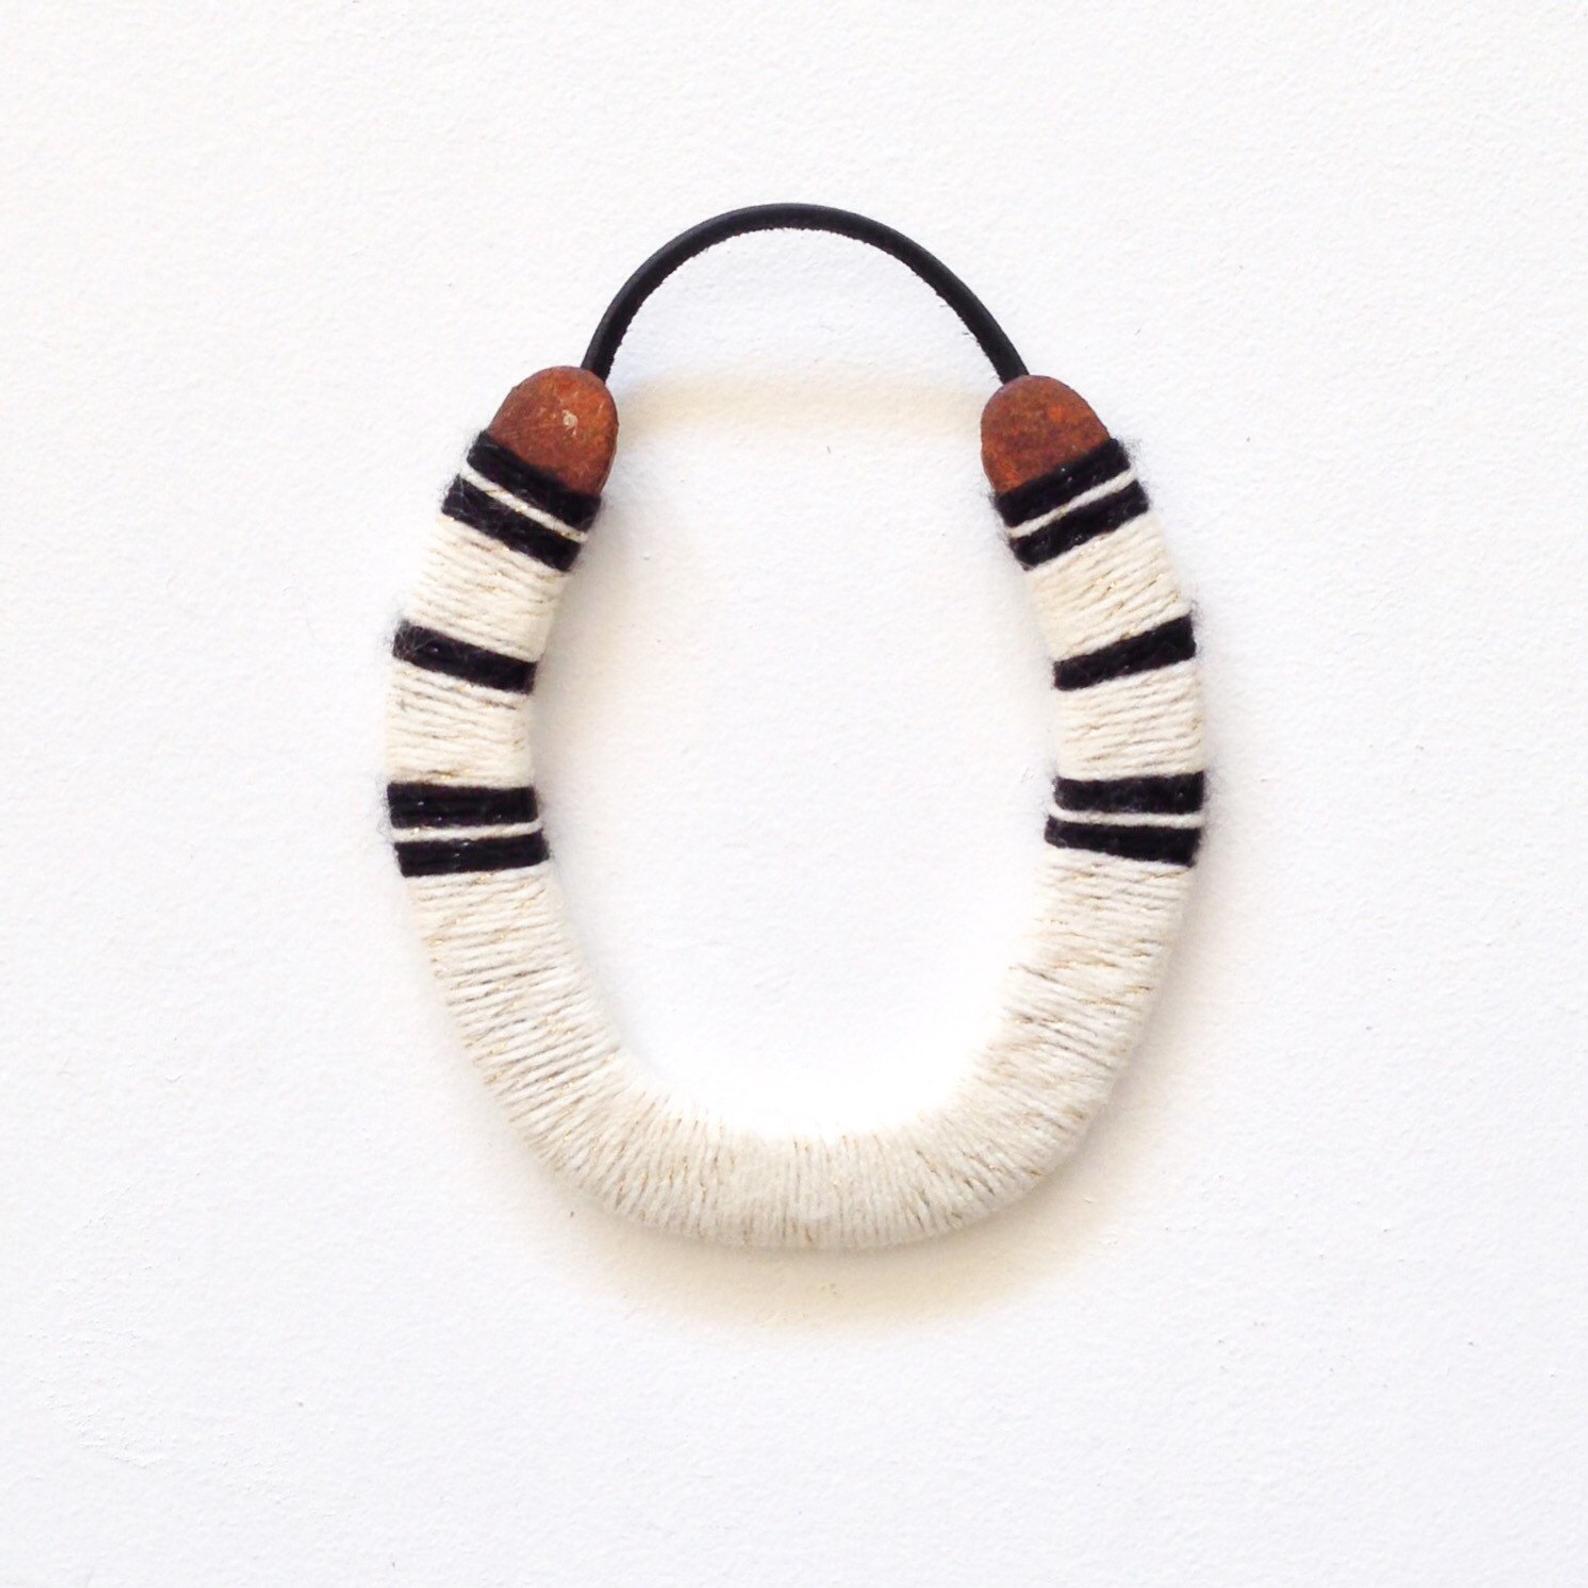
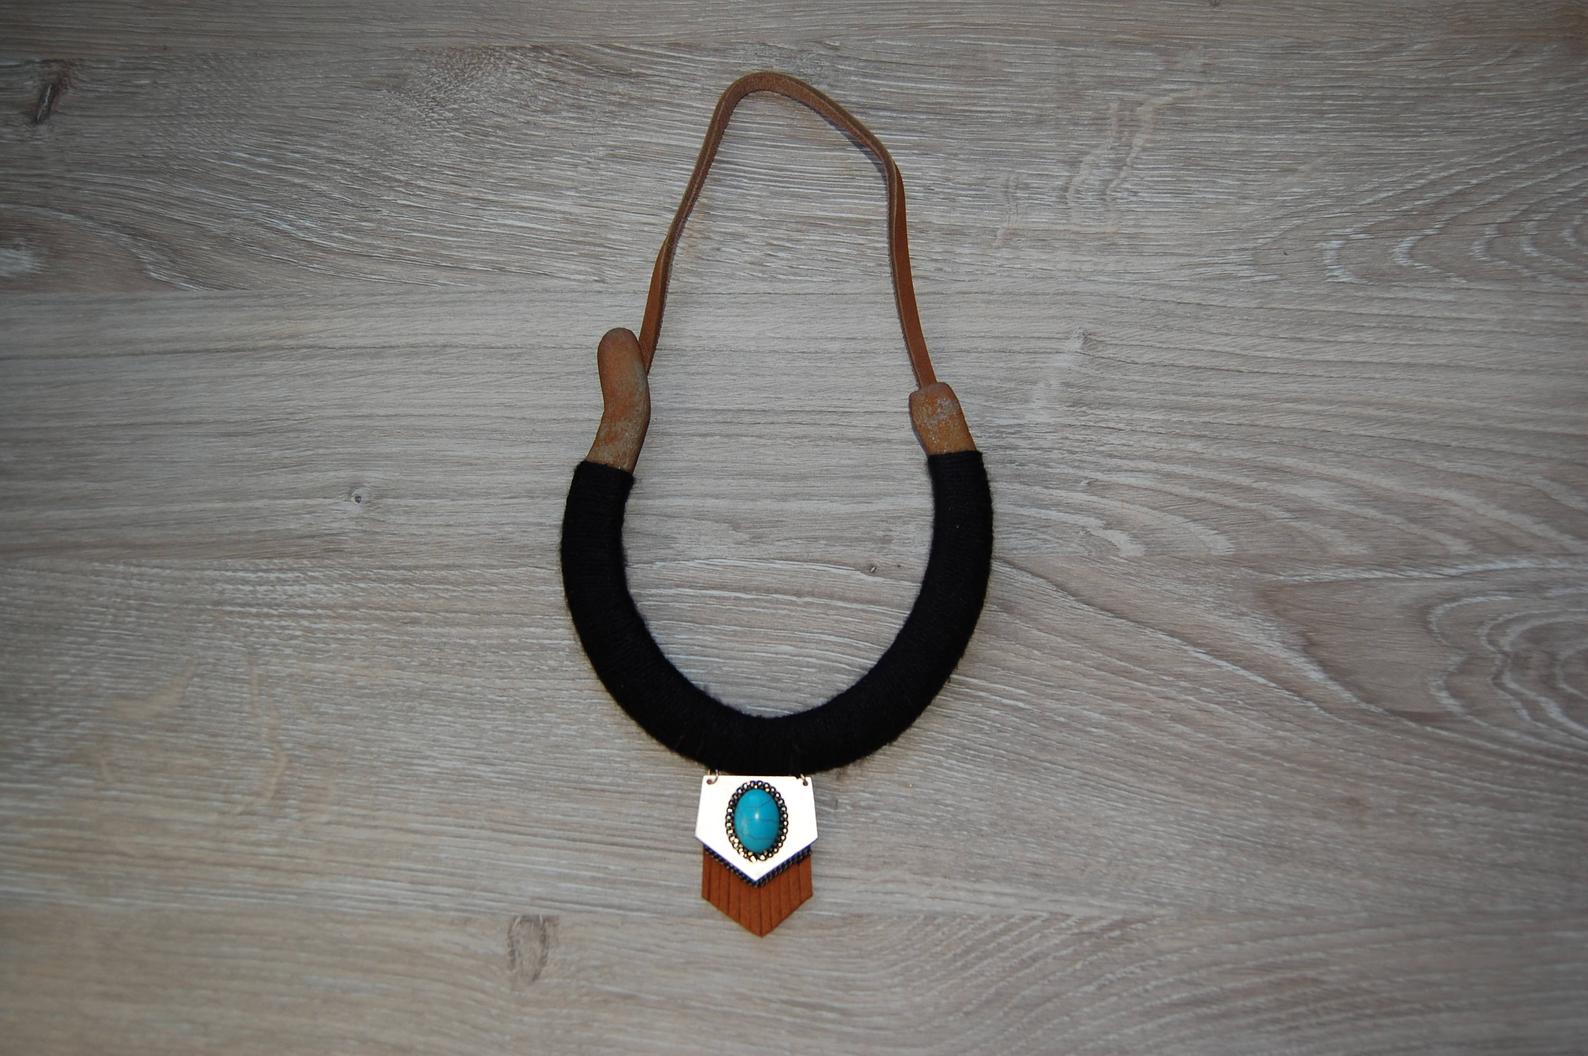
Some more styles are below, for inspiration (and I put a “where to buy” link for each in case you just want to go ahead and purchase one of these gorgeous things instead of getting all crafty with it).