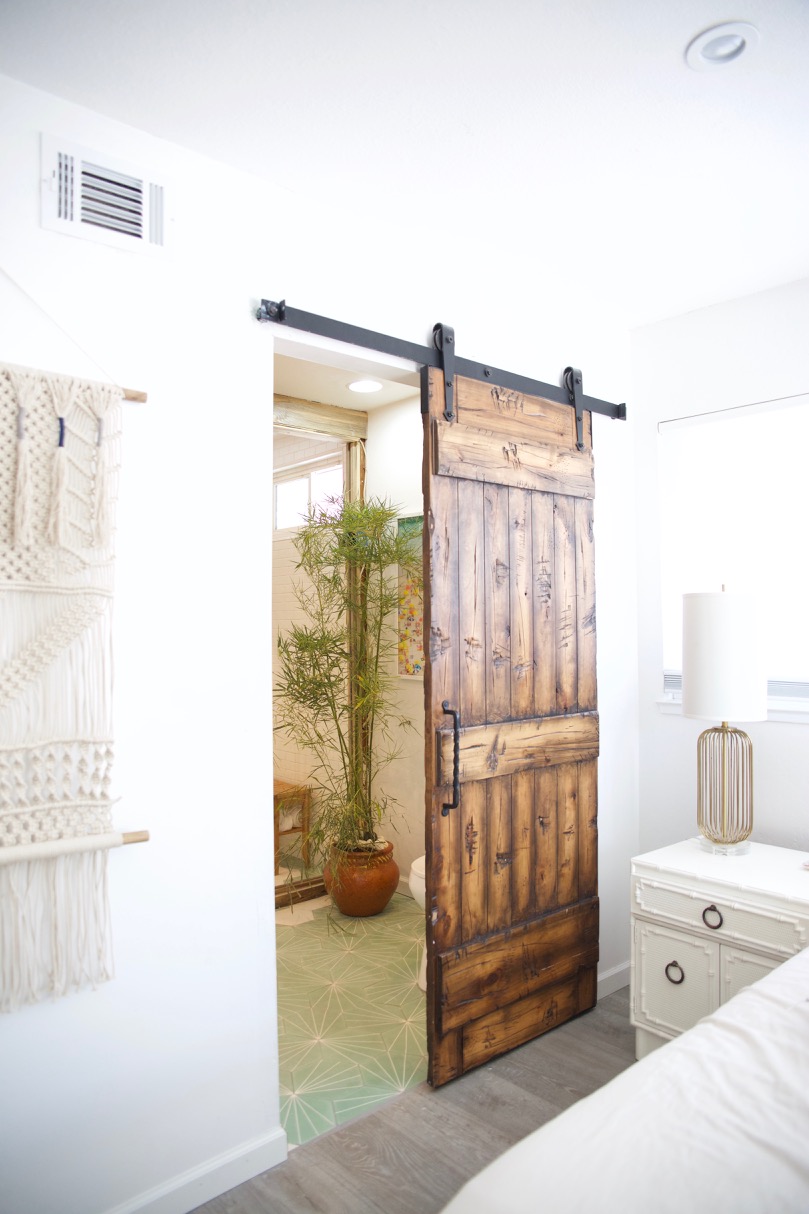
Wait until you see inside.
Awhile back, a reader wrote in to ask me an interesting question: How, she wondered, did I get past the intimidation factor of a redesign? How in the world was I confident enough in my vision to actually…you know…pull the trigger, and make it happen?
The short answer is, unfortunately, that I maintain a (possibly unfounded) belief that if something goes amiss, you can fix it. In other words: it’s just a house. And it’s just decor. And while obviously you should put a lot of thought into a major renovation before kicking it off, the worst thing that can happen is that you don’t like it, and then you either do something else, or you live with it.
That said, how I redesigned my master bathroom from a creepy, claustrophobic hole into one of the brightest, most beautiful spots in our house is probably a master class in what not to do, so let’s get into what I did (and what I did wrong).
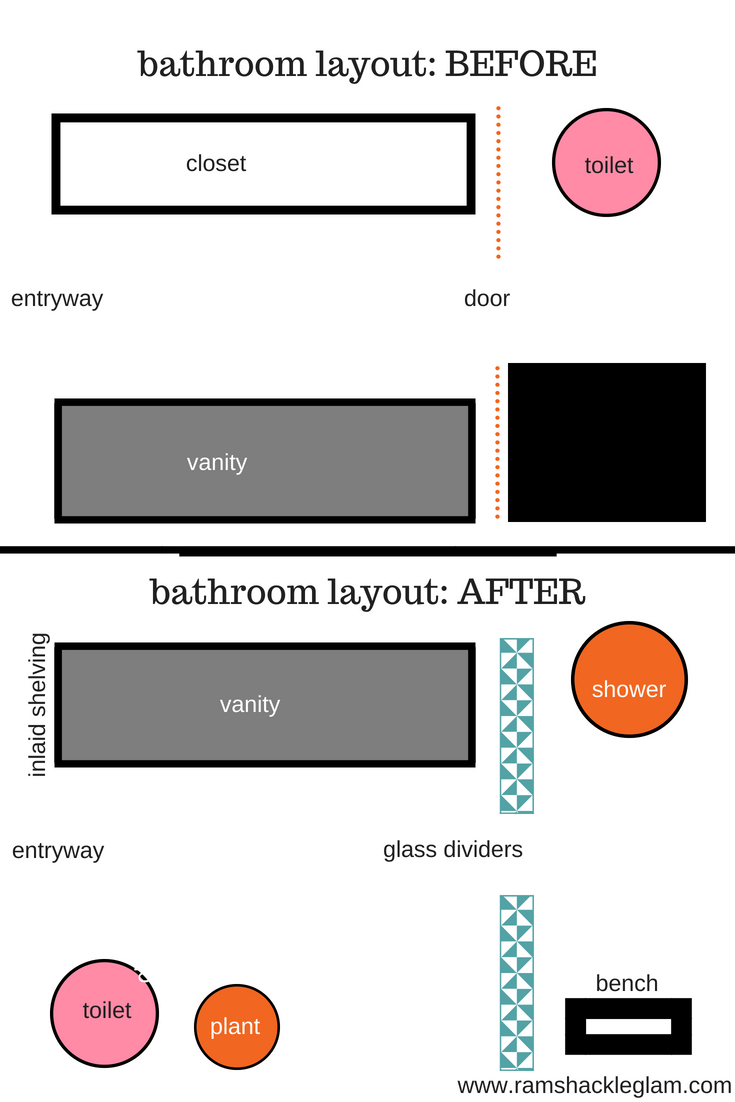
When I started all this, these are the elements I knew for sure I wanted:
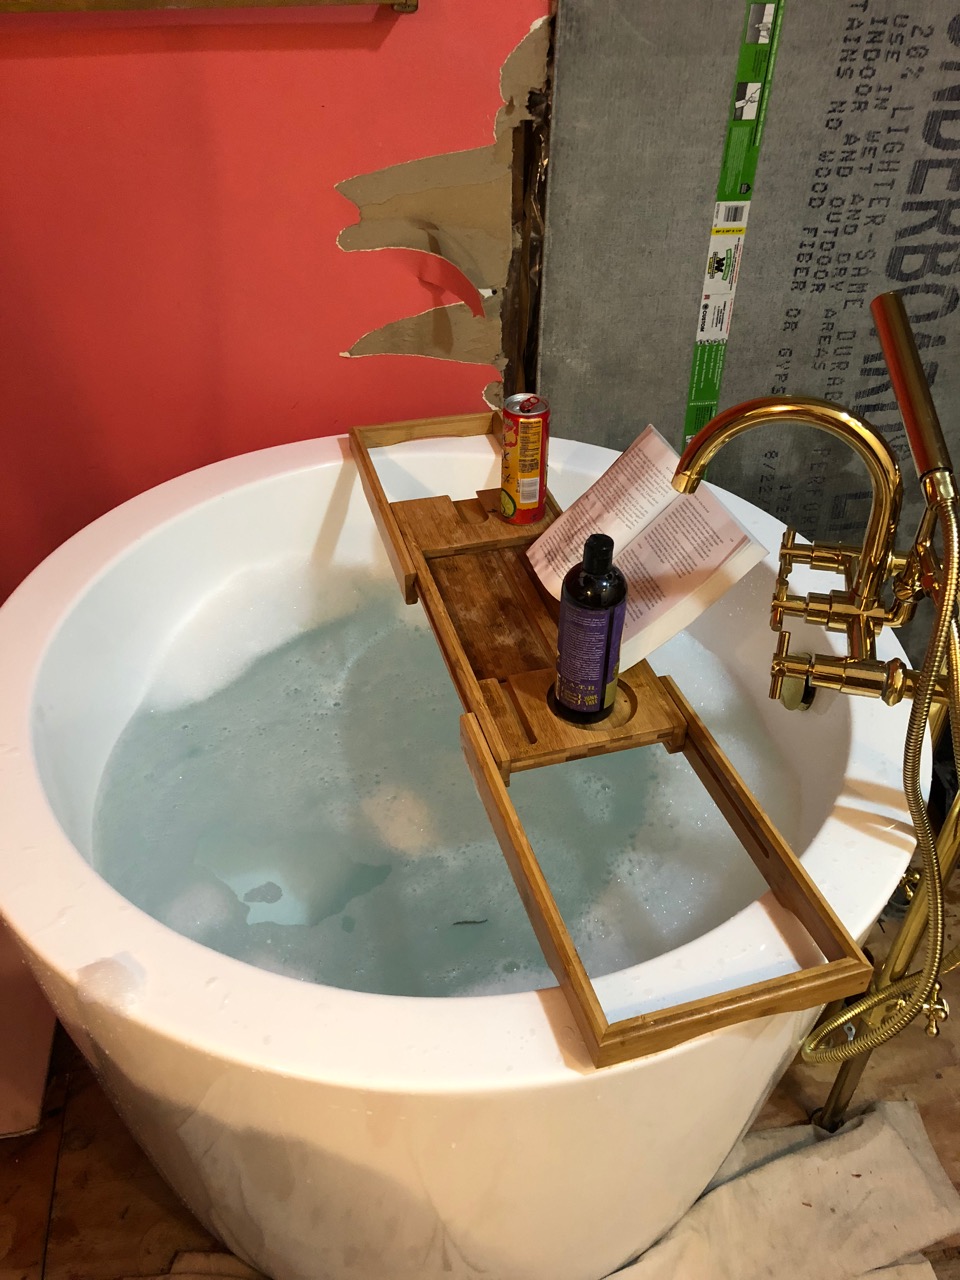
- A Japanese soaking bathtub with a gold gooseneck tub fill;
- A toilet not located next to the Japanese soaking bathtub;
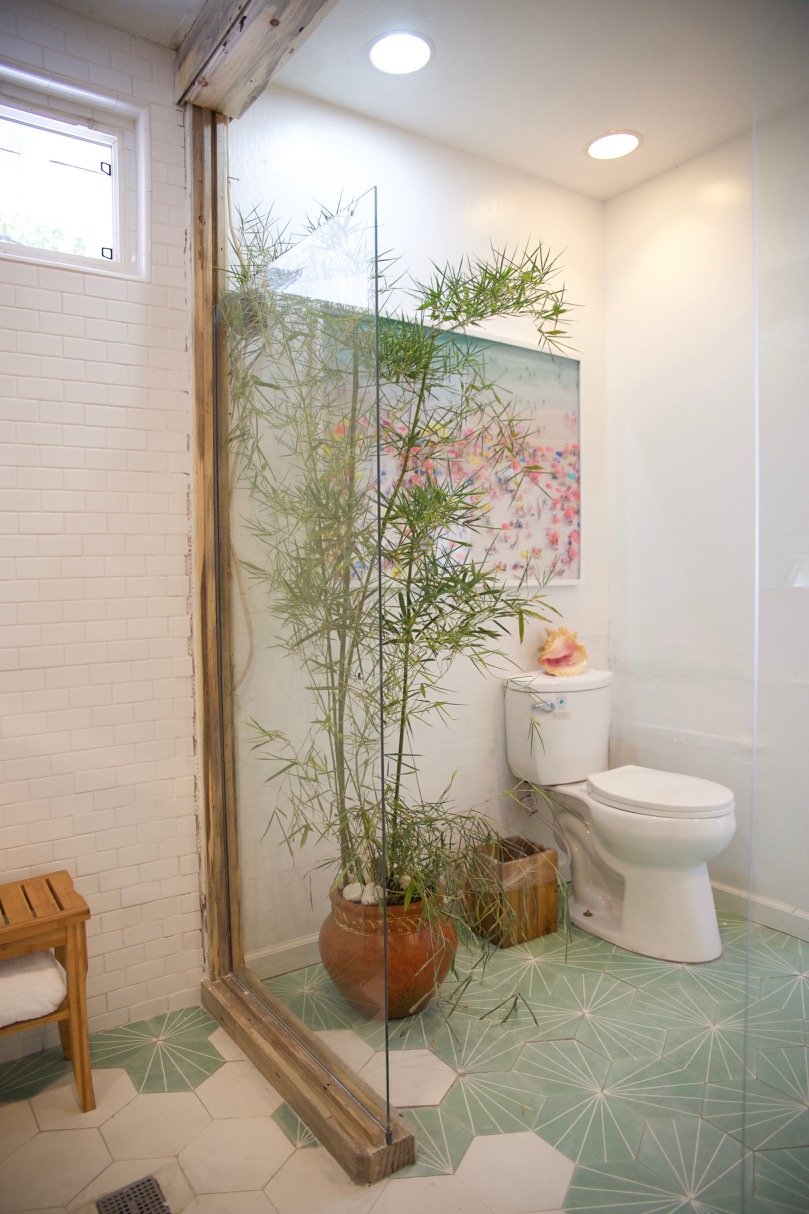
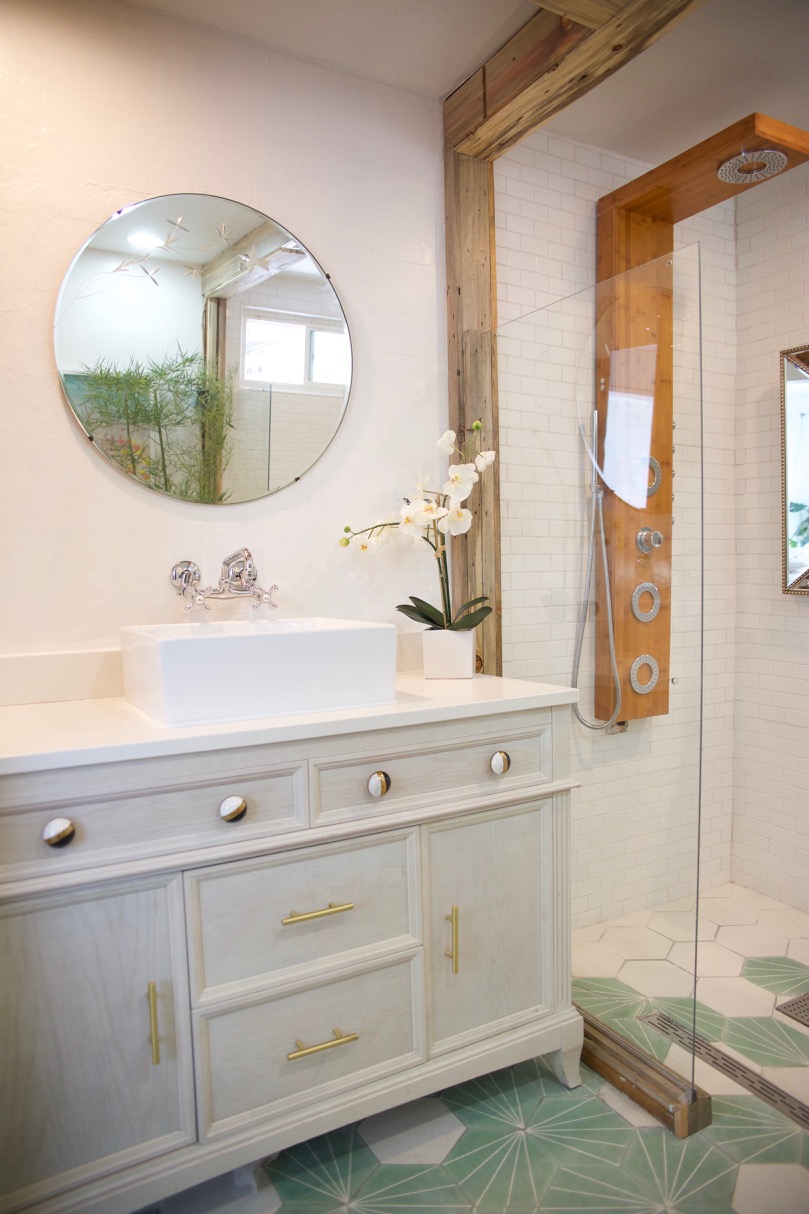
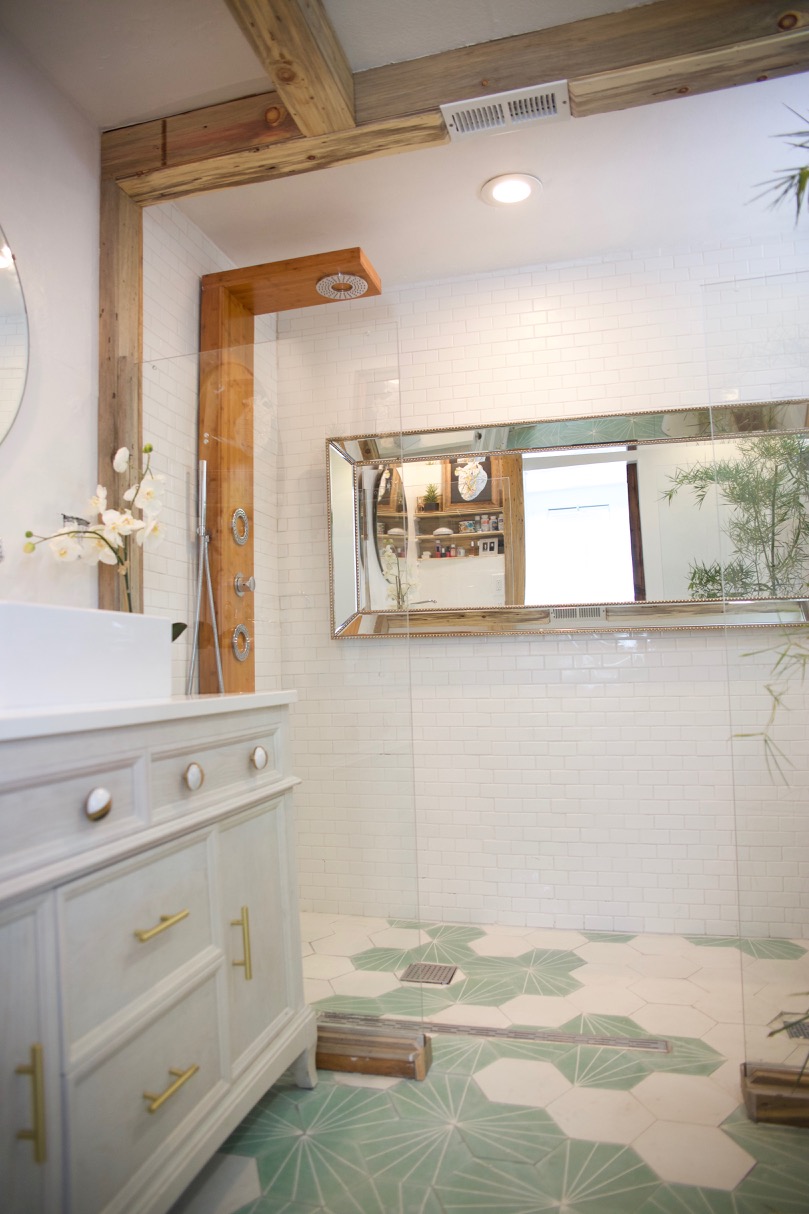
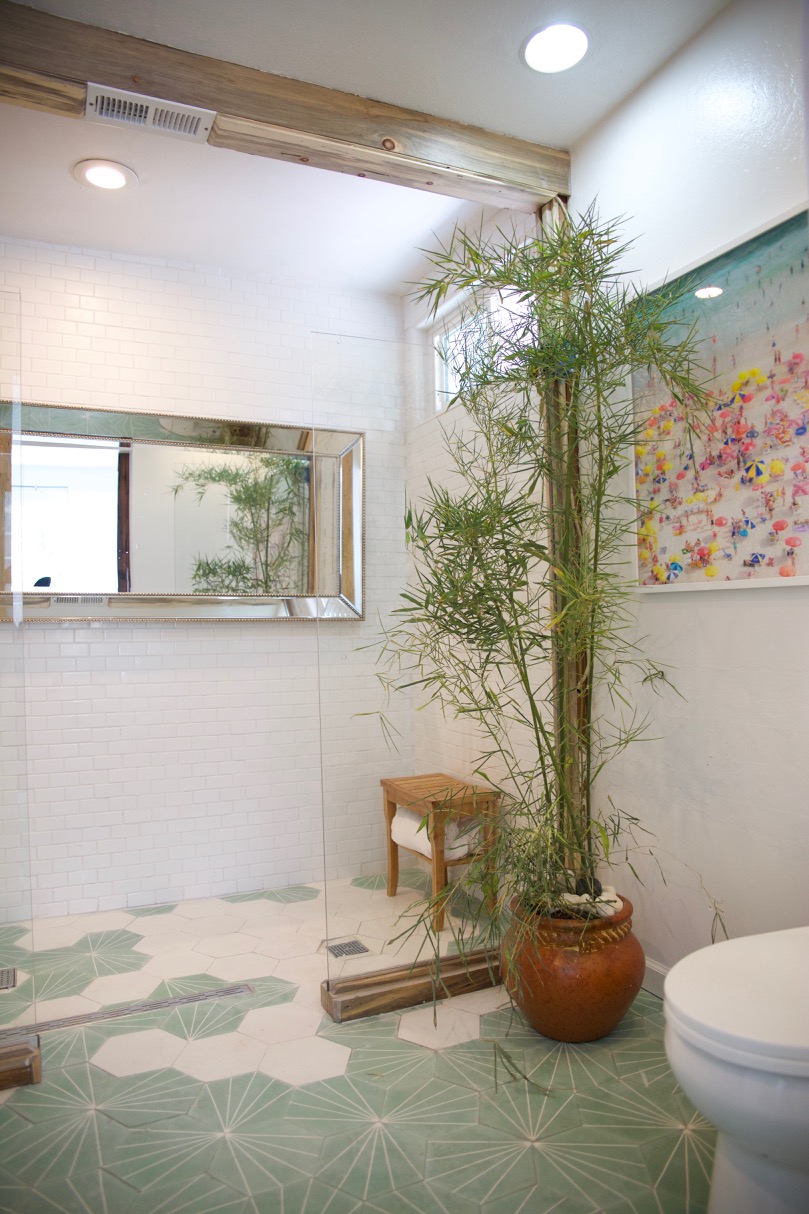
- An open floor plan with mint-green starburst encaustic cement tile throughout (and going up the walls);
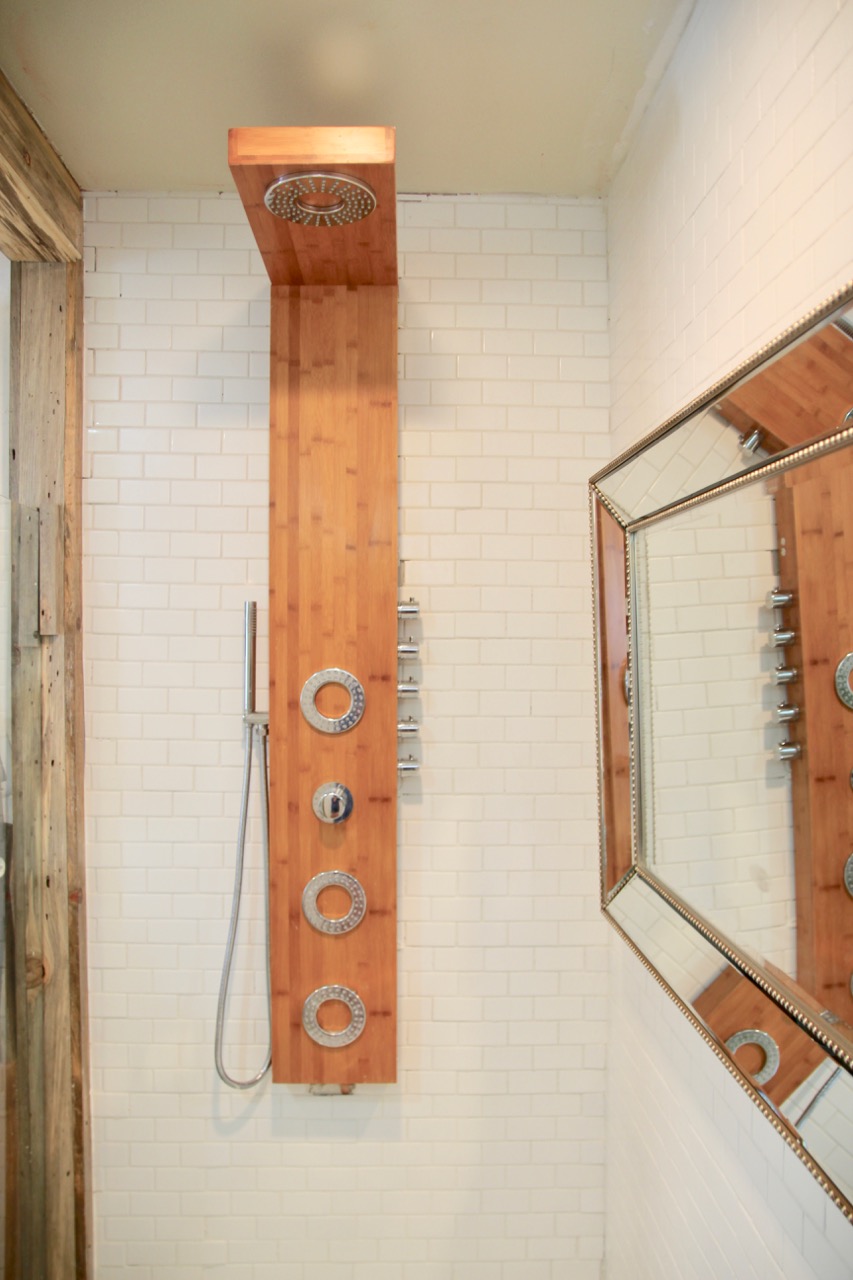
- And a thermostatic rainfall-style shower head (in BAMBOO).
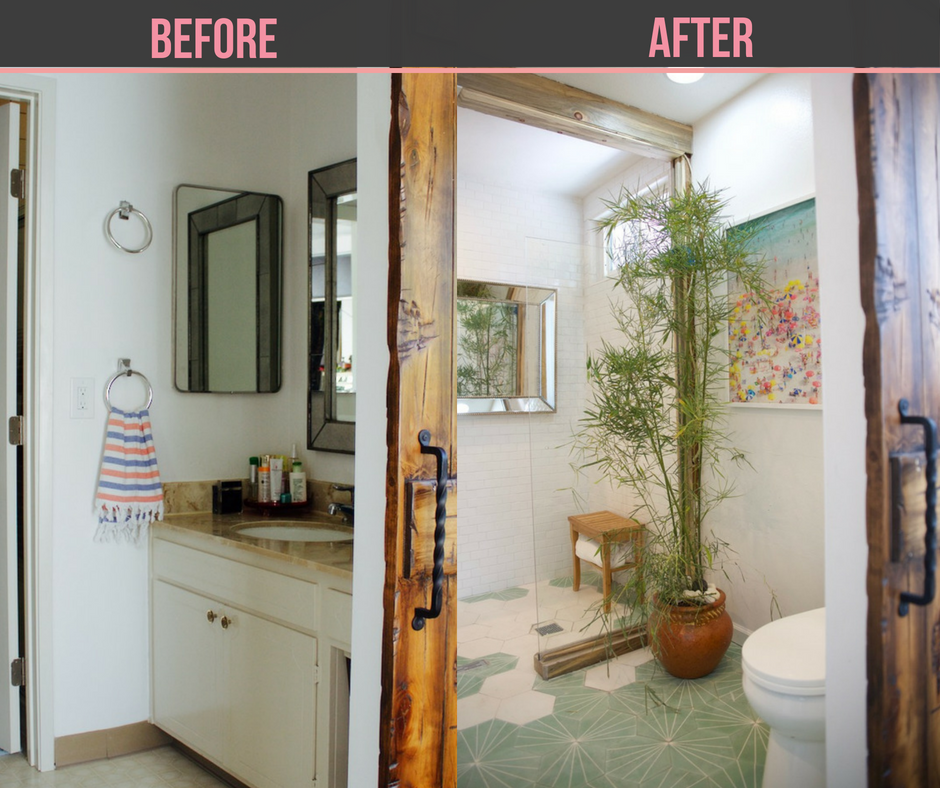
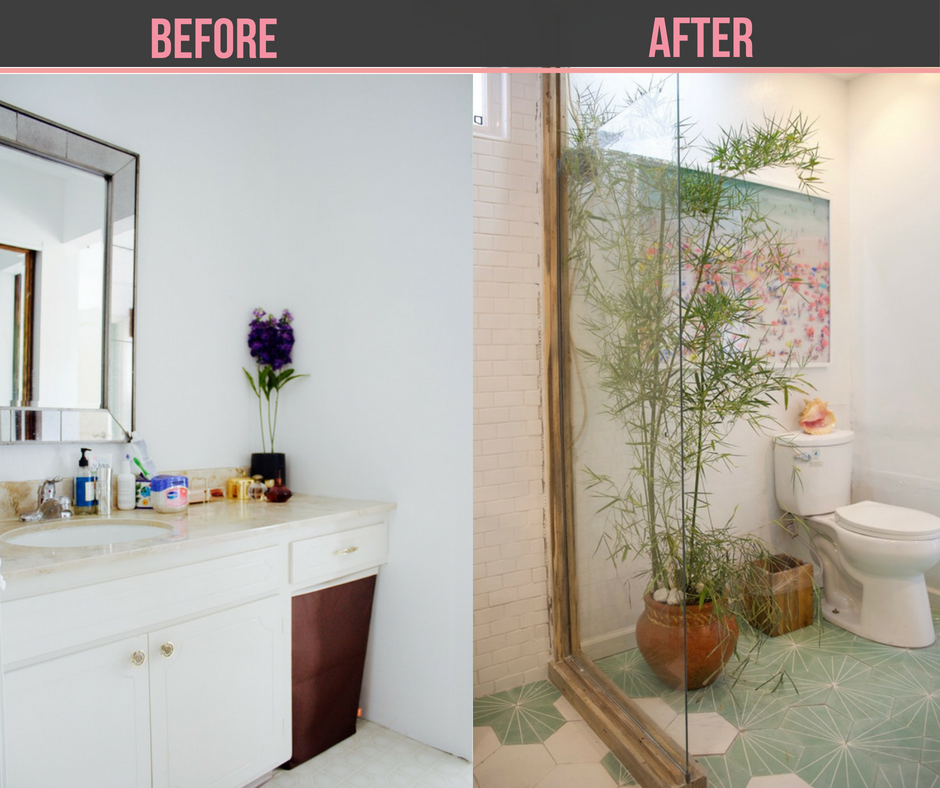
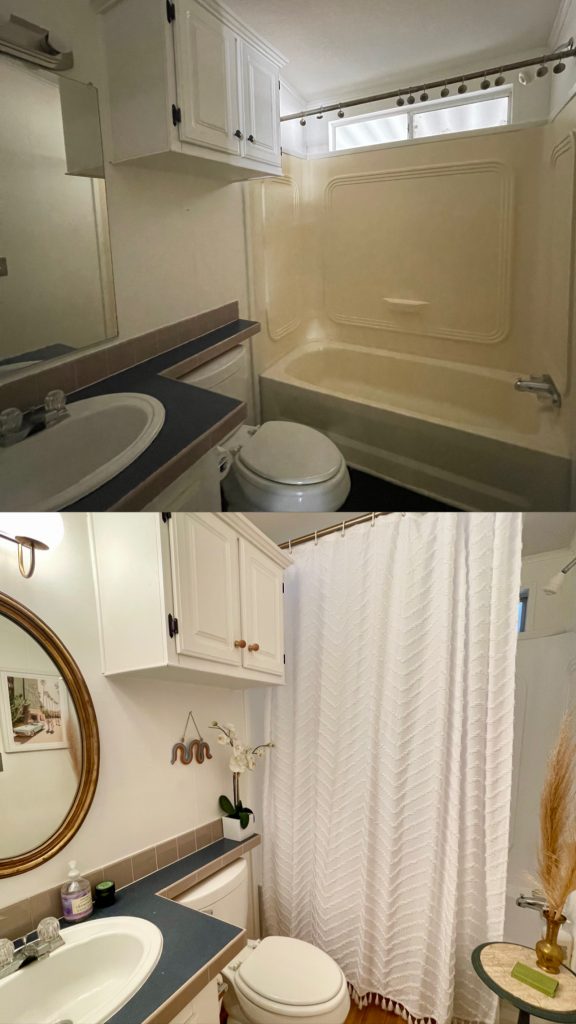
Before I get into the details, here are a few shots of the bathroom when we first moved in…
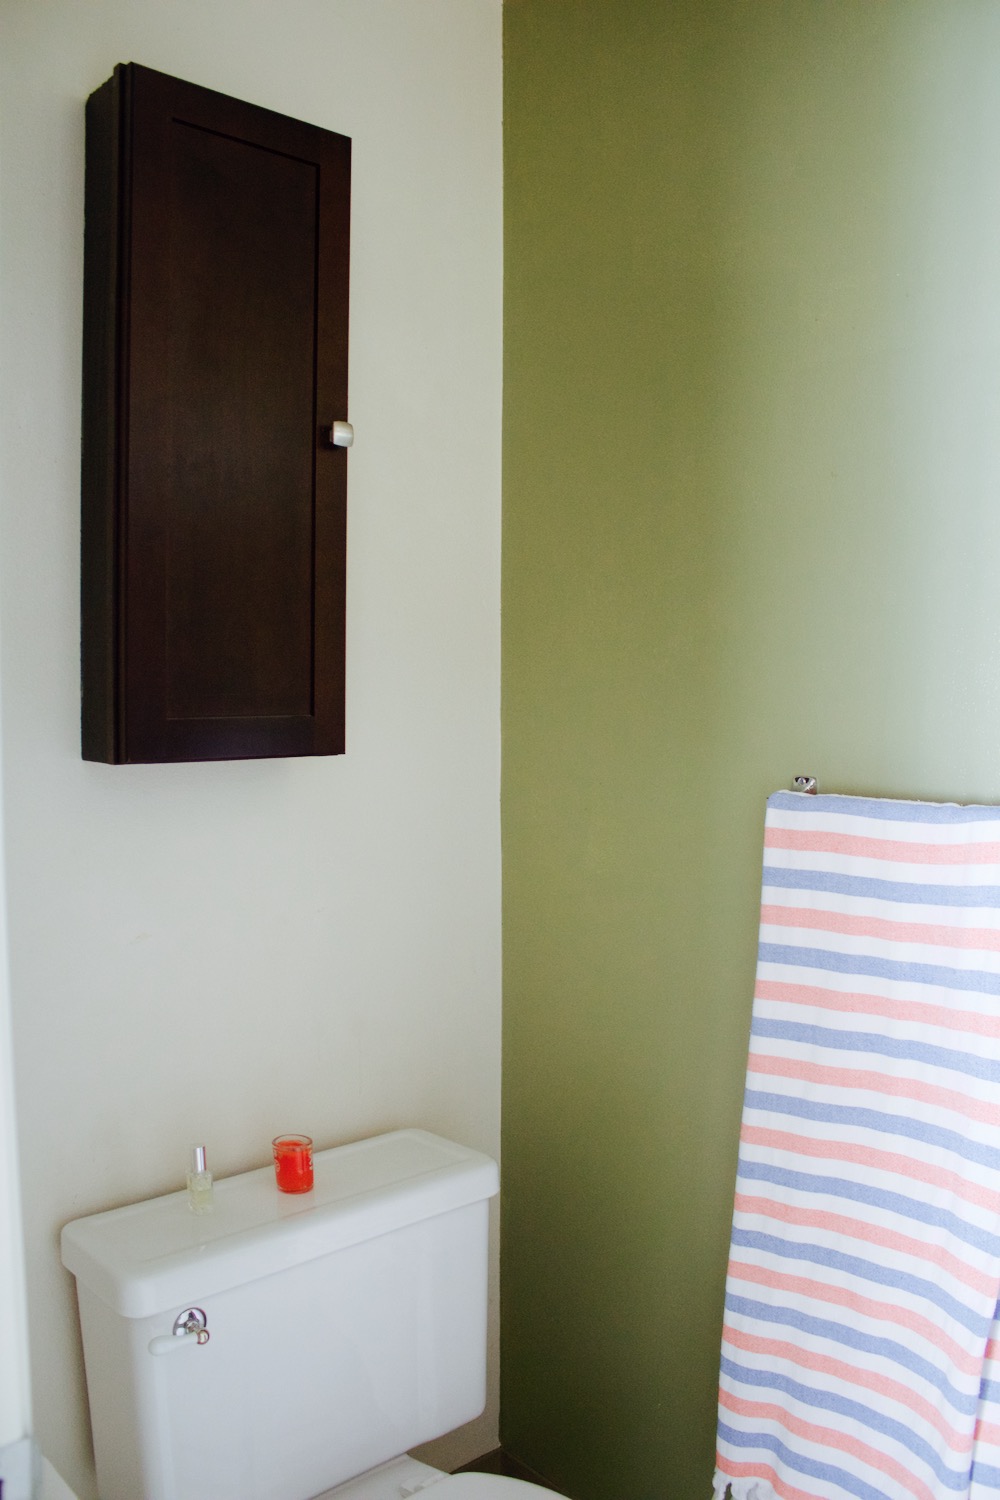
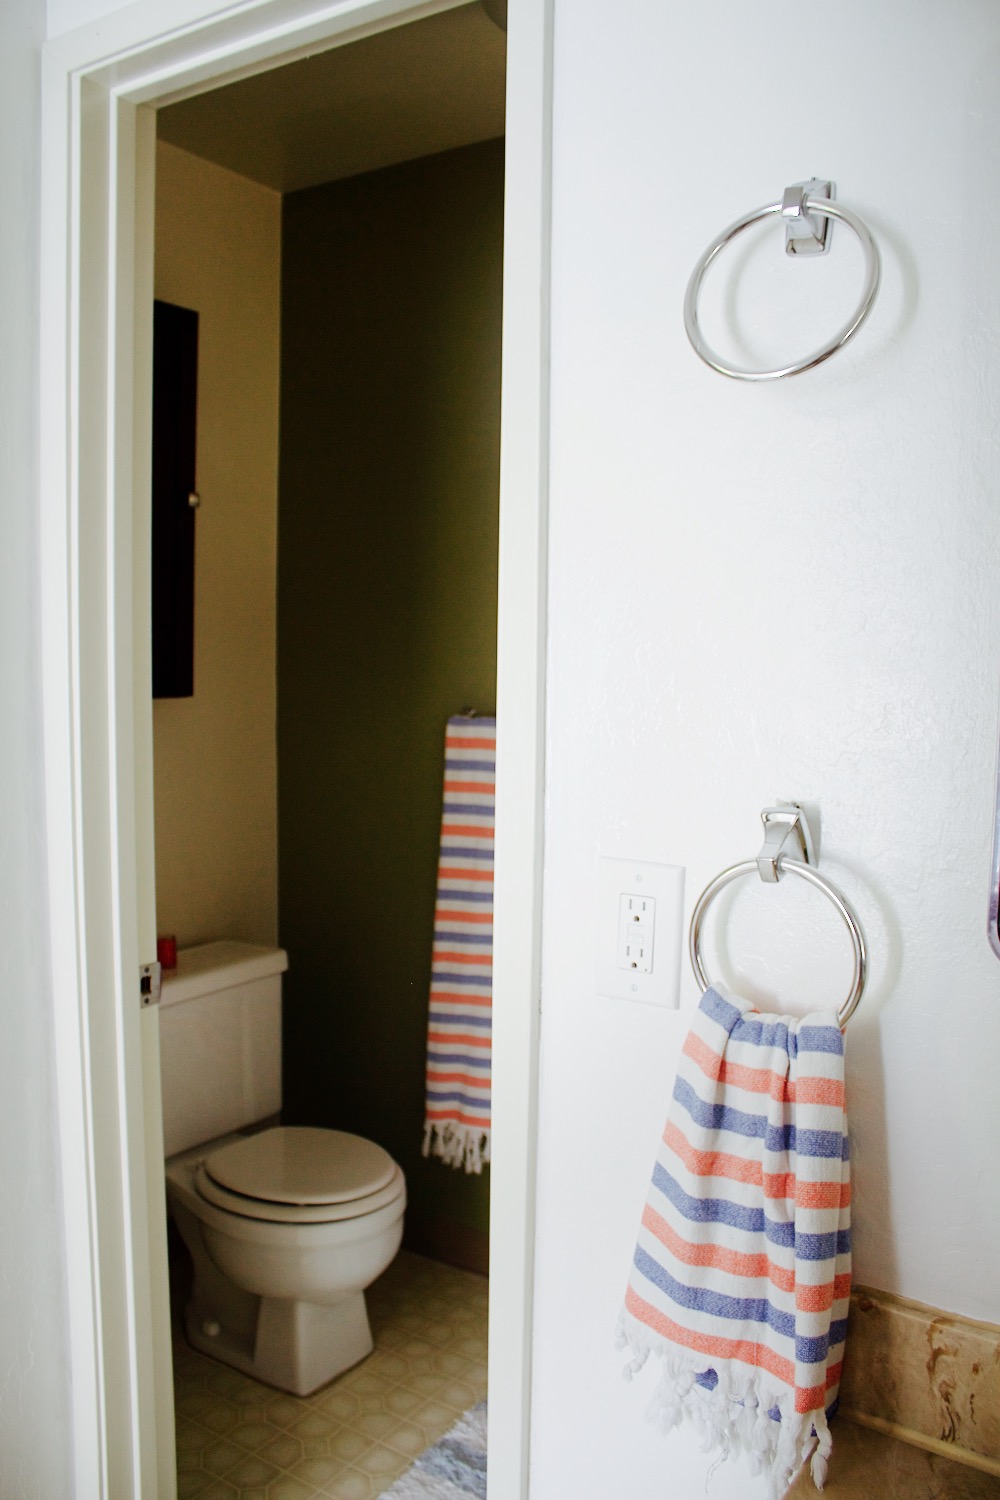
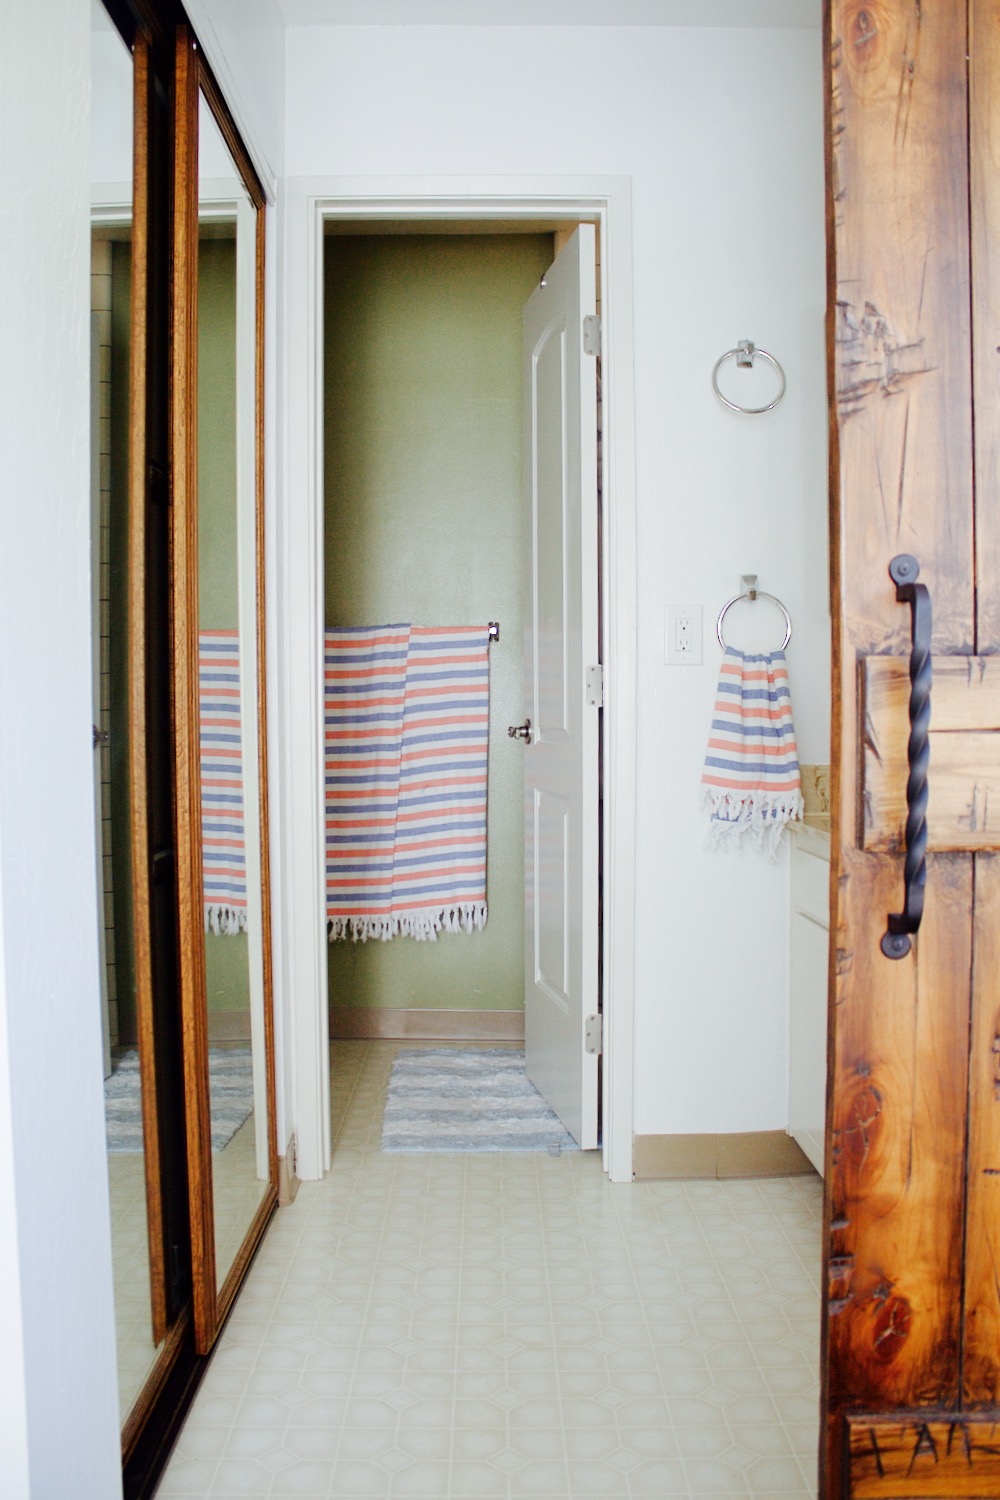
Not cute.
Dark.
Dated.
And kind of creepy.
And here’s what the bathroom looks like now.
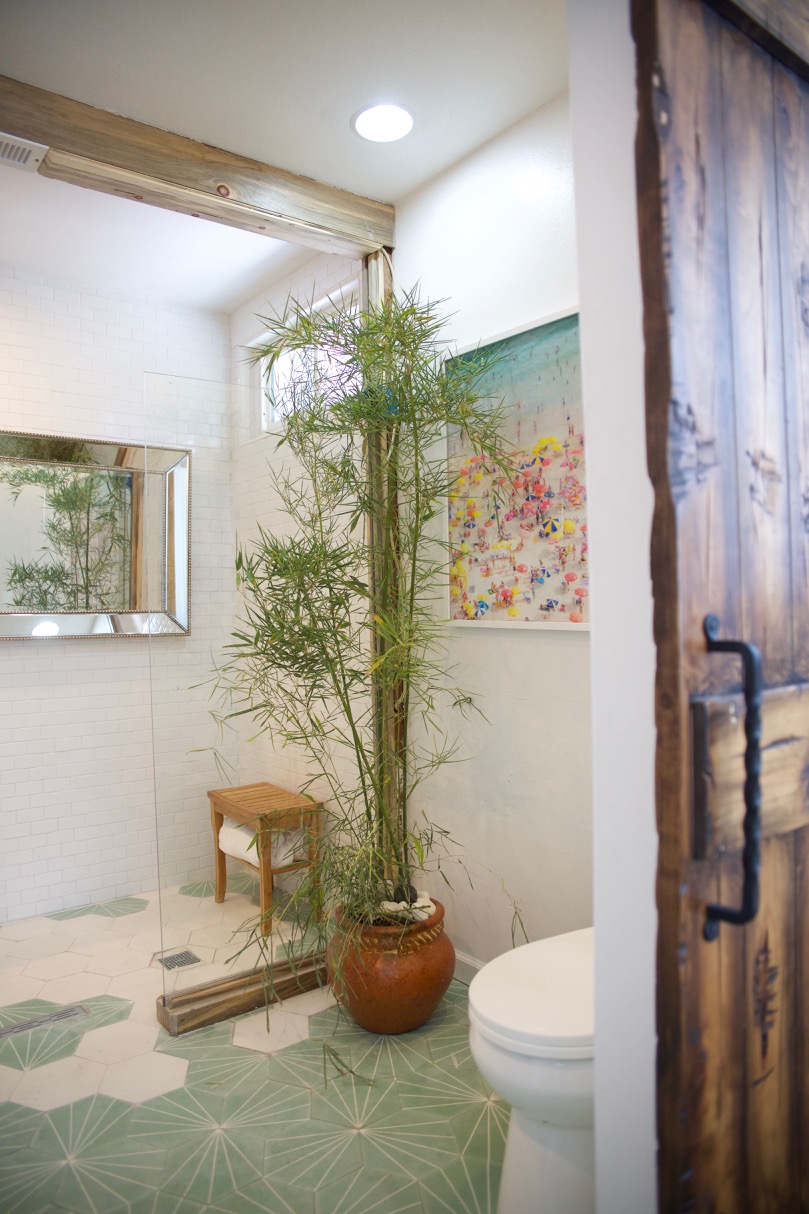
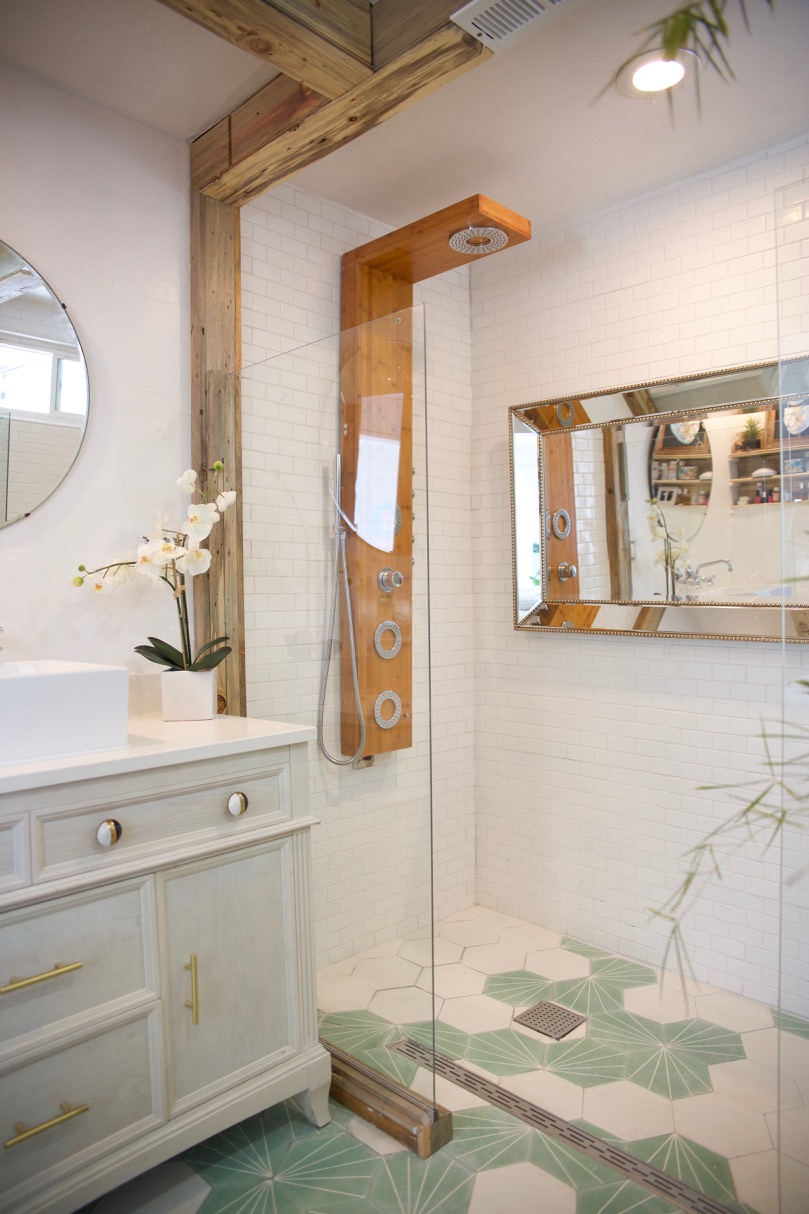
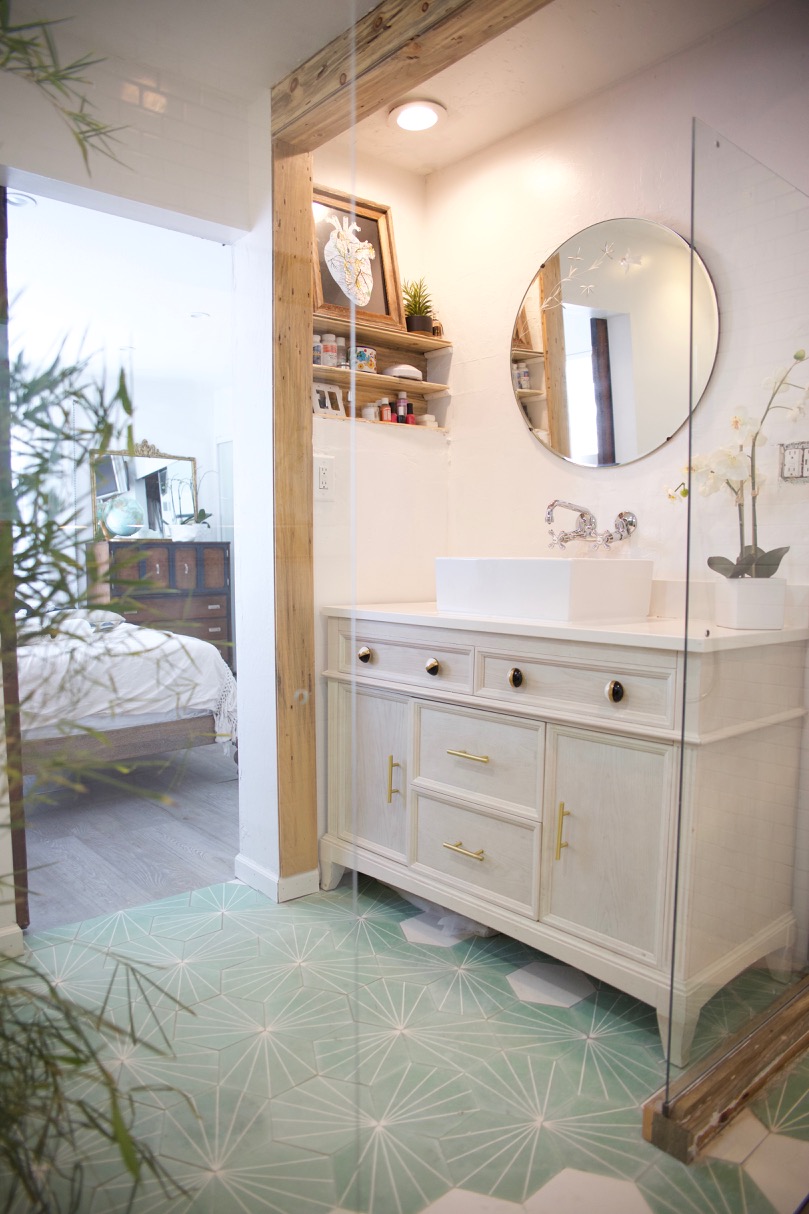
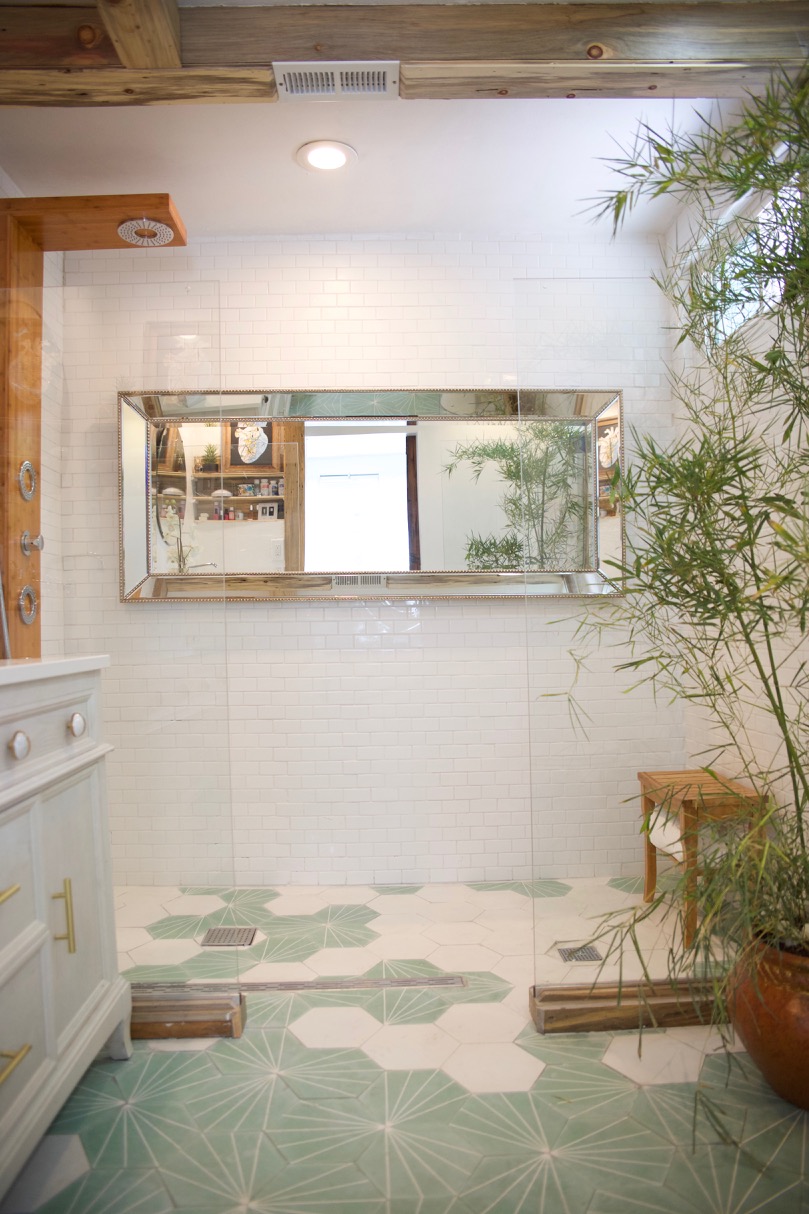
I LOVE IT.
But it also isn’t exaaaactly what I had planned it to look like when I started. Allow me to explain.
Problem #1.
The first problem arose when I decided that hey, I’ve tiled walls before – why wouldn’t I be able to tile a floor?
Ahhhhh…….
This may appear okay to the untrained eye, but trust: it was not.
This didn’t go very well. Because, you see, it’s pretty easy to apply tiles to a flat, smooth surface, but once I ripped out the existing flooring, the surface of the floor was decidedly non-flat and non-smooth. I used a chisel and a power sander to make it as even as possible, but this was apparently not even enough, because I laid the tile and then discovered that I’d created an actual walking hazard. None of it was laying correctly, and all of it had been cemented in.
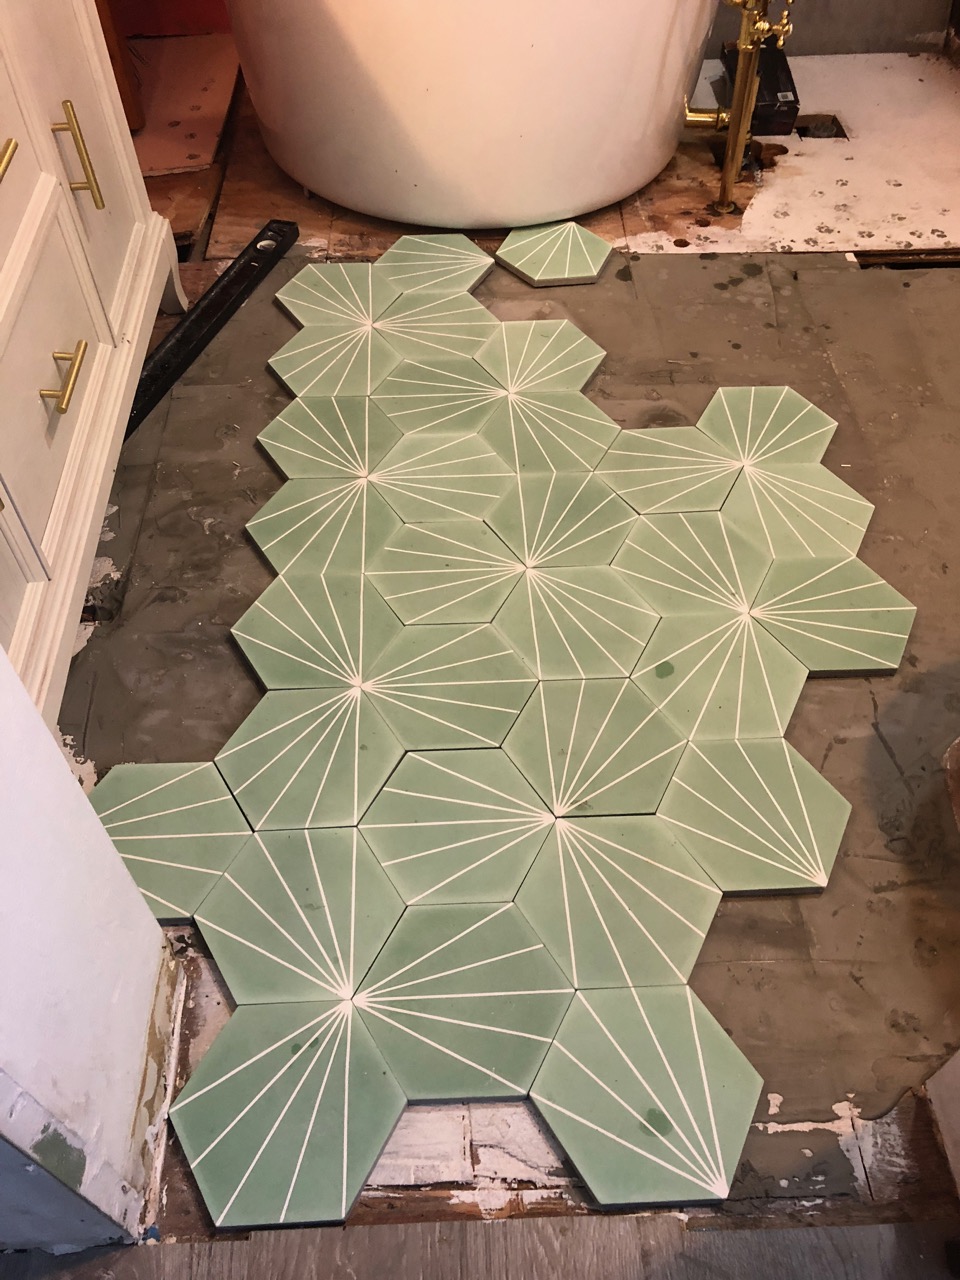
So I chiseled all that tile back out (which, by the way, is not exactly a picnic), and was going to start over – with an actual licensed professional doing the tiling this time – but then realized that because so many of my beloved mint-green tiles had broken while I pried them out, I no longer had enough. And since the mint-green shade I’d chosen was a custom order, it was many, many weeks until I would be able to get more in…except I was ready to have a floor now, thank you.
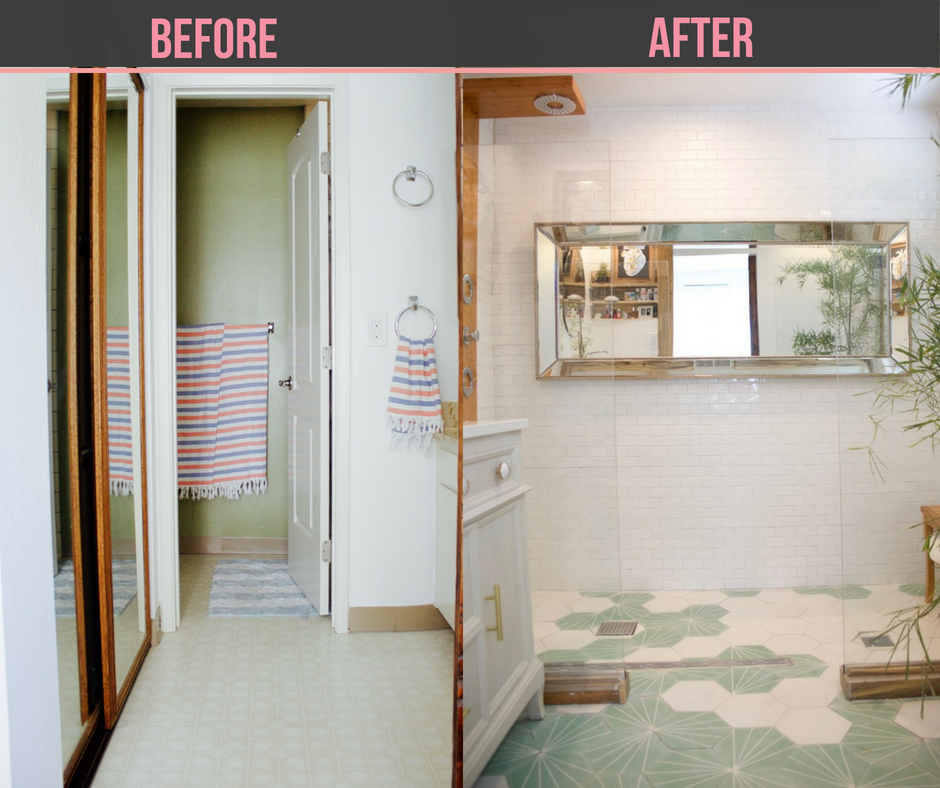
The solution: I decided to create a sort of splash pattern, and wove a smattering of white hex tiles into the green.
‘Twas a brief – but glorious – love affair.
Problem #2.
I was really in love with the idea of a Japanese soaking tub, but once the tub (which was EVERYTHING) was in, I realized that it was a bit too big for the space. Which would be fine by me, because whatever, I loved that tub – but then we discovered that we’d have to sell. And regardless of how luxurious it was, a tub that made the room feel off balance was sure to be a sticking point with potential buyers.
The solution: I decided to scratch the tub idea (it is presently in storage, awaiting transport to wherever I land next), and modified the design to be an open shower with a thermostatic shower panel and glass panes separating the showering area from the rest of the room (I also added additional drainage so that the water wouldn’t pool anywhere).
In summary: Where this bathroom ended up isn’t exactly what I’d intended when I started…but remember that belief I mentioned at the beginning of this post? You know, the idea that so long as you come to the table with a little flexibility, there are few things that you can’t fix?
I guess it wasn’t so unfounded after all.
So many pics (including before and afters) below.
![]() The Products
The Products ![]()
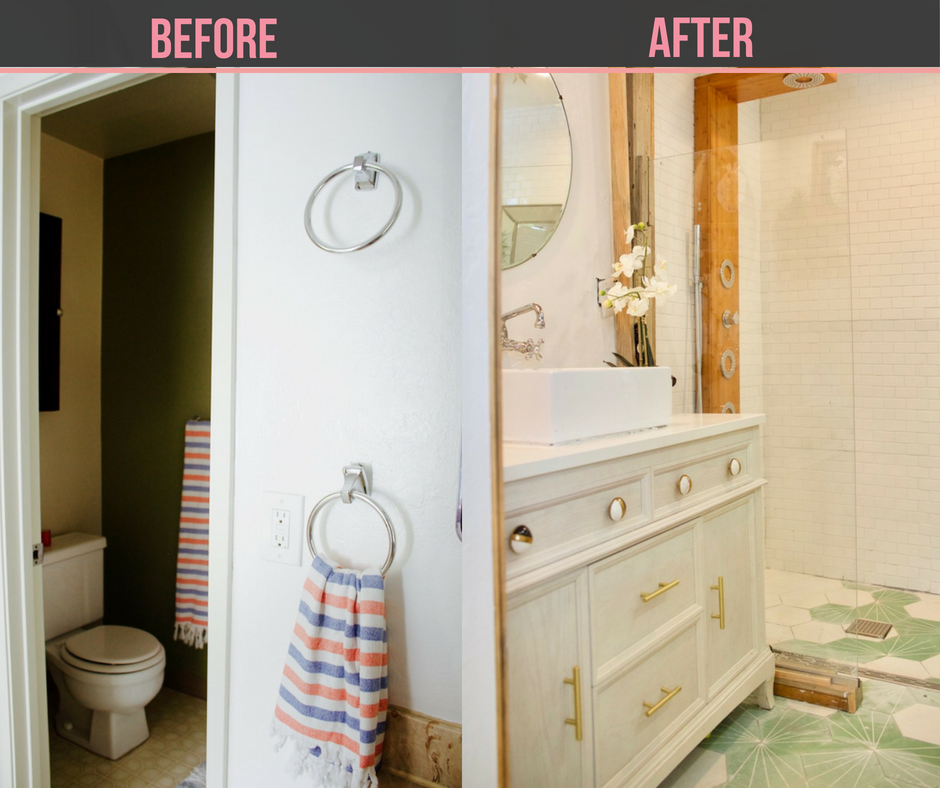
- Signature Hardware Livia Vanity with square Vessel Sink
- Signature Hardware Thermostatic Shower Panel (oh my god, this is amazing)
- Antique Mirror (similar)
- Ariane Moshayedi Fine Art Print
- Villa Lagoon “Crow’s Feet” Encaustic Cement Tile in Mint (with white hex tiles added later)
- Two shower doors with hardware removed (to serve as glass dividers)
- Rustica Hardware Sliding Barn Door
- HomeGoods mirror (similar)
- Target Faux Orchid