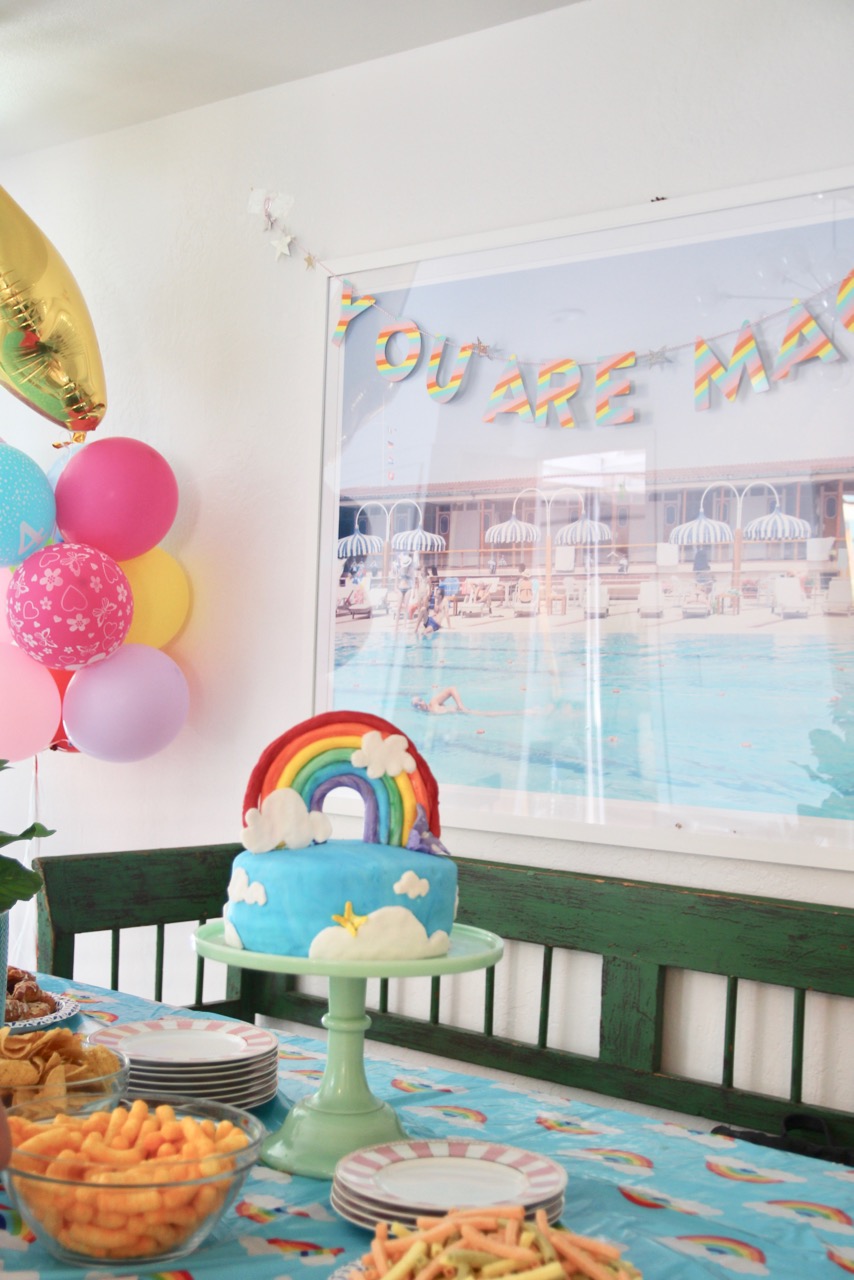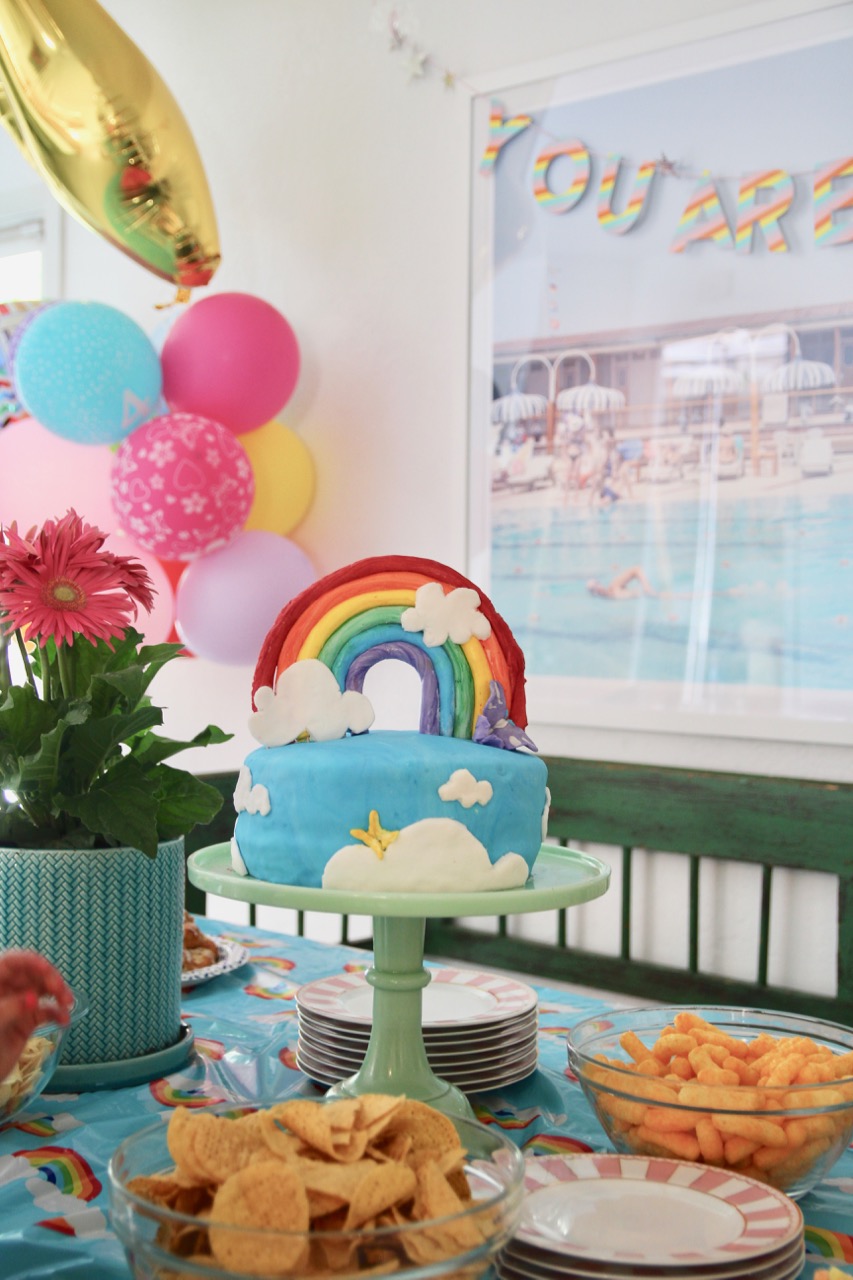
When the birthday girl wants rainbow cake, the birthday girl gets rainbow cake.
So I guess this is a thing I do now. The make-an-impossibly-fancy-birthday-cake-for-my-child tradition started with the Mermaid Cake (after, of course, a process during which my friend Alisa taught me how to make a cake that did not turn out like this).
Then came the Spooky Ghost Cake, and the Moana Cake, and the Bloodshot Eyeball Cake…and now?
The Rainbow Cake.
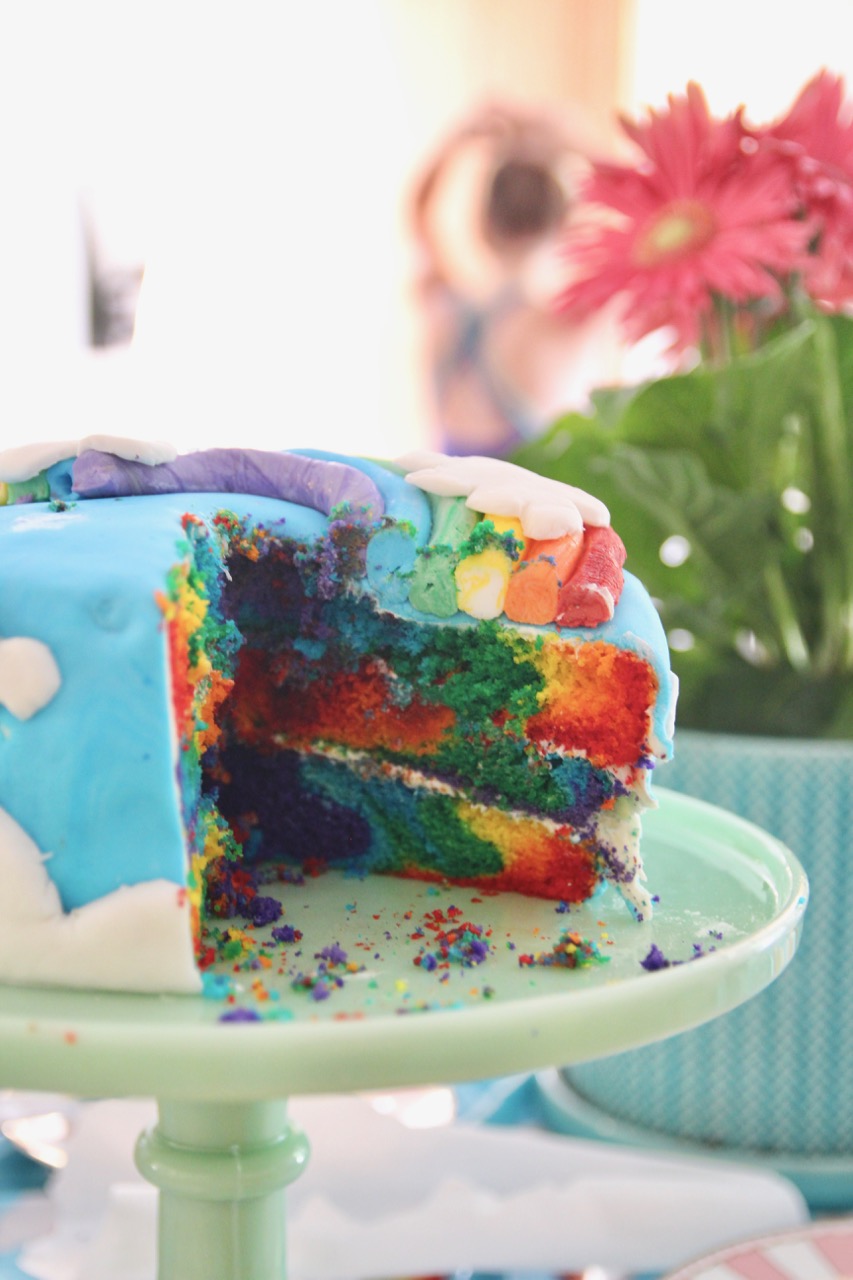
WAIT UNTIL YOU SEE THE INSIDE.
The original plan was to do one of those crazy layer cakes that you see all over Pinterest, but a) ugh, and b) reader Nicole helpfully directed me to this tie-dye rainbow cake tutorial, which did not require me to bake six separate cakes. (Technically only two, although I went for three because I wanted it to be big enough for everyone. Still, three<six, so that’s good.)
Want to make a Rainbow Cake, too? Of course you do!
Here is how you do it.
(Note: Bake the cakes at least six hours before you plan to decorate them.)
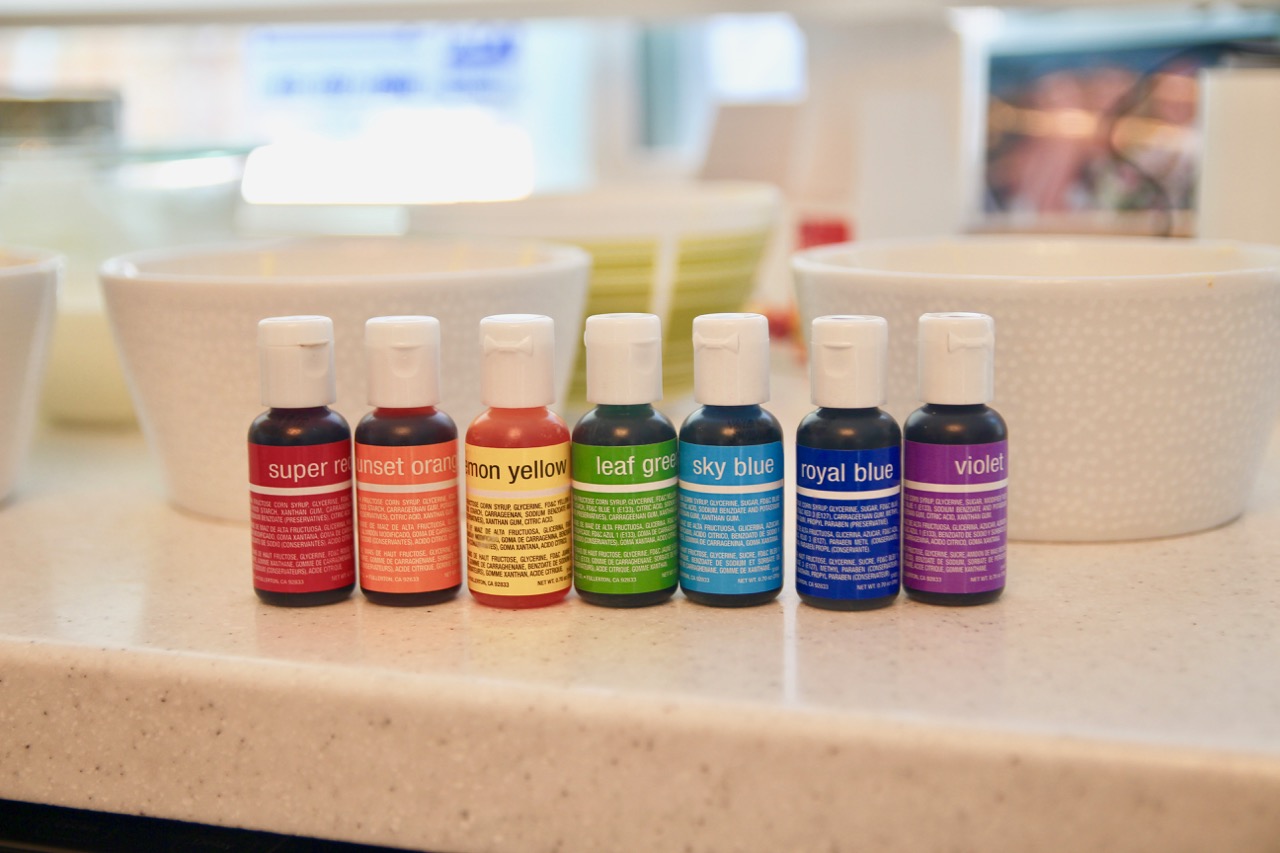
First, you need gel food coloring. This is important, because regular food coloring won’t get your colors nearly saturated enough to evoke rainbow-ness.
You also need two boxes of cake mix and two containers of vanilla icing, because ain’t nobody got time to make a cake and icing from scratch, and also cake mix and packaged icing are delicious.
Oh! And some fondant. And powdered sugar. But really, that’s it.
So.
Make your cake mix according to package directions, and then divide the batter evenly into six bowls.
Why six?
ROY G. BIV. (And you thought the things you learned in fourth grade would never come in handy.) (And yes, there are seven colors in the rainbow. But let’s just call “indigo” and violet” one color: “purple.” So it’s really ROY G. BP, hence the six bowls instead of seven.)
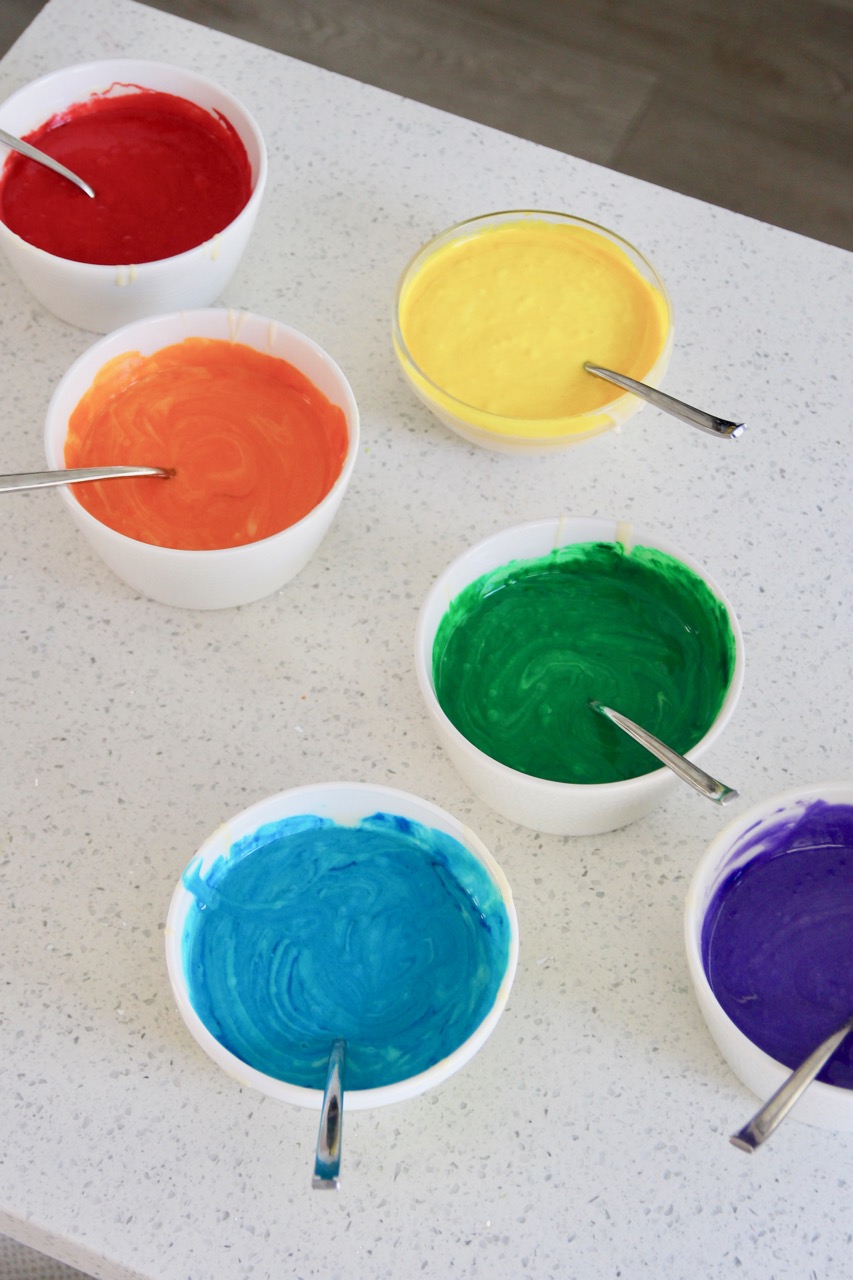
Add a bit of gel food coloring to each bowl of batter – you want really saturated colors, but with gel a little can go a long way, so just experiment until you get the colors you want.
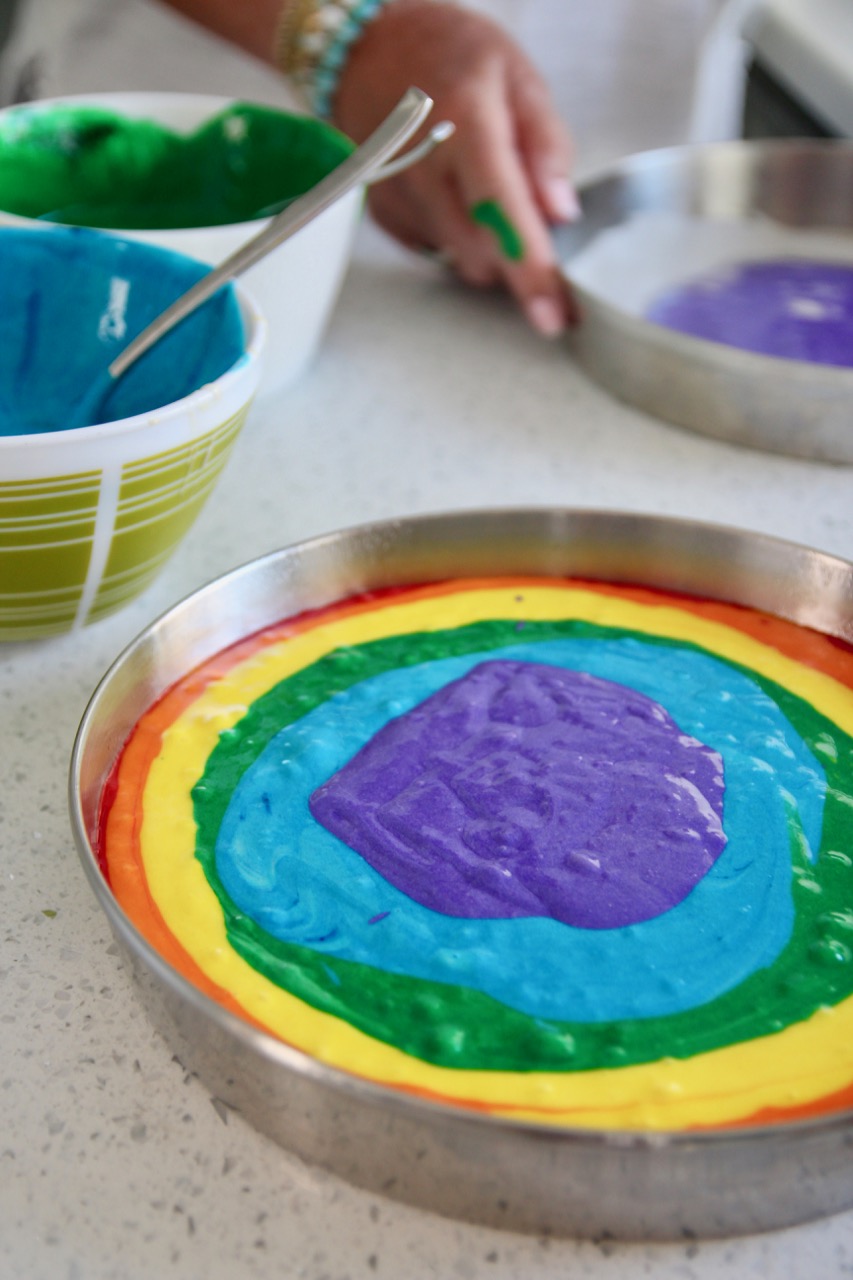
Now – and this part is fun – layer the colors into a buttered, floured pan lined with parchment paper. Each layer should be smaller in diameter than the last, but this is less complicated than it sounds: just add a scoop of each color to the center of the previous layer and gently shake it from side to side, and it’ll spread out beautifully.
(As for the order, just remember: ROY G. BP.)
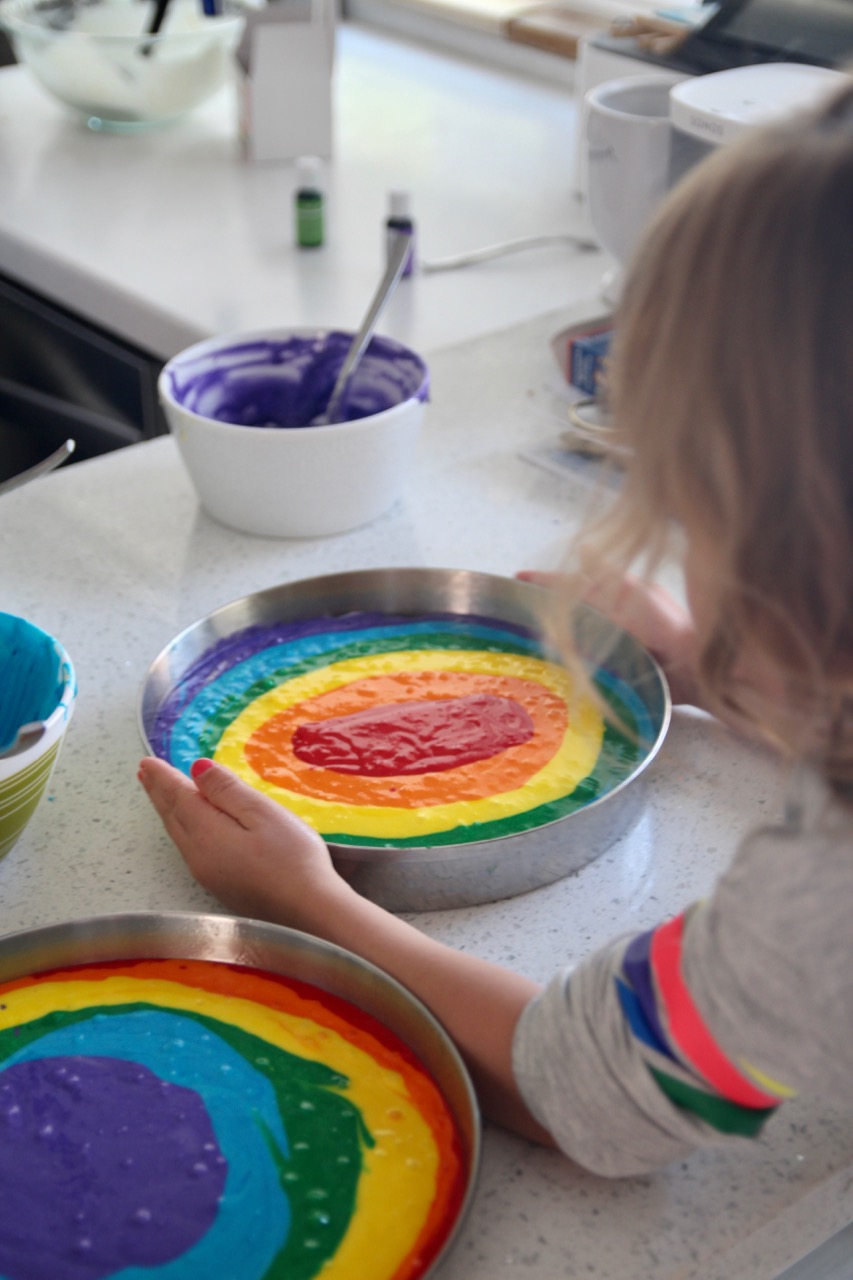
Repeat in the second pan, except in the opposite order. (PB G. YOR.)
For the third pan, do either order – just make sure to separate the layers that are in the same order with the layer that’s in the opposite order.
SO COOL, RIGHT?
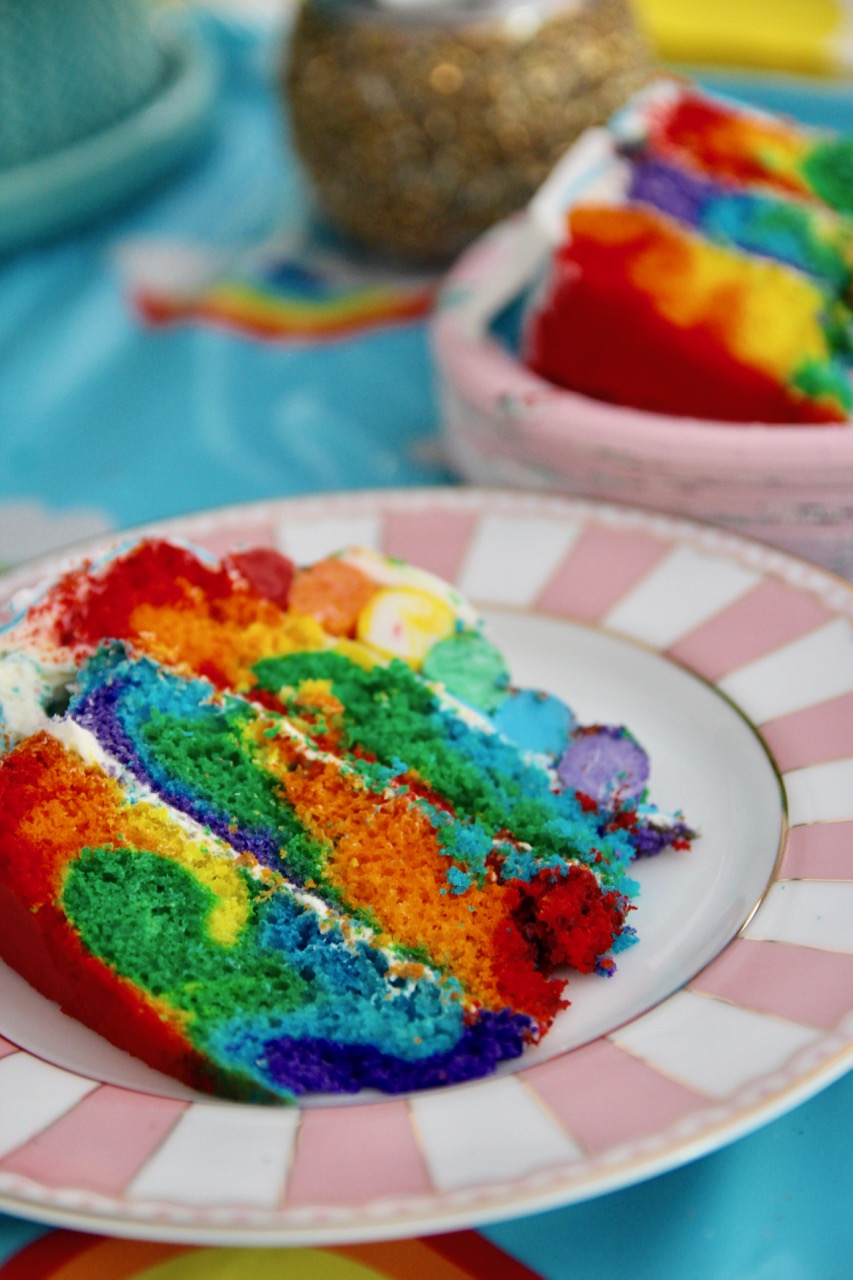
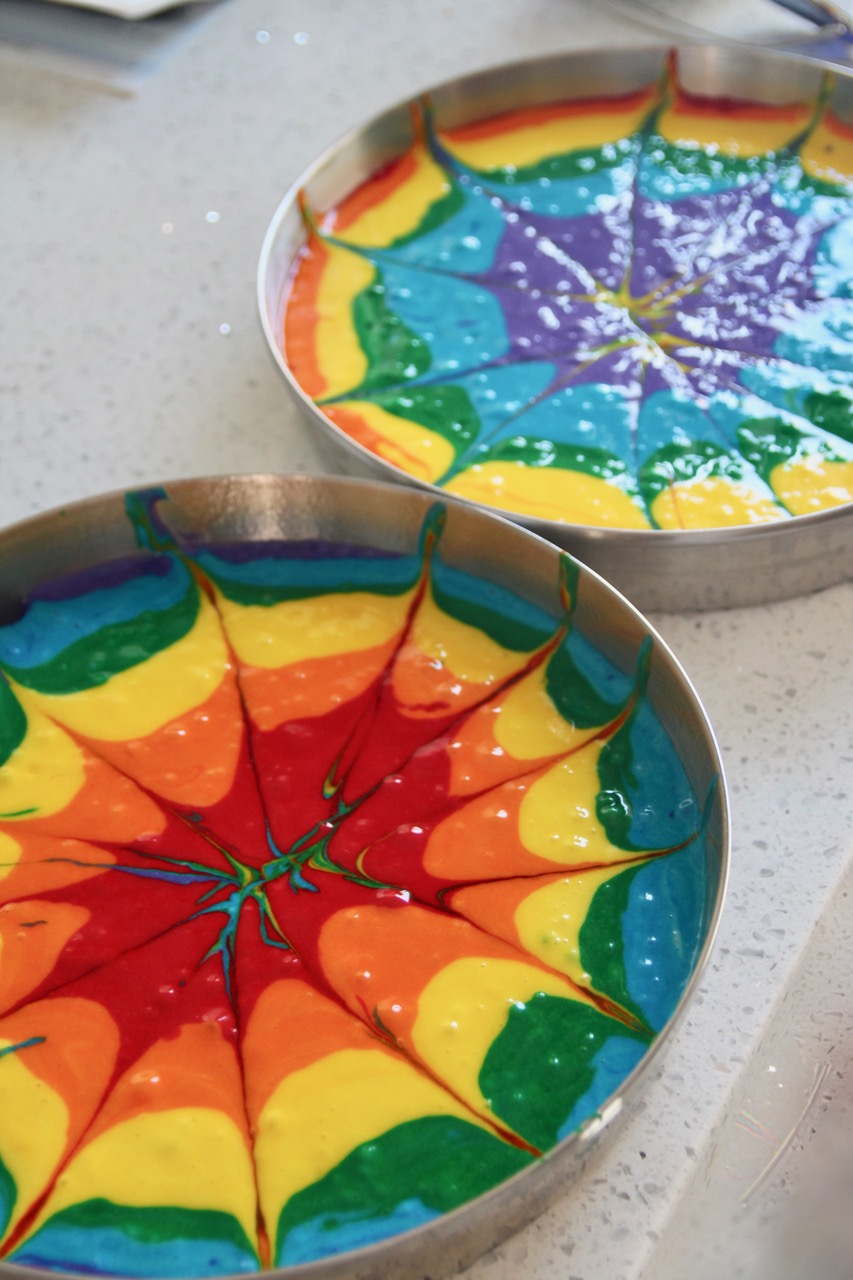
This is how you create the tie-dye pattern: you take a knife and insert it into the center of the batter, then draw it outwards, then repeat so it makes a sort of spiderweb design.
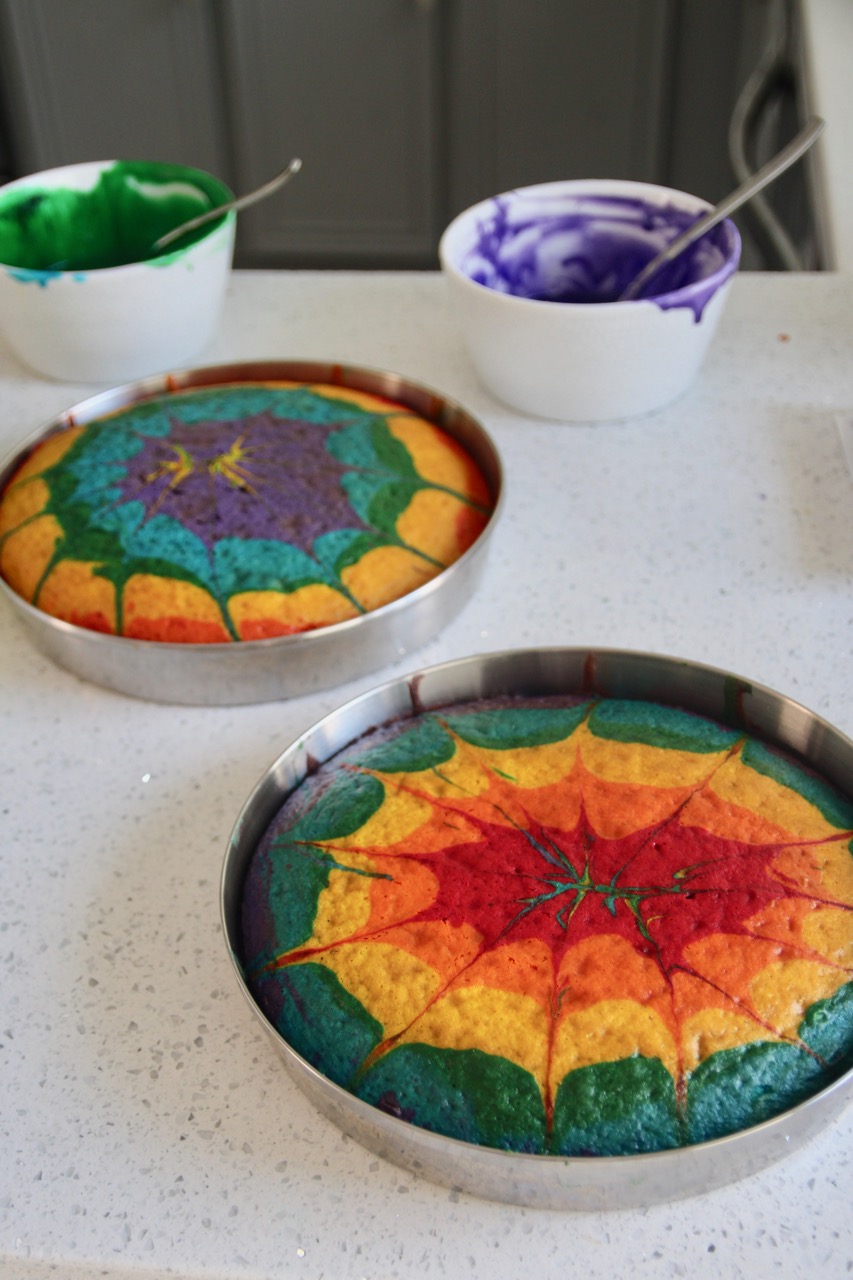
When the cakes come out of the oven, they will look like this. Feel free to send braggy photographs to your friends, because seriously: you are a talented, talented baker.
Cover each layer separately with Saran Wrap, and stick in the freezer for at least six hours (preferably more).
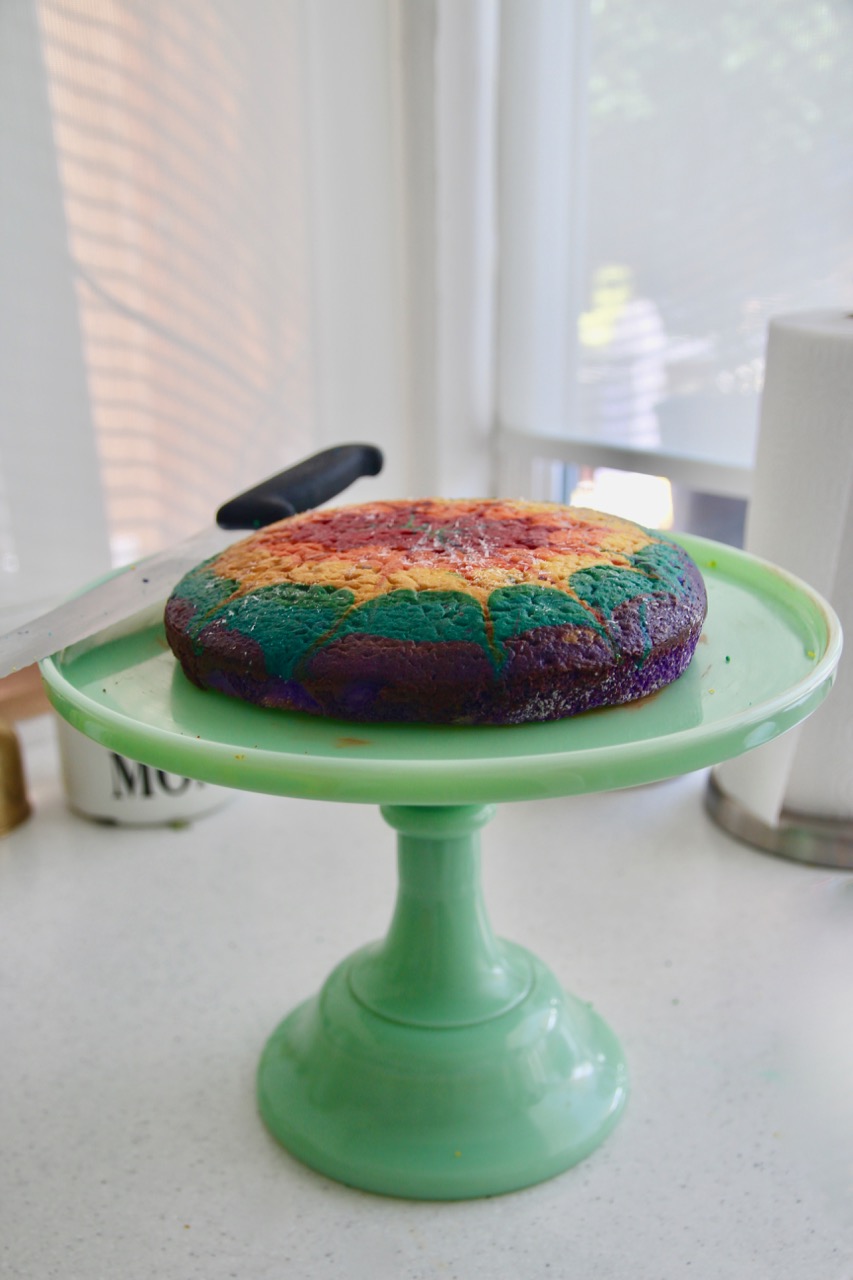
Now comes the layer-arranging part. When you’re working with fondant, you need to have the flattest, smoothest surface possible, so put the first layer on a cake stand, and then use a long serrated knife to gently cut horizontally across the surface while turning the cake stand, so you gradually move from the outer edges of the cake towards the inside (slooooowly, otherwise you won’t get a nice, smooth surface; a video tutorial is here if you’re confused).
Like that.
Then just repeat with each layer so they’re all nice and flat.
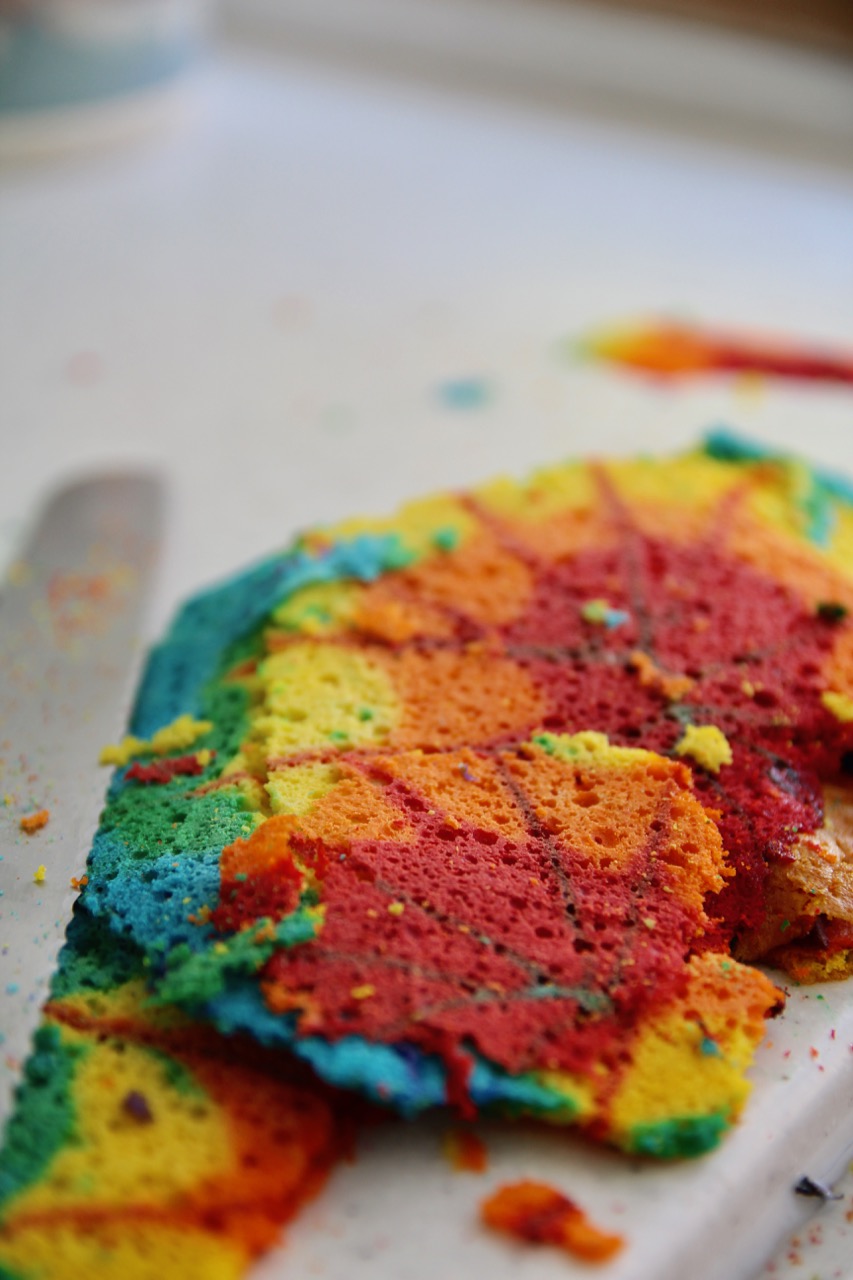
Just as a heads-up, the cake bits that get cut off are totally fair game, and should be consumed immediately.
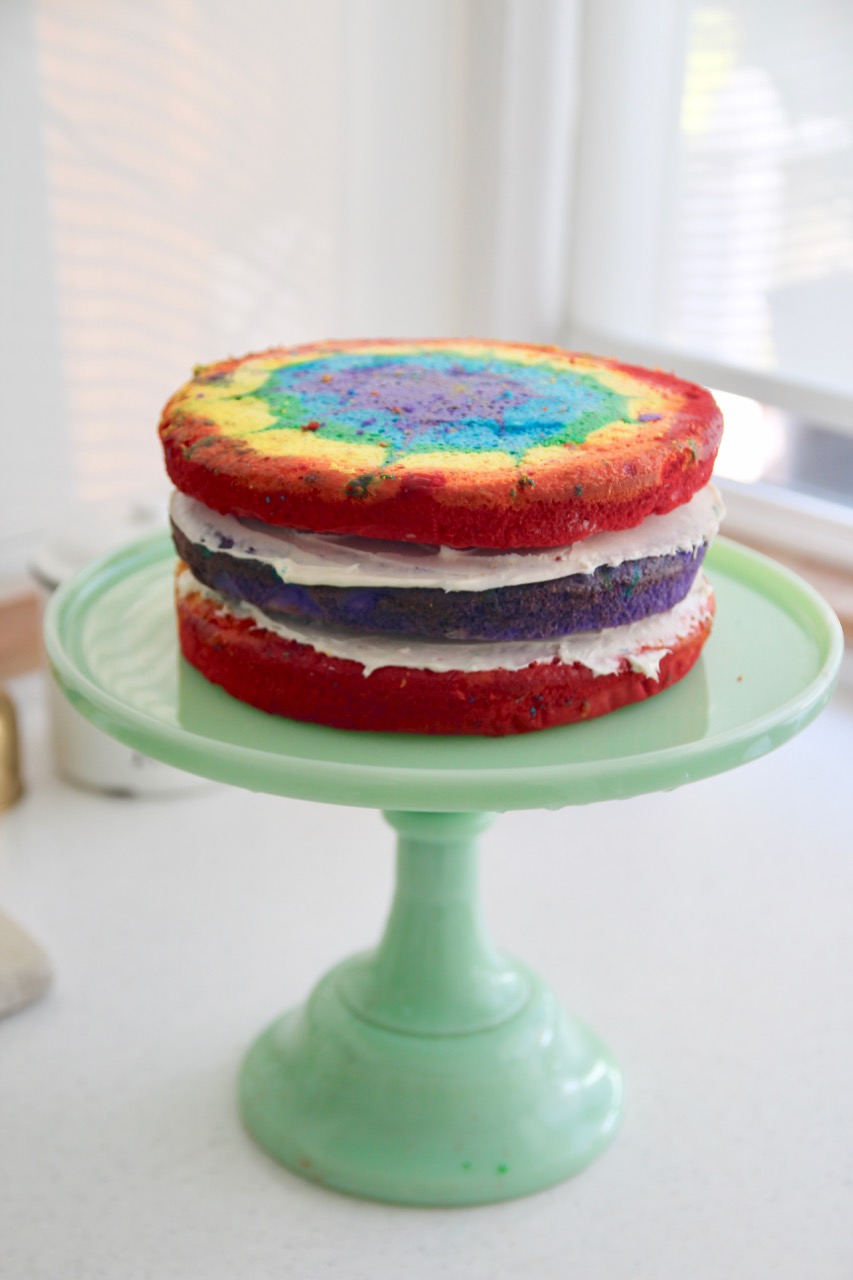
Frost the top of the first layer, and gently place the second layer on top, then repeat with the third layer. Sort of eyeball it to make sure it’s as even as possible – my fondant cakes (this one included) always come out a little Leaning Tower of Piza-ish, but whatever: they’re super cool regardless.
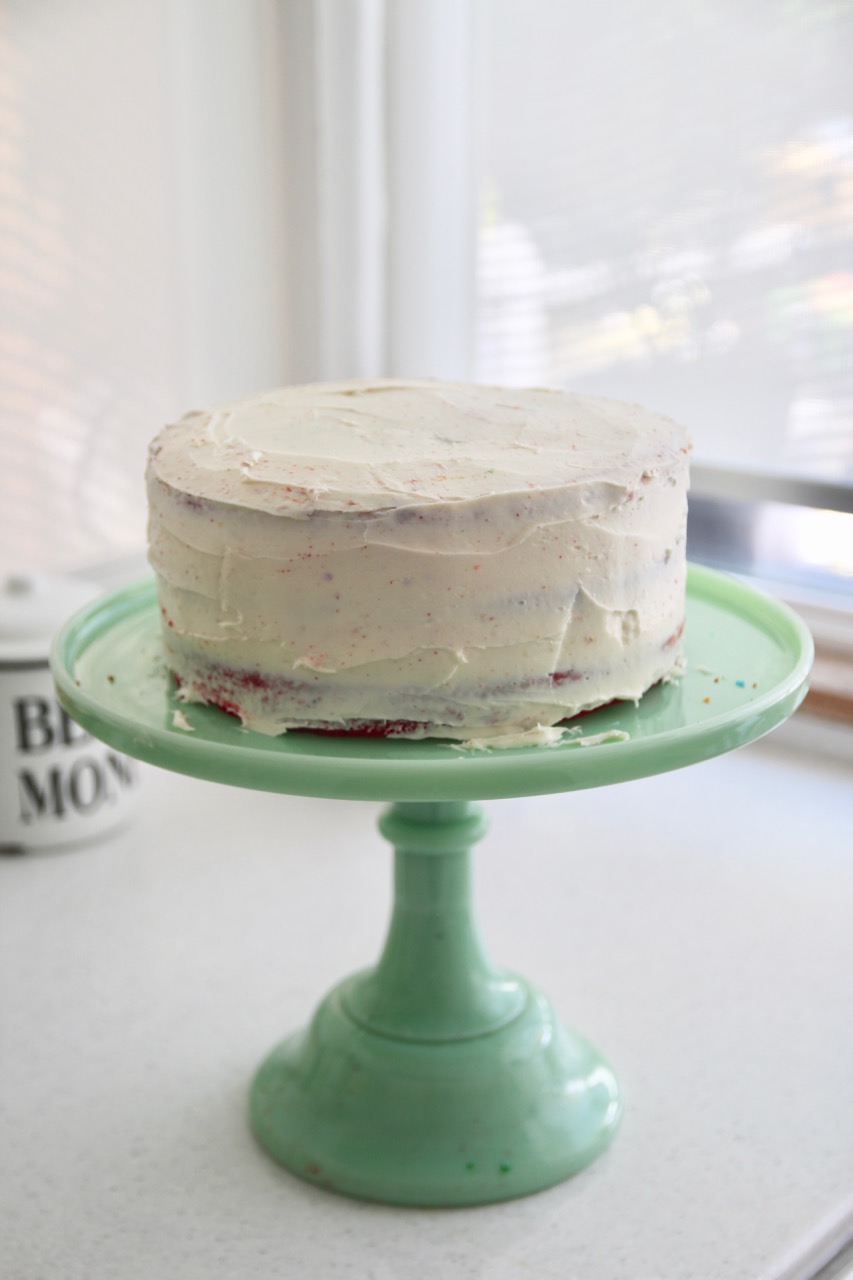
Now apply a thin layer of frosting to the entire outside of the cake, making sure it’s as even and smooth as you can manage (but don’t stress too much about making it perfect-perfect; I did not, as you can see).
Next comes the funnest – and most manicure-ruining – part.
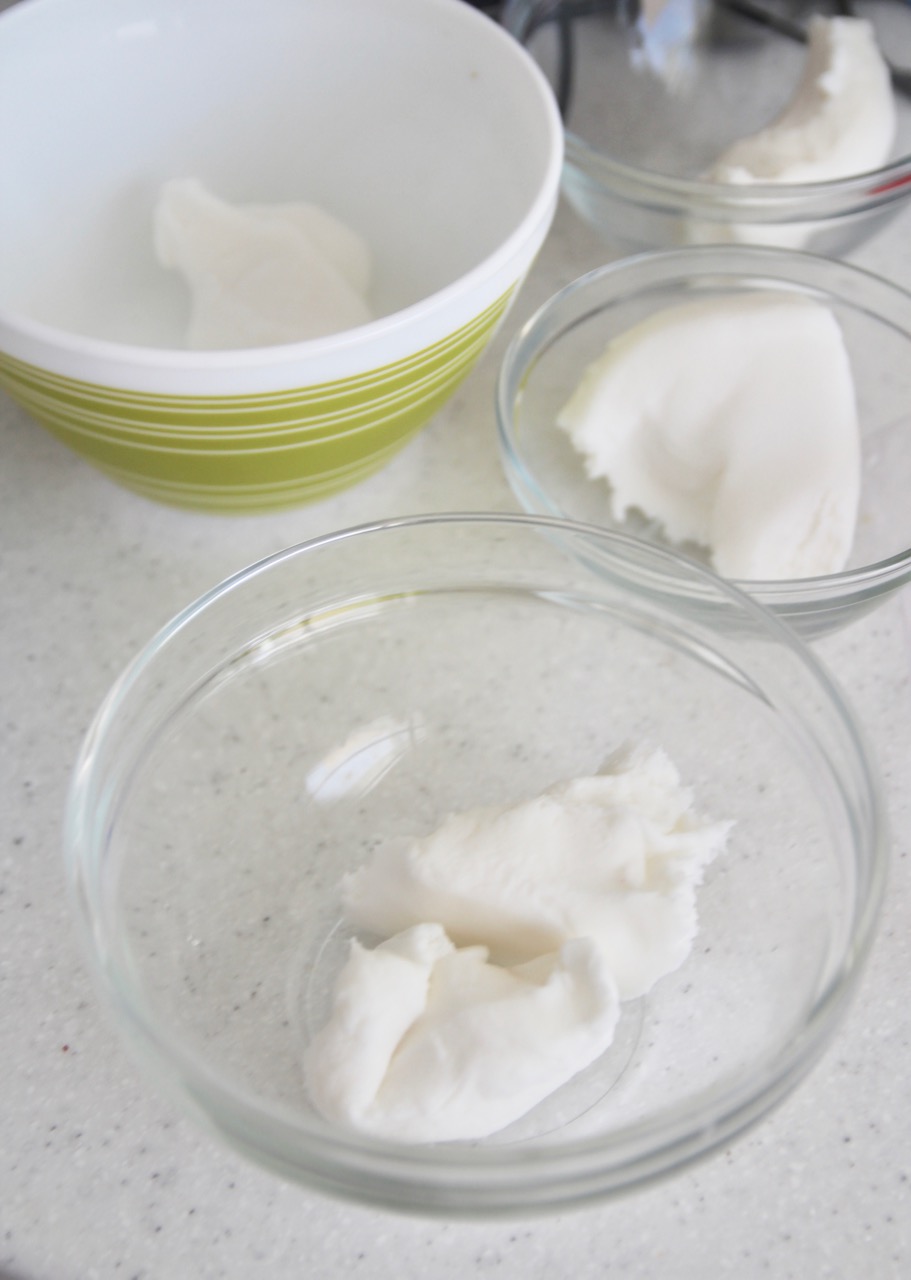
Divide your fondant (I bought a 2lb pack for this project, but how much you use will depend on how crazy you get with the decorating) into seven small balls, and one large ball.
Set aside one of the small balls; that’ll stay white, for your clouds. Add a couple of drops of red, orange, yellow, green, and purple gel food coloring to the six remaining small fondant balls. Notice how there was no blue?! That’s because you’re going to add the blue gel food coloring to the large ball of fondant.
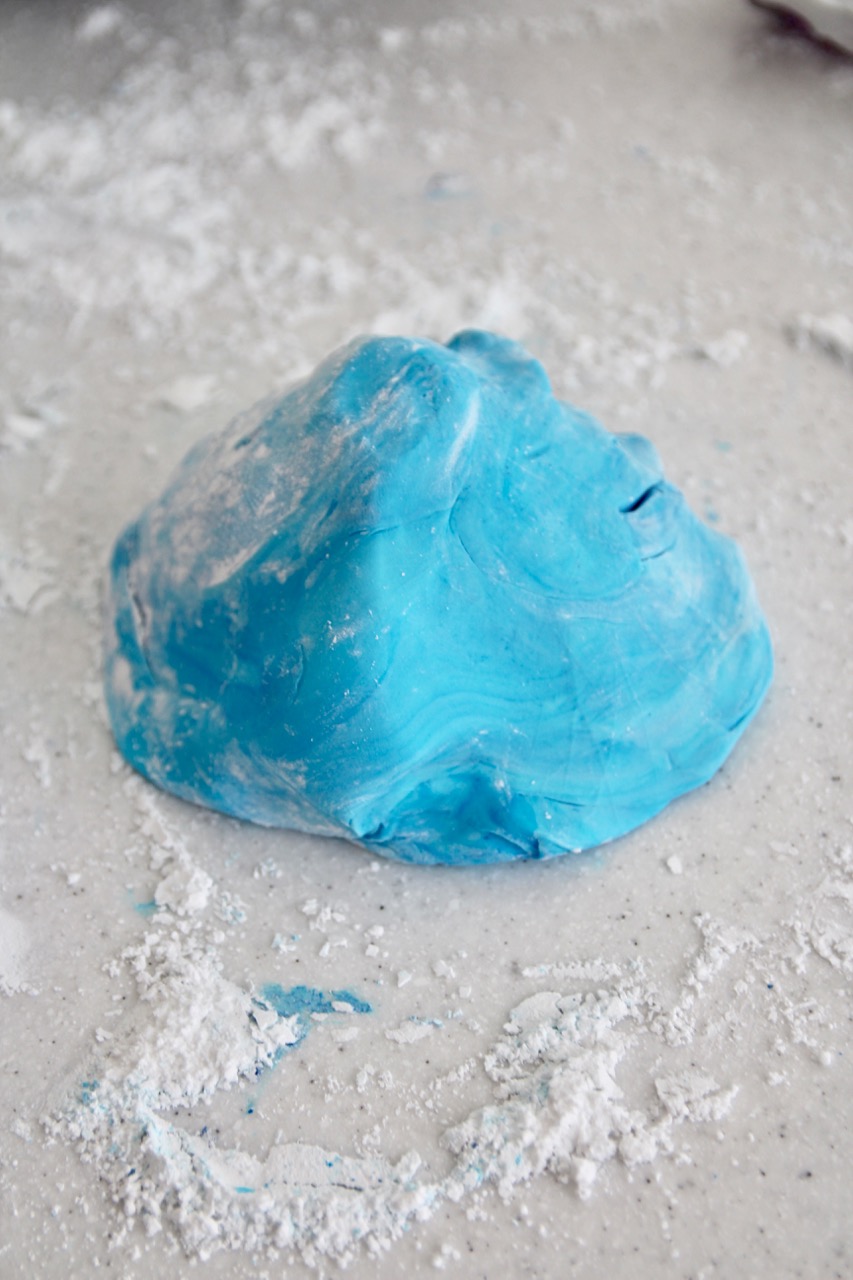
Sprinkle a little powdered sugar on your working surface (so nothing sticks), and on your palms, and then mush the big ball of fondant in your hands, stretching it and rolling it until it’s nice and pliable and evenly blue throughout,
Roll it out into a nice, big, even circle, about 1/4″ thick, then pick it up and gently (gently!) drape it over your cake.
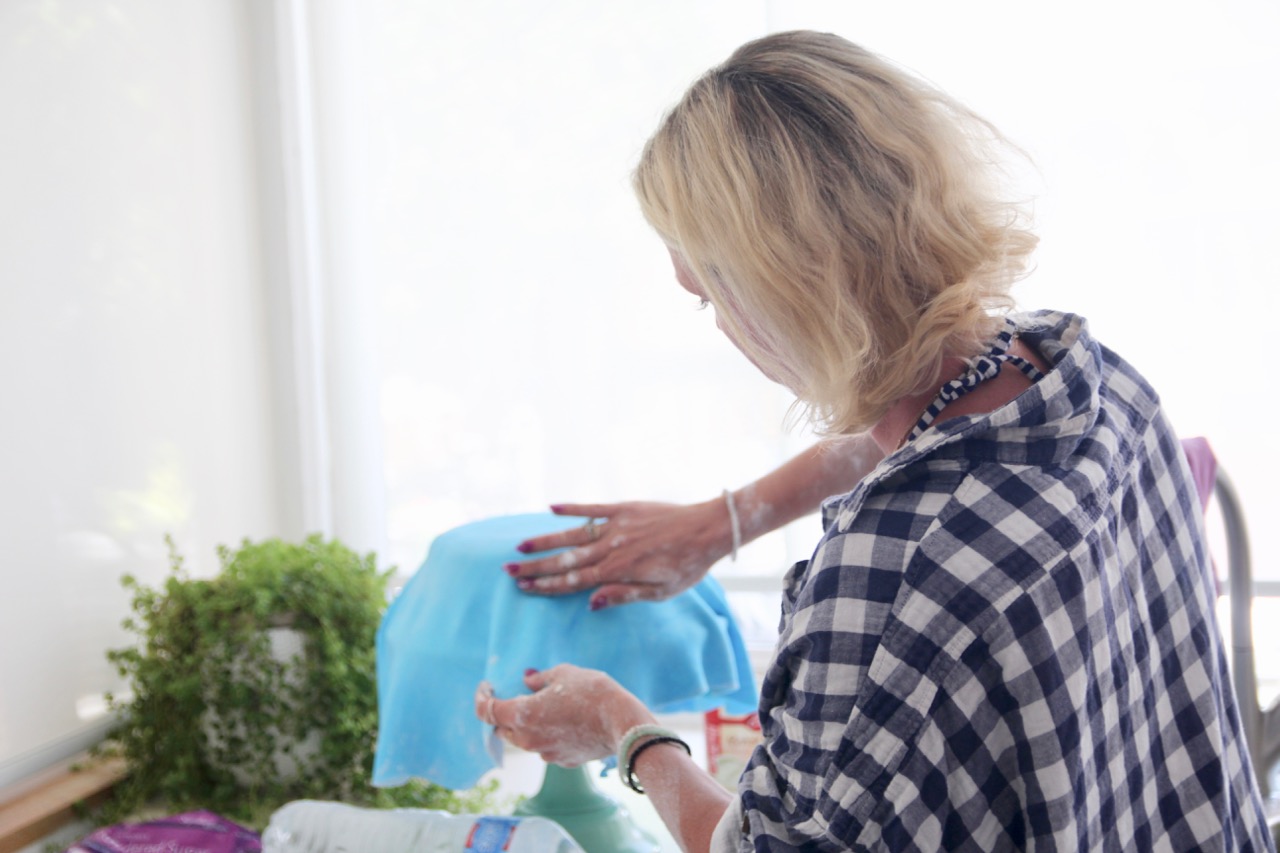
This is a delicate process, and pretty tough to explain without a visual demonstration, so check out this video for the how-to: you want to make sure the top is perfectly smooth, and then (gently!) pull and smooth the sides down, pulling and smoothing as you go, until you have a spectacular, flawless finish.
(My mom took this picture. I would to formally express my disapproval of the bedhead that she included in the shot.)
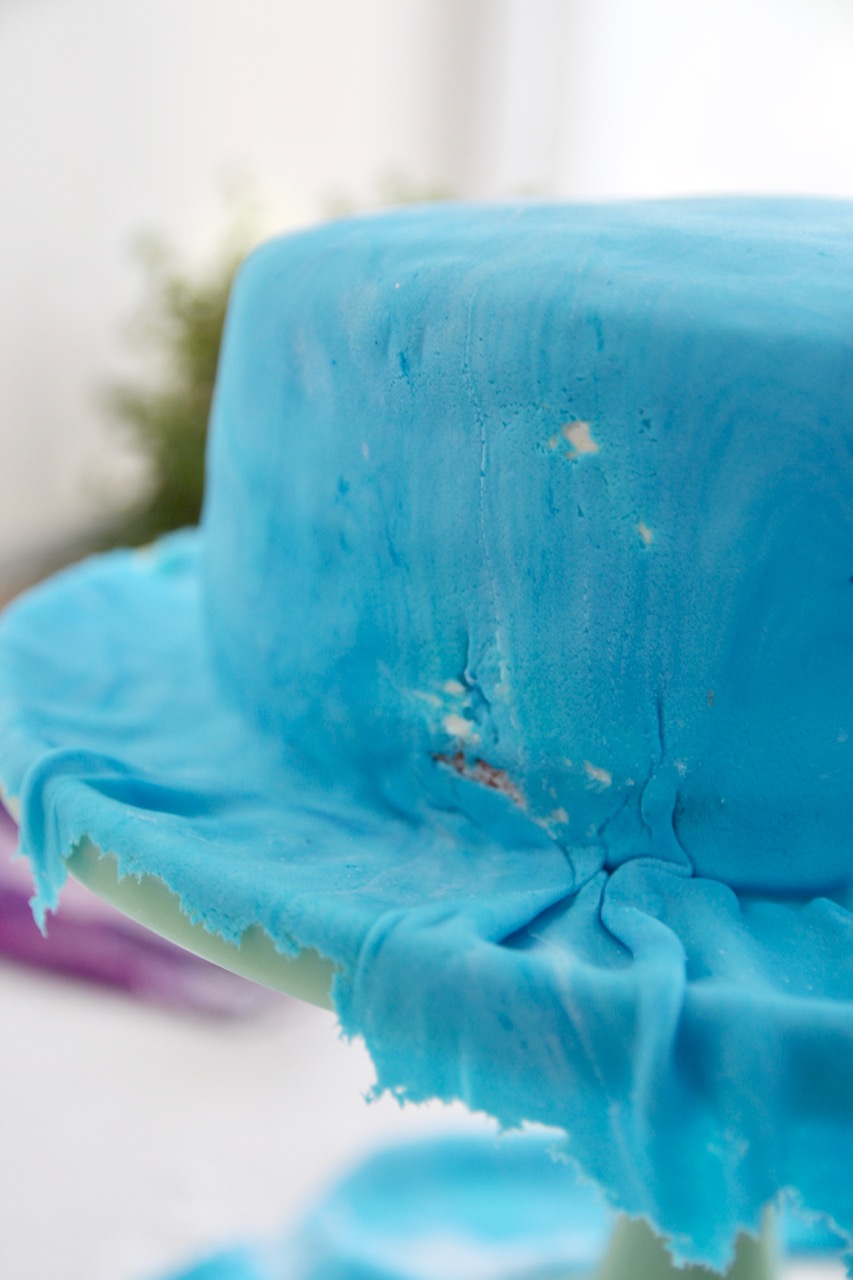
Or…you know, close enough.
(There’s aways that one spot that gets screwed up. But that’s what decorations are for.)
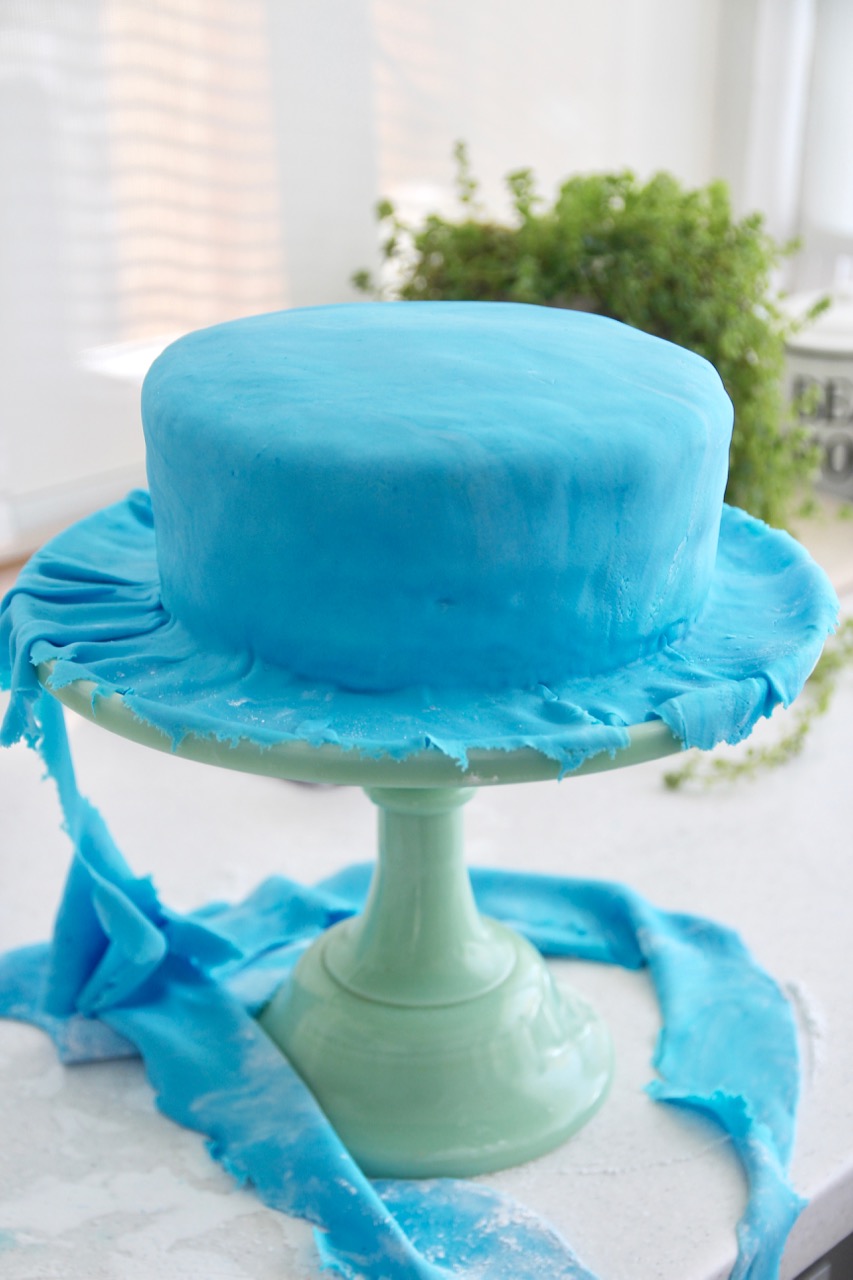
Once your fondant is all smoothed down, use a sharp knife to cut off the excess. Save that stuff you cut off, though – you’ll need it in a minute, because now you’re going to make your fancy rainbow cake topper.
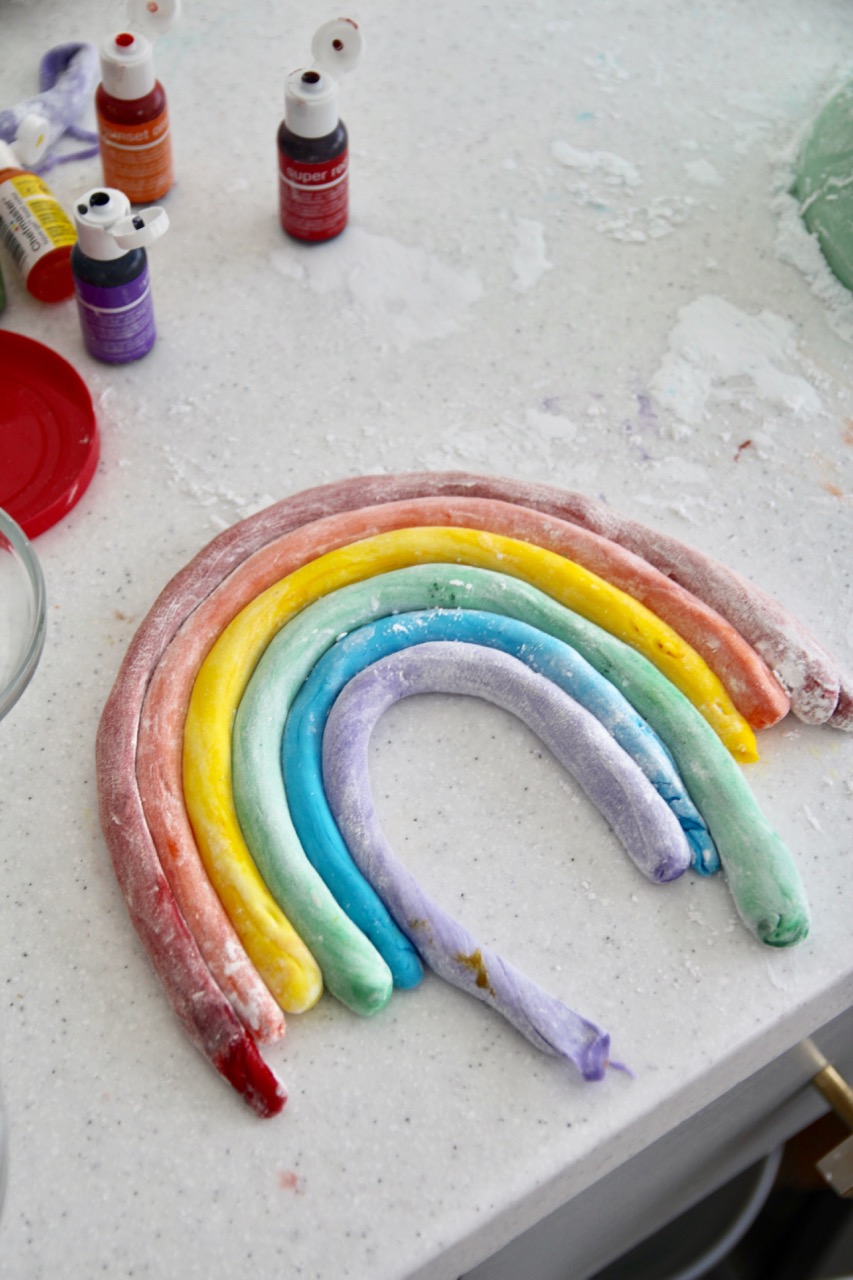
Just dust your hands and your working surface with more powdered sugar, then mush each fondant ball so that the color is even throughout. Roll each ball out into a log.
(The excess powdered sugar can be brushed off later, or you can take a small paintbrush and apply a little water to get it off.)
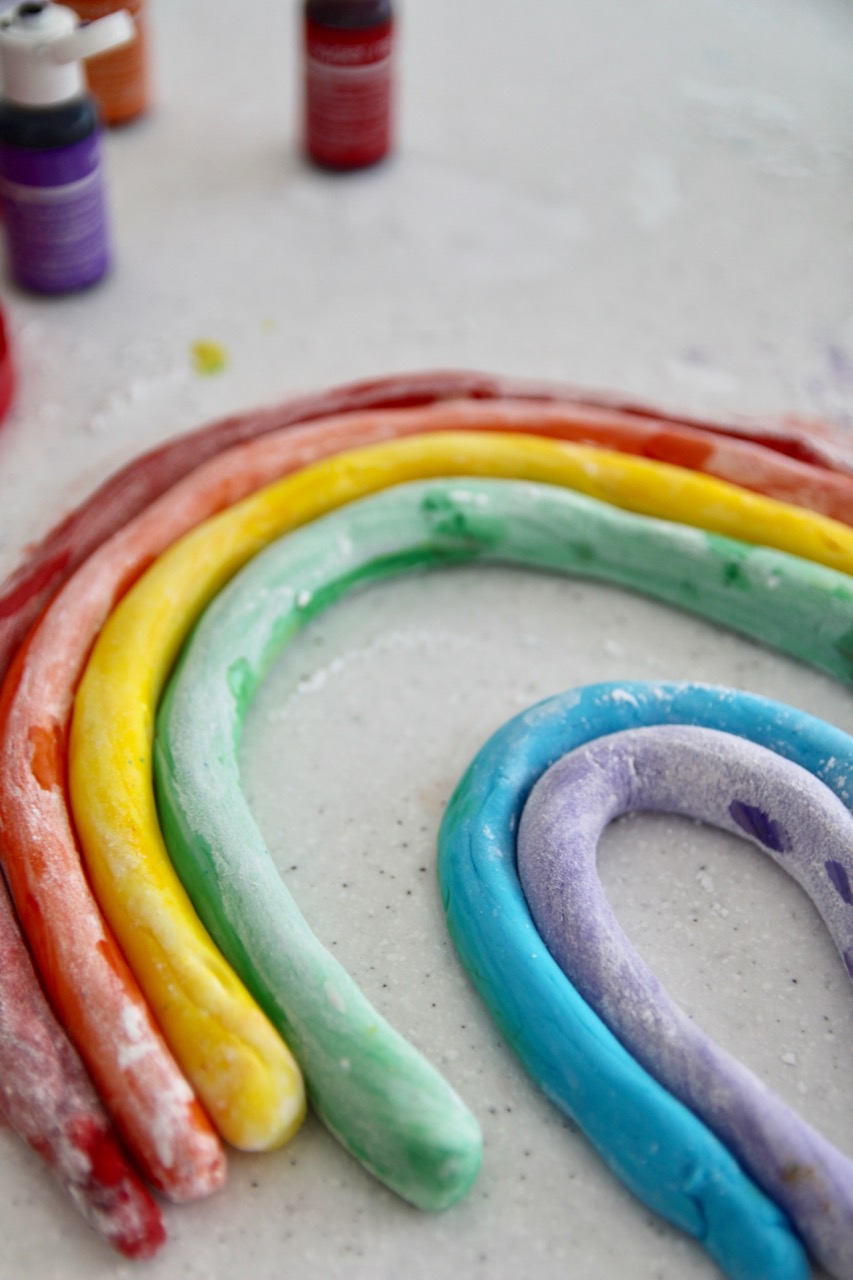
(To connect the logs, just brush on a little water in between the layers and gently press together.
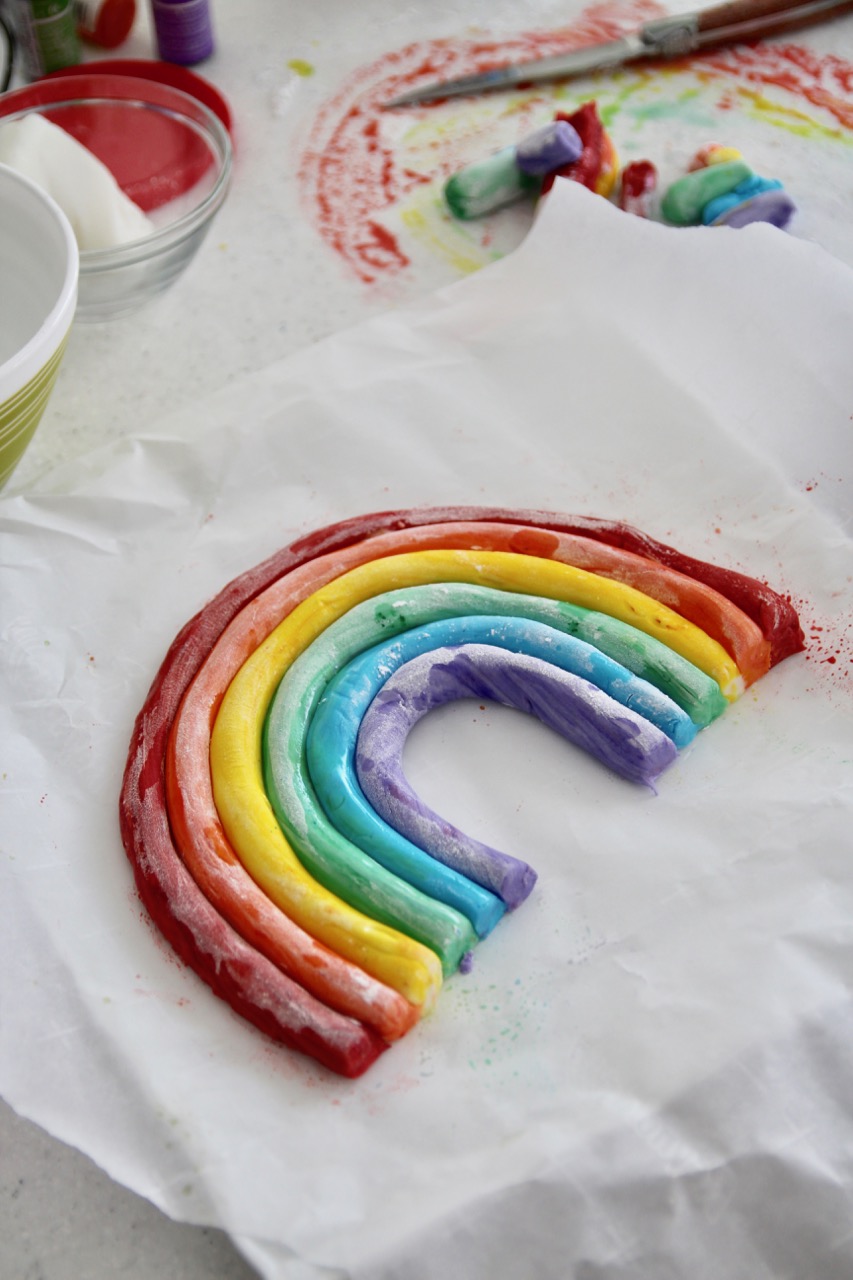
Cut off the ends so they’re even, and carefully transfer onto a parchment paper-lined plate.
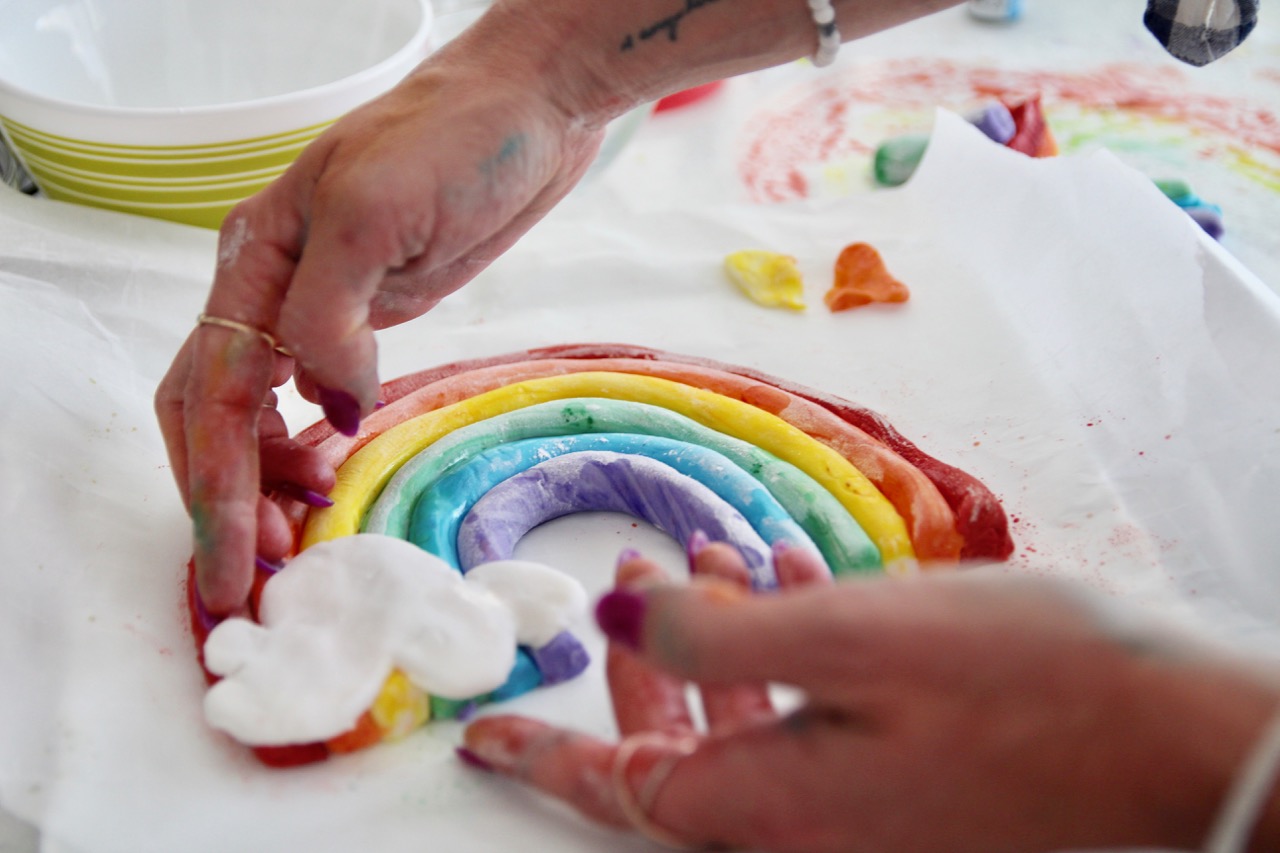
Roll out the ball of white fondant, and cut into cloud shapes. To affix the clouds to the rainbow, just dampen the backs with a little bit of water.
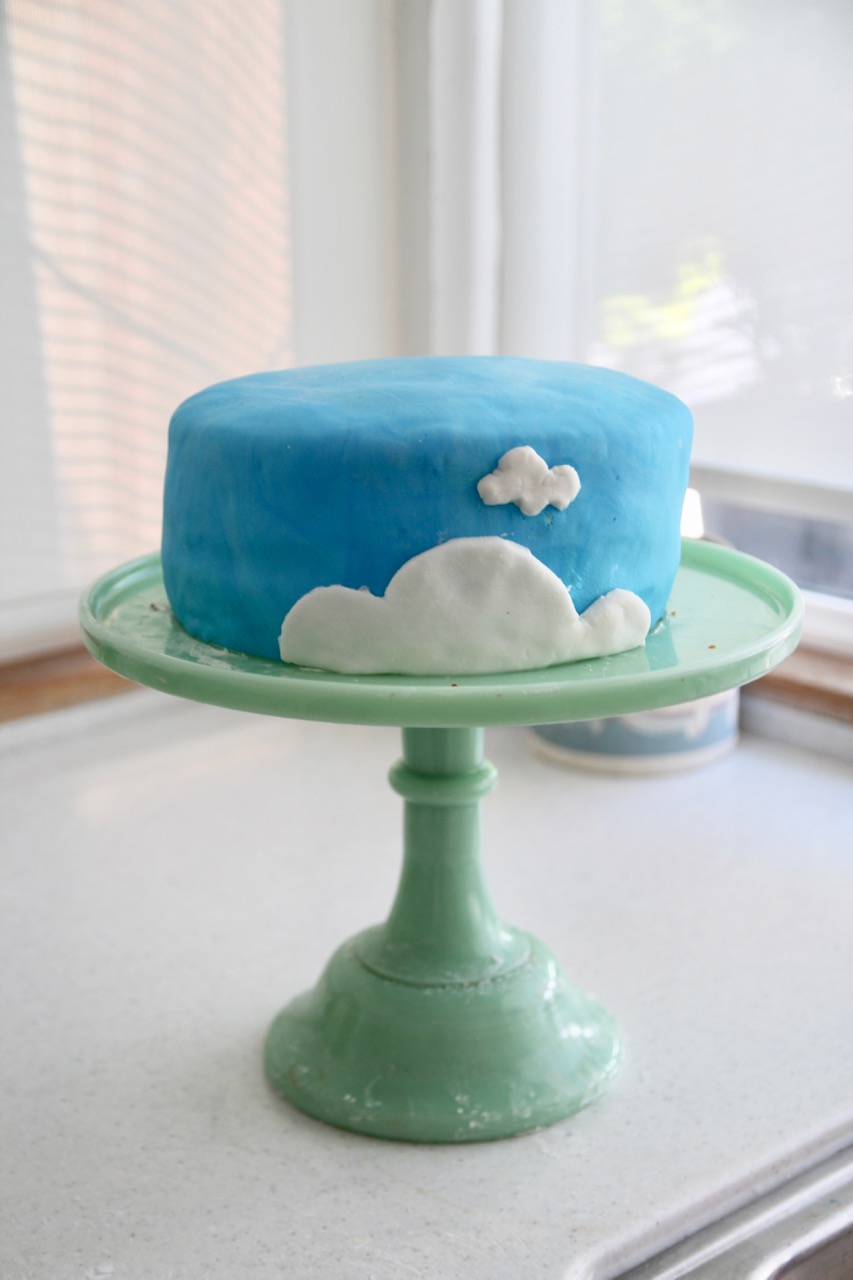
(That’s also how you add clouds to the cake, by the way.)
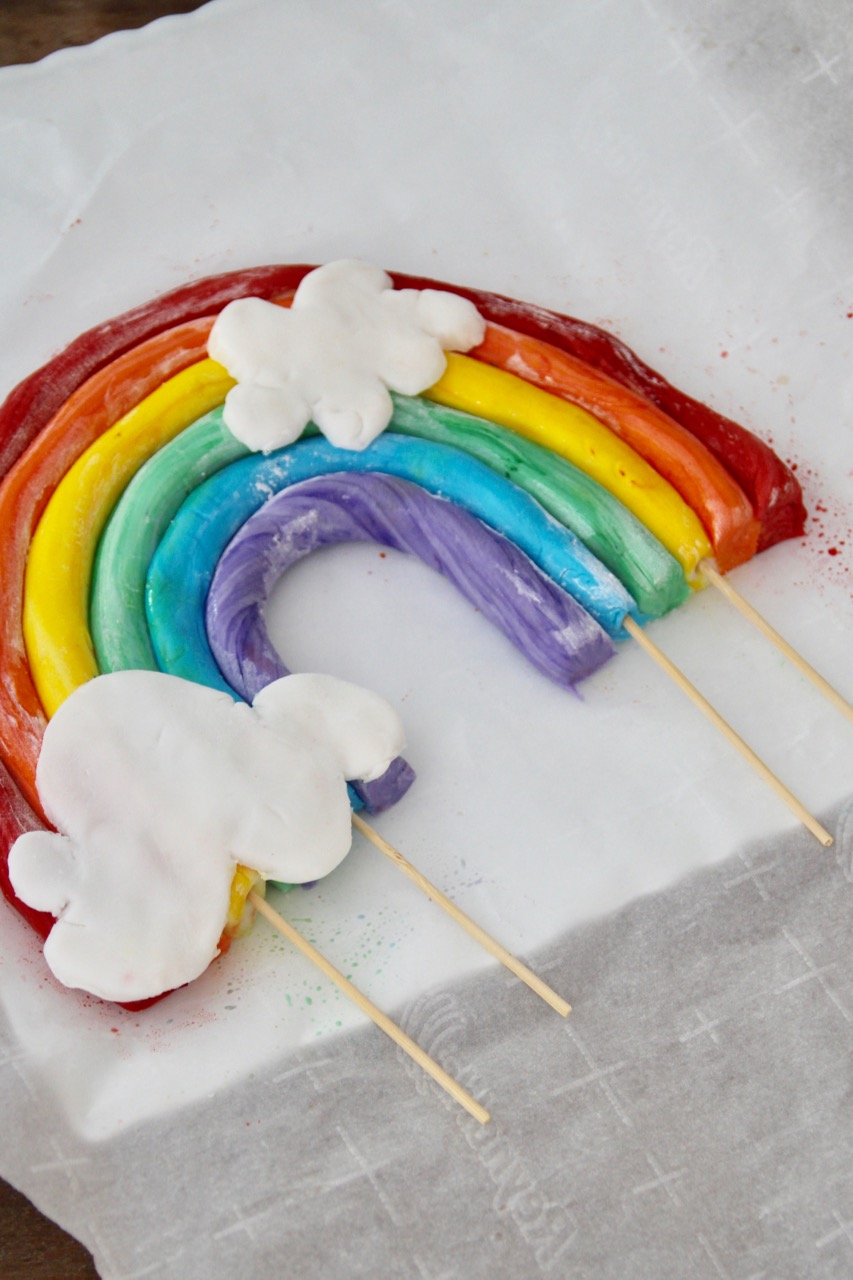
Before you put the cake topper into the refrigerator to harden, thread a few toothpicks into the bottom – these are what you’re going to use to secure the rainbow (which is actually quite heavy).
Want to make butterflies to hang out on your rainbow? Use your brilliant artistic skills to make butterfly shapes, and then set them in an empty egg carton so they get all 3-D.
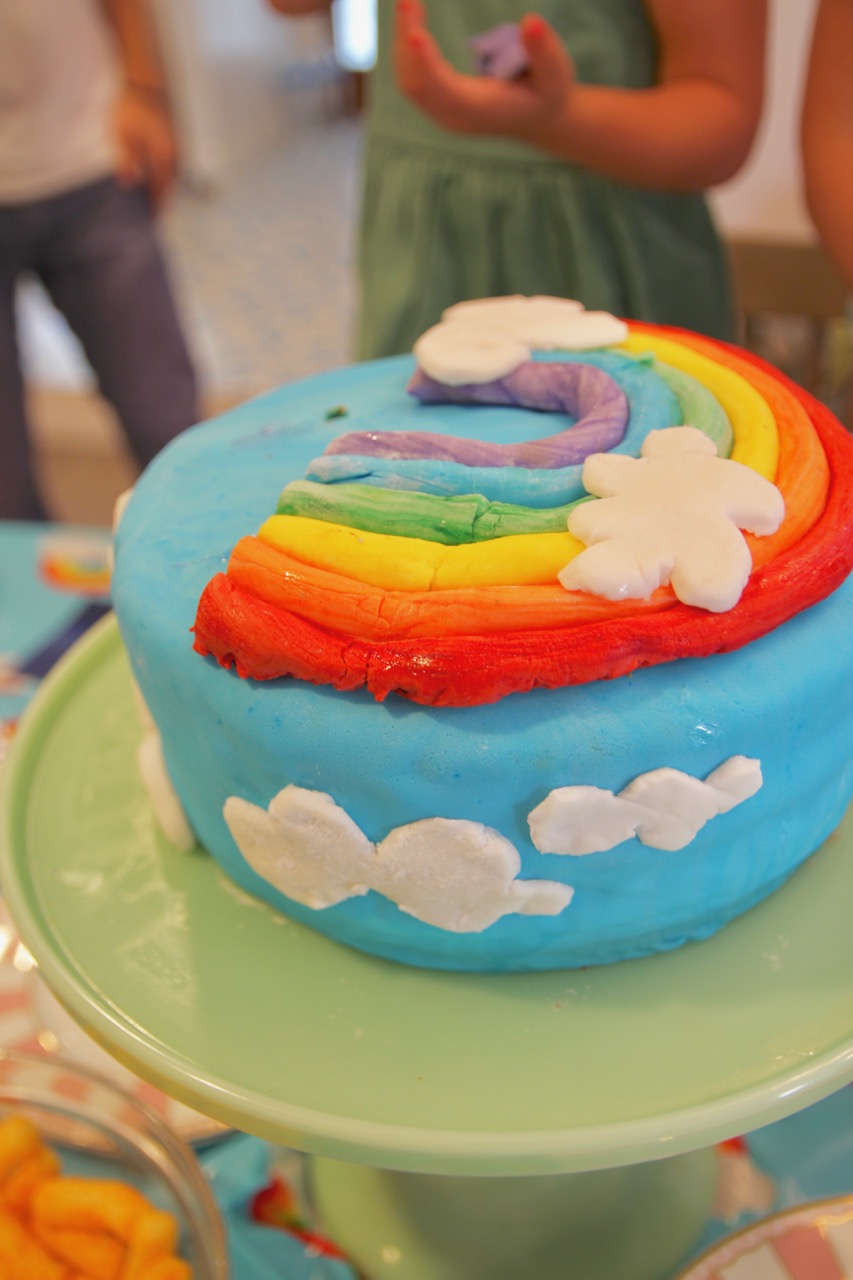
And the end result?
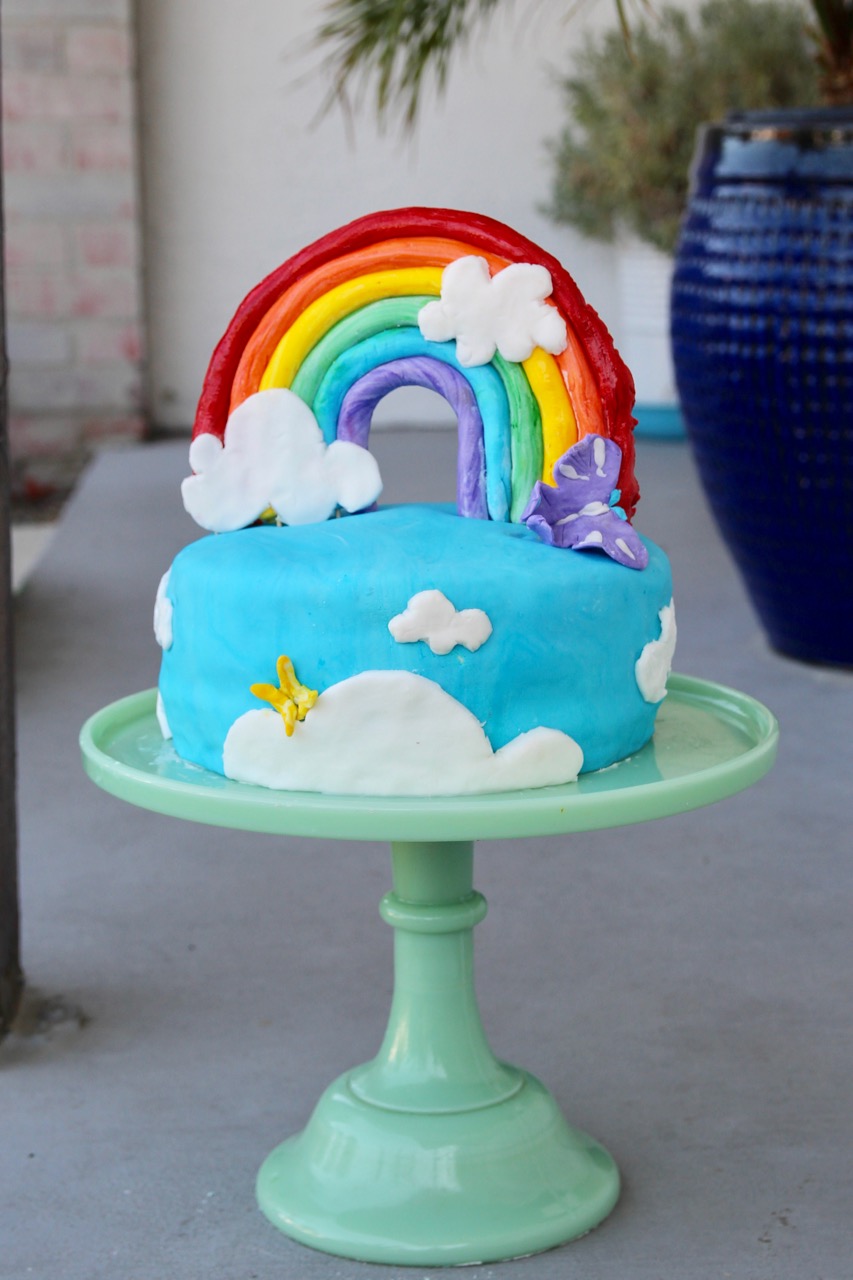
TA DA.
Important note: the cake topper is heavy, and will not last outside of the refrigerator for long, so keep the entire cake chilled until you’re ready to serve. And if a rainbow-flopping emergency should arise, just use a couple of forks to prop up the back; no one will see them (or care if they do).
To serve, remove the toothpicks and lay the topper down on the top of the cake before cutting (but after candle-blowing, of course). That way everyone gets to taste the rainbow (sorry).
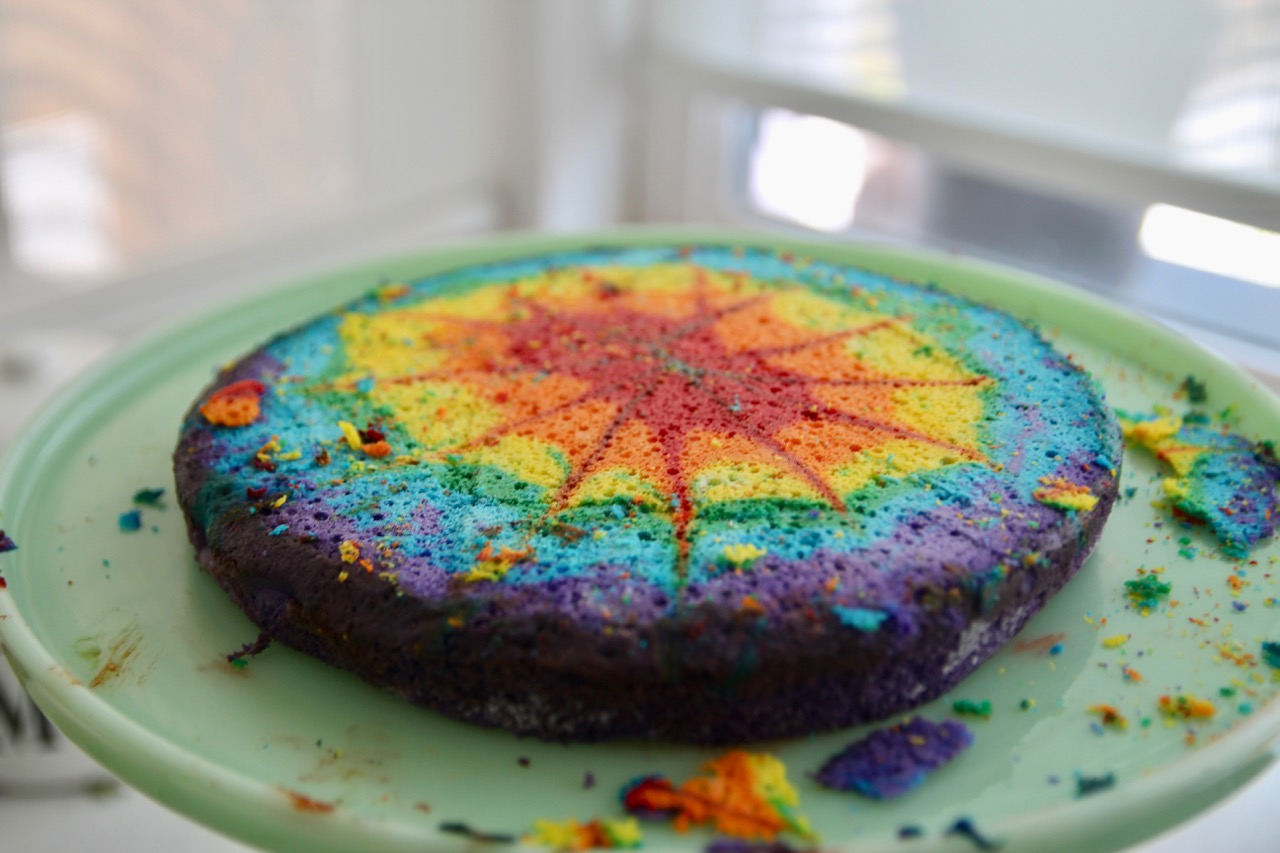
More pics below (including some must-sees of the tie-dyed interior, omg.)