Everyone says having a pool is crazily expensive. I haven’t found it to be terrible so far – we have a reasonably priced pool guy, and the fact that we have solar offsets the cost of heating it a lot – but you know what happens when you have to repair your pool? Like, because the plaster, having reached its expiration date, starts cracking and flaking off?
You spend oh my god, so much money having it fixed.
When we applied for our home equity line of credit, a pool renovation was one of the main things we knew we were going to do (and yes, it spiraled off into more renovations, and then more) – but the thing about renovating a pool is that it’s such a major expense and such a pain, what with the draining and pouring of concrete and spraying of plaster and etc etc – that if you’re going to do it, you don’t want to do it more than once. Which means you should probably just do it right the first time.
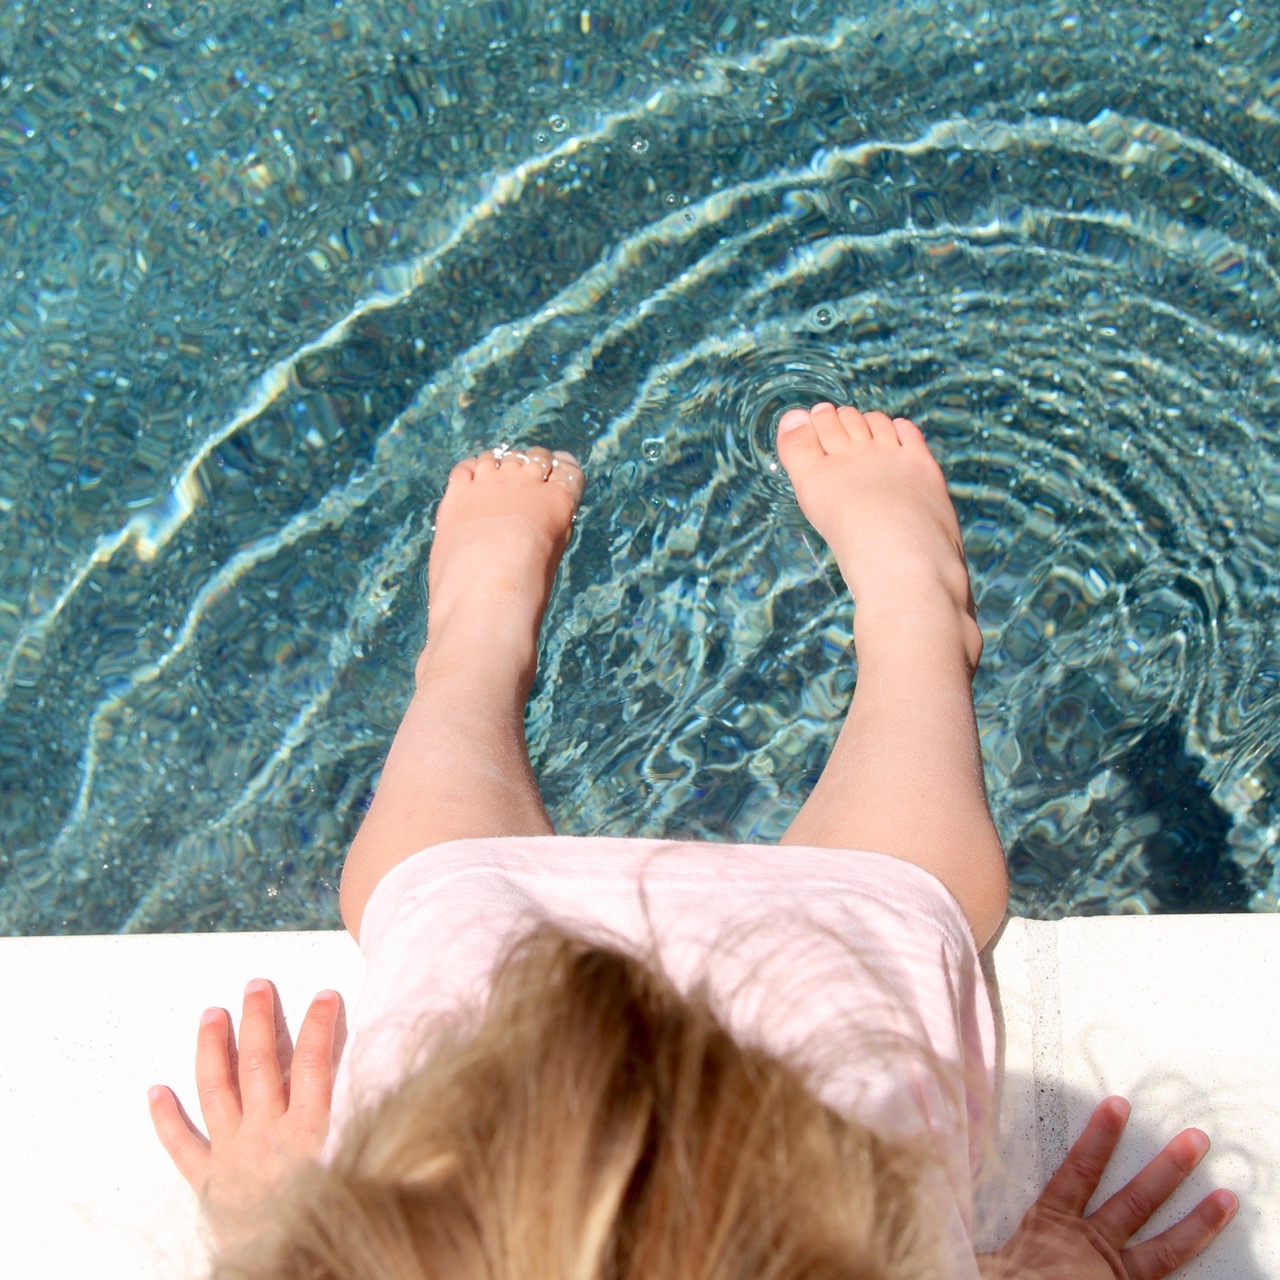
So I thought, what the hell. I’ve always wanted a pool with a dark navy bottom. And once I went into the pool place they did what they do, and told me all about the amazing resurfacing material I could upgrade to (which lasts three times as long as regular plaster! and feels like sand on your feet! and can be combined with tumbled glass and tiny seashell-things so that the bottom of your pool actually sparkles in the sunlight!), and so I did that. And then they told me what a Baja Shelf is – essentially a shallow ledge in the pool upon which you can sit in your gorgeous lounge chair while holding your cocktail and dipping your toes into the water without actually *being* in the water – and so obviously we were going to have to do that, too.
Fifty or sixty years later:
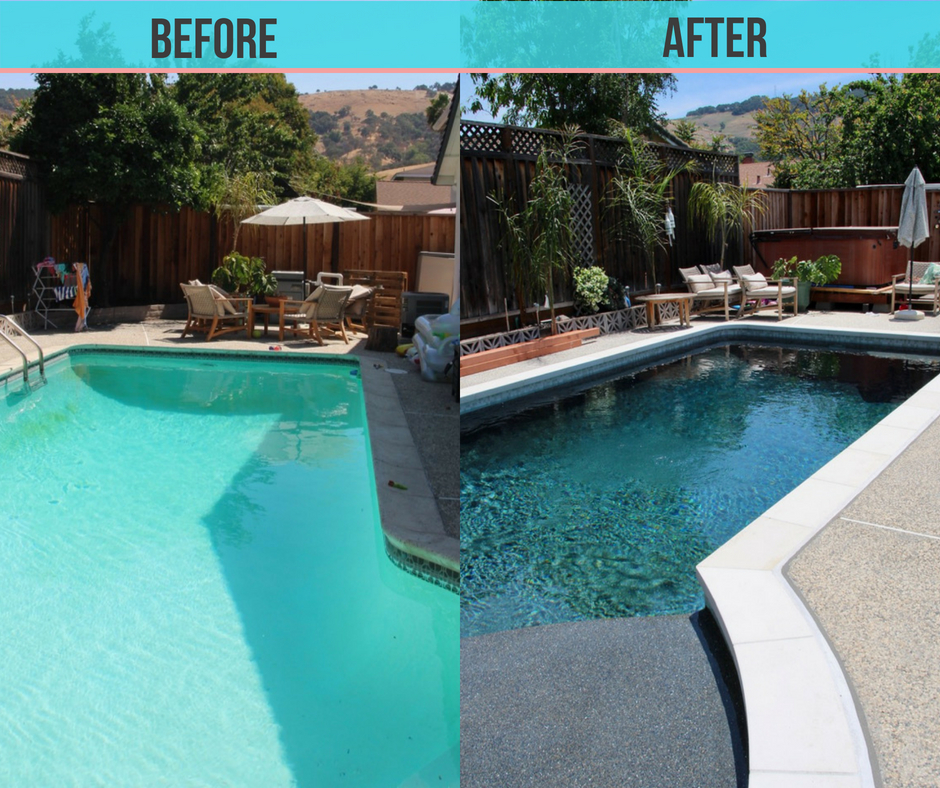
The pool is done. (Stay tuned on the gorgeous lounge chair situation I mentioned above, though – that’s yet to come, and it will involve a giveaway for you guys.)
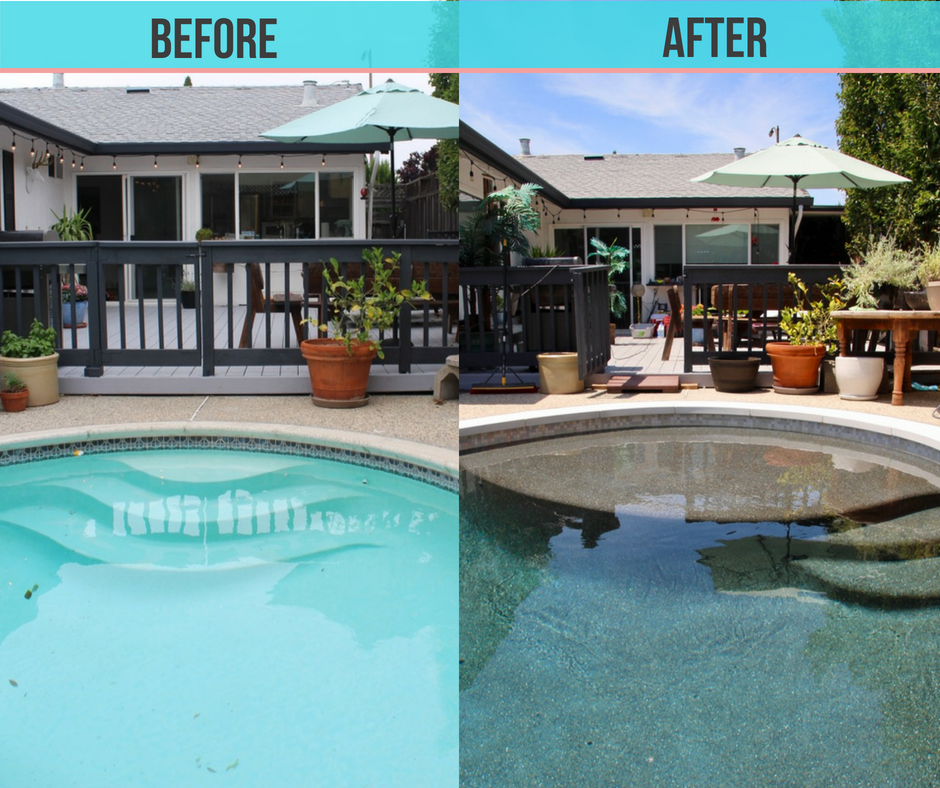
Here’s a rundown of the changes we made to the pool itself:
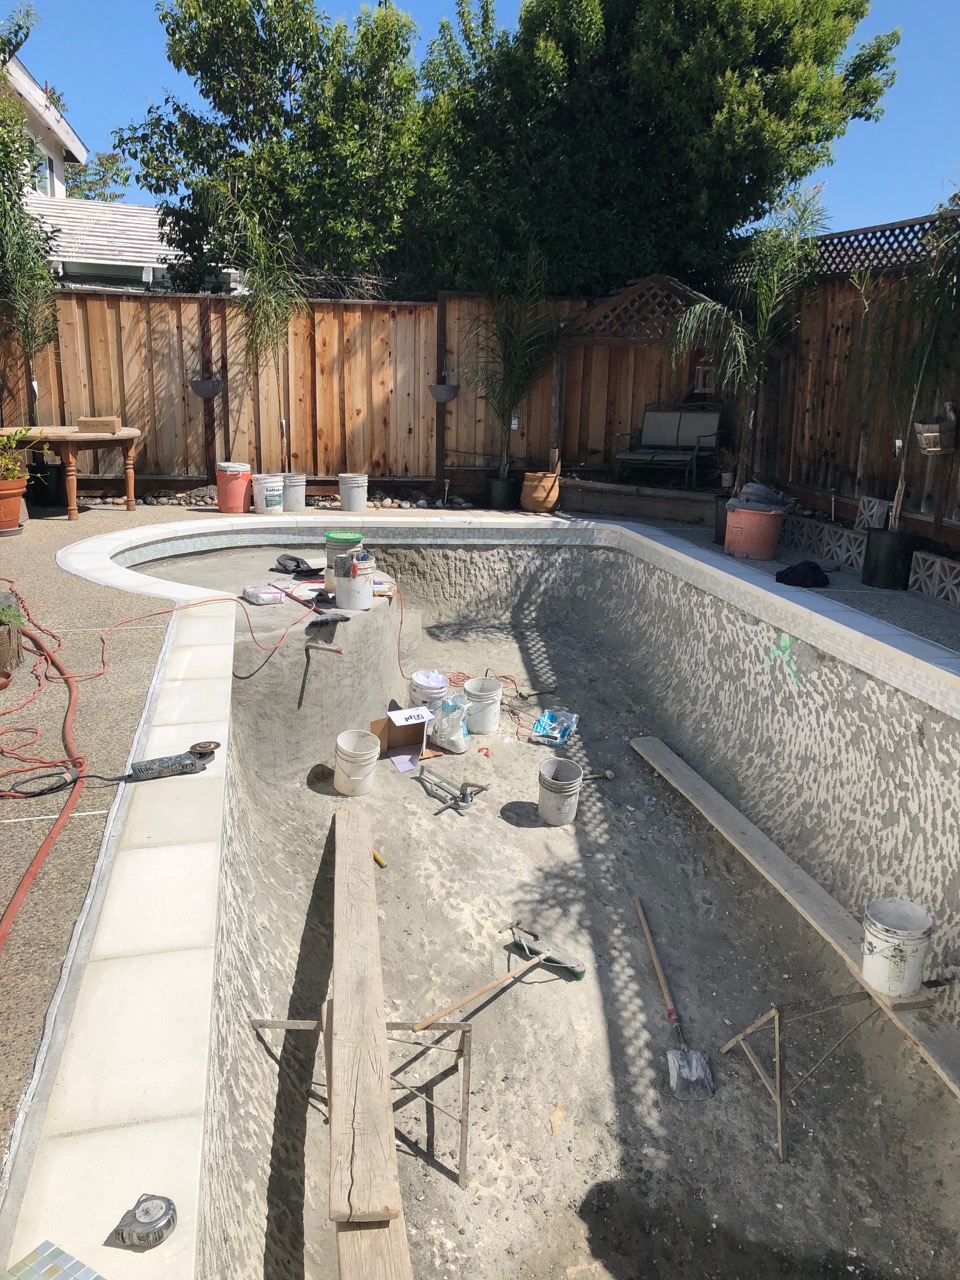
- Removed the plaster, coping (the flat stones around the edges of the pool; ours had raised, curved edges that made it look dated), and tiles (again, ours were chipping and dated-looking). We also took out the metal ladder.
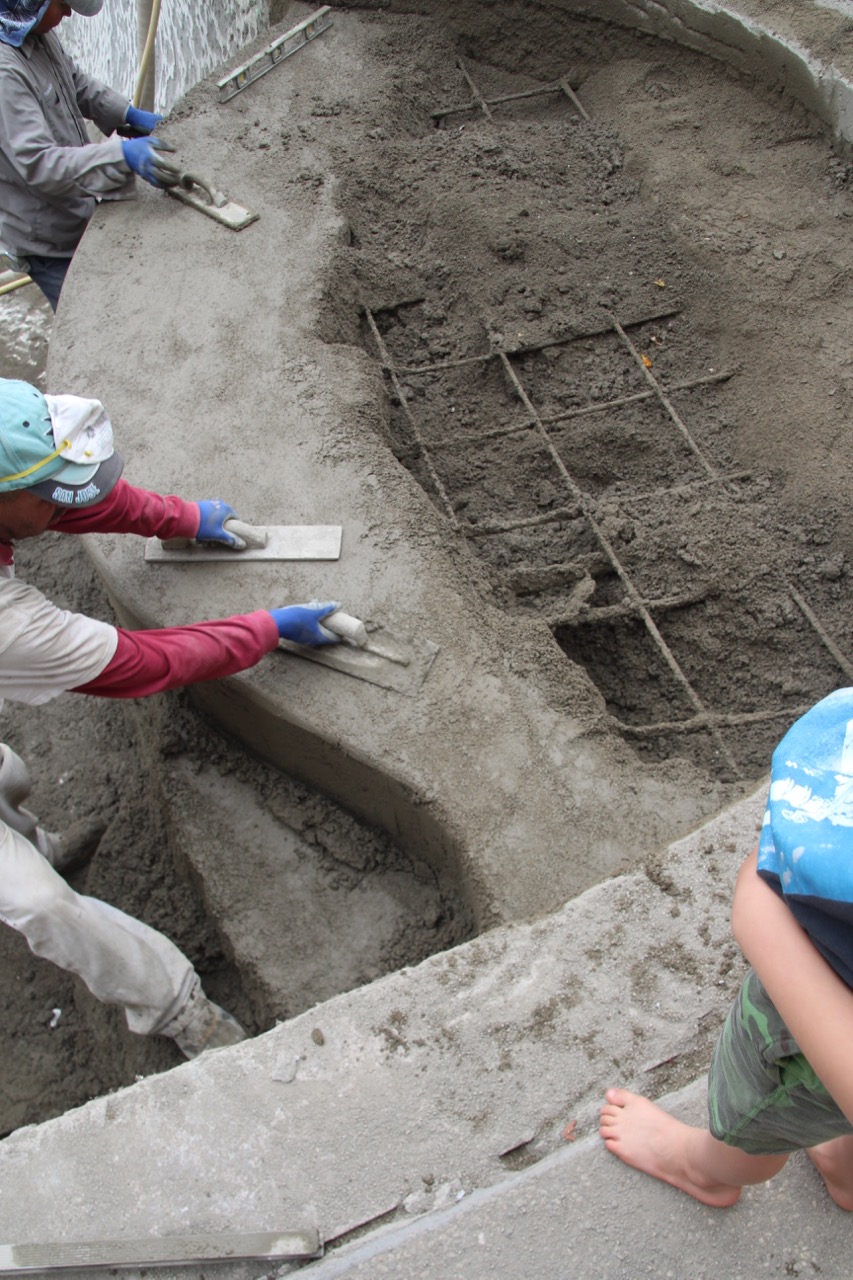
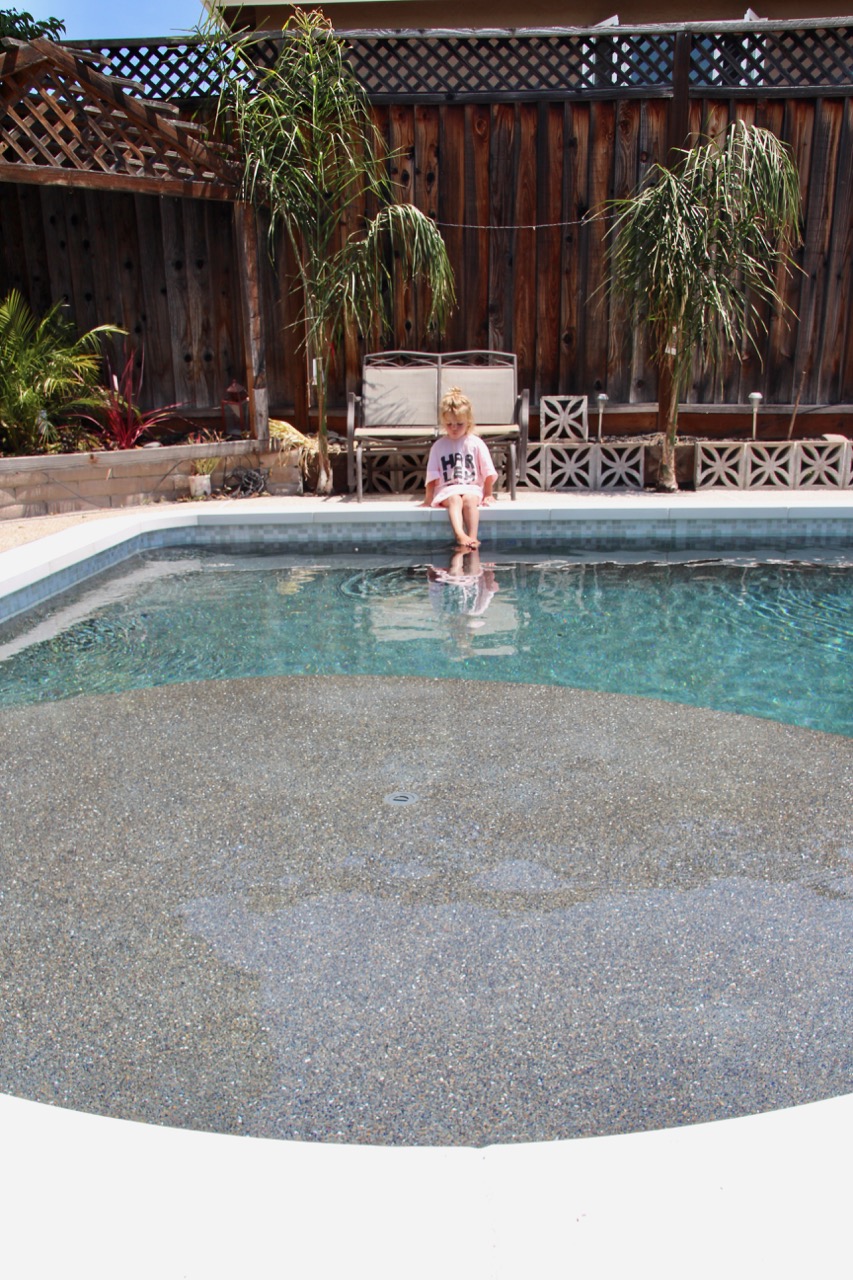
- Hired Adams Pool Solutions to build a Baja Shelf (that large, flat expanse you see in the shallow end) with iron rebar and cement. Since we had leftover cement from our order, we also built a small bench in the deep end of the pool to replace the ladder.
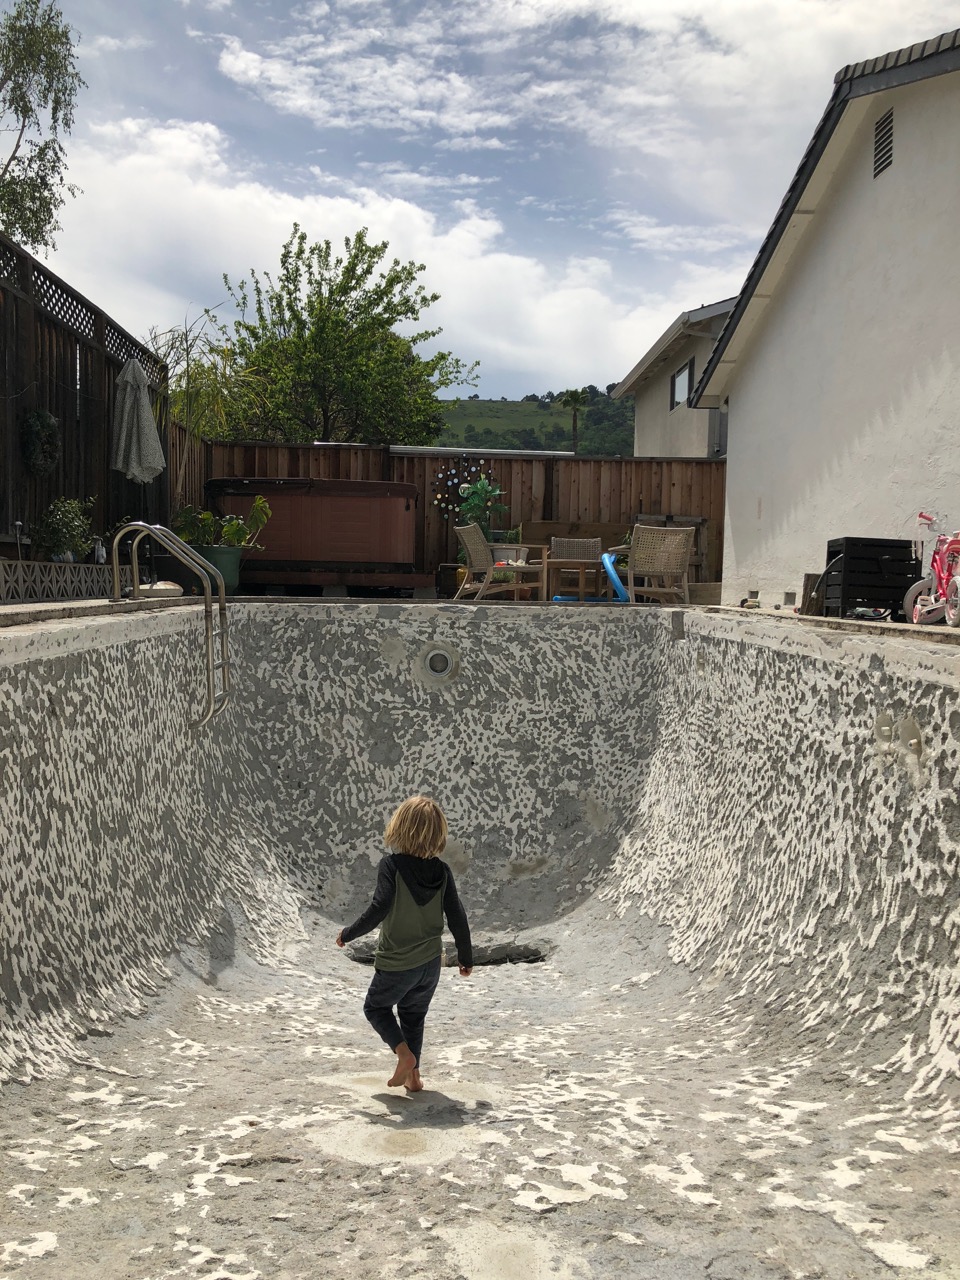
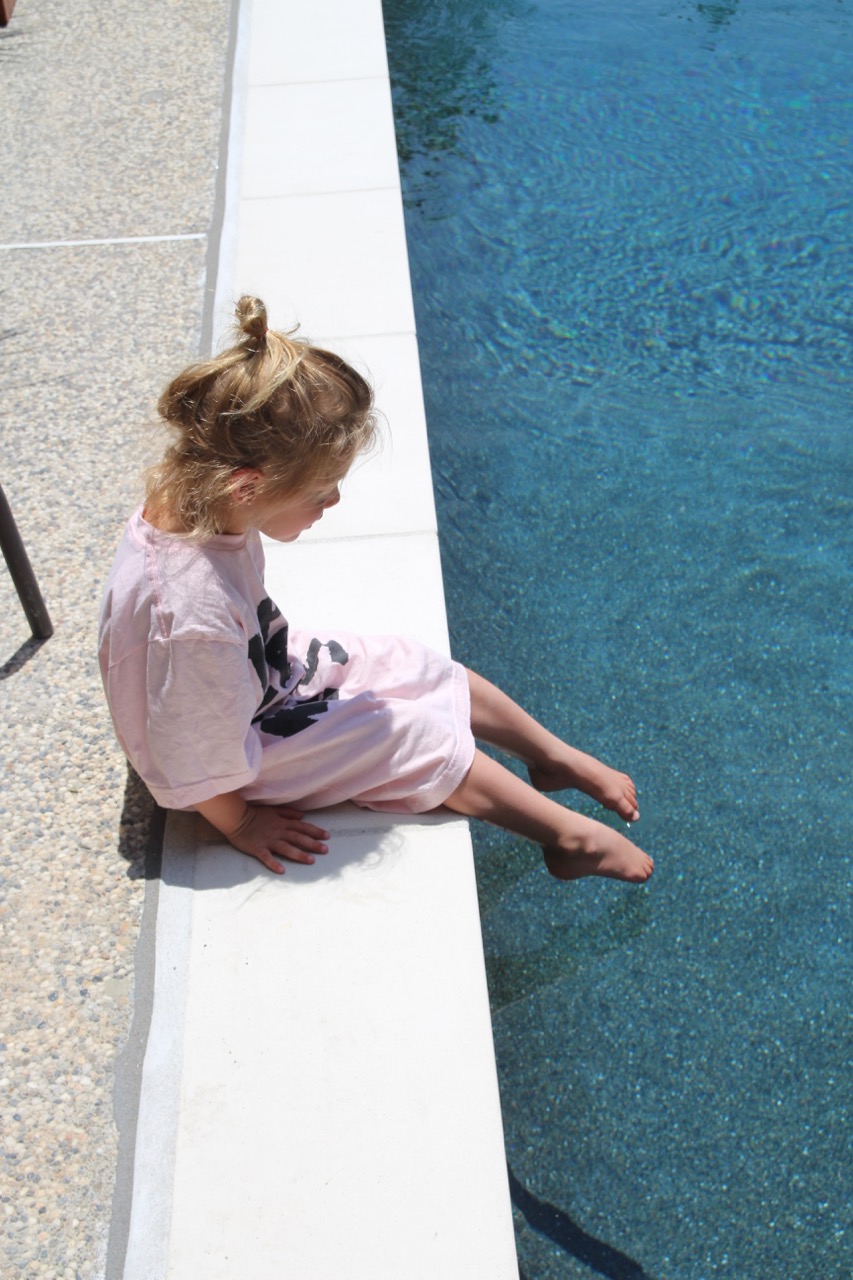
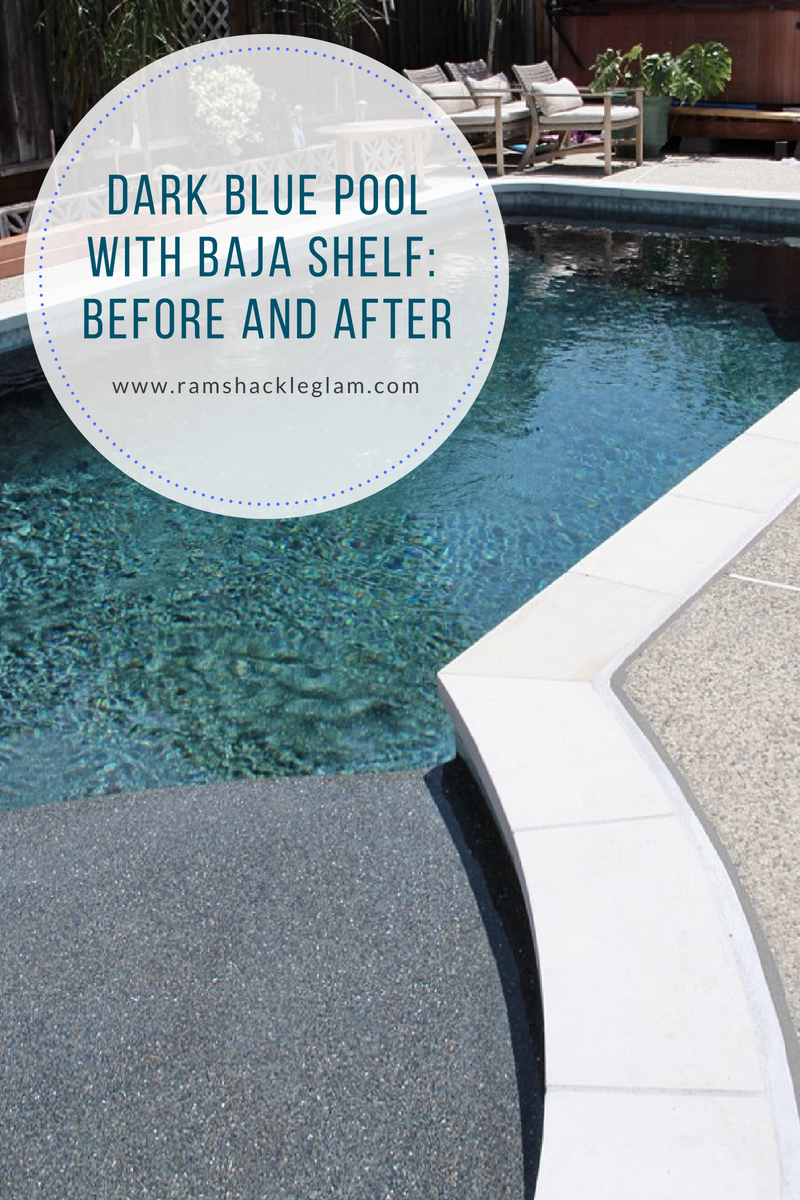
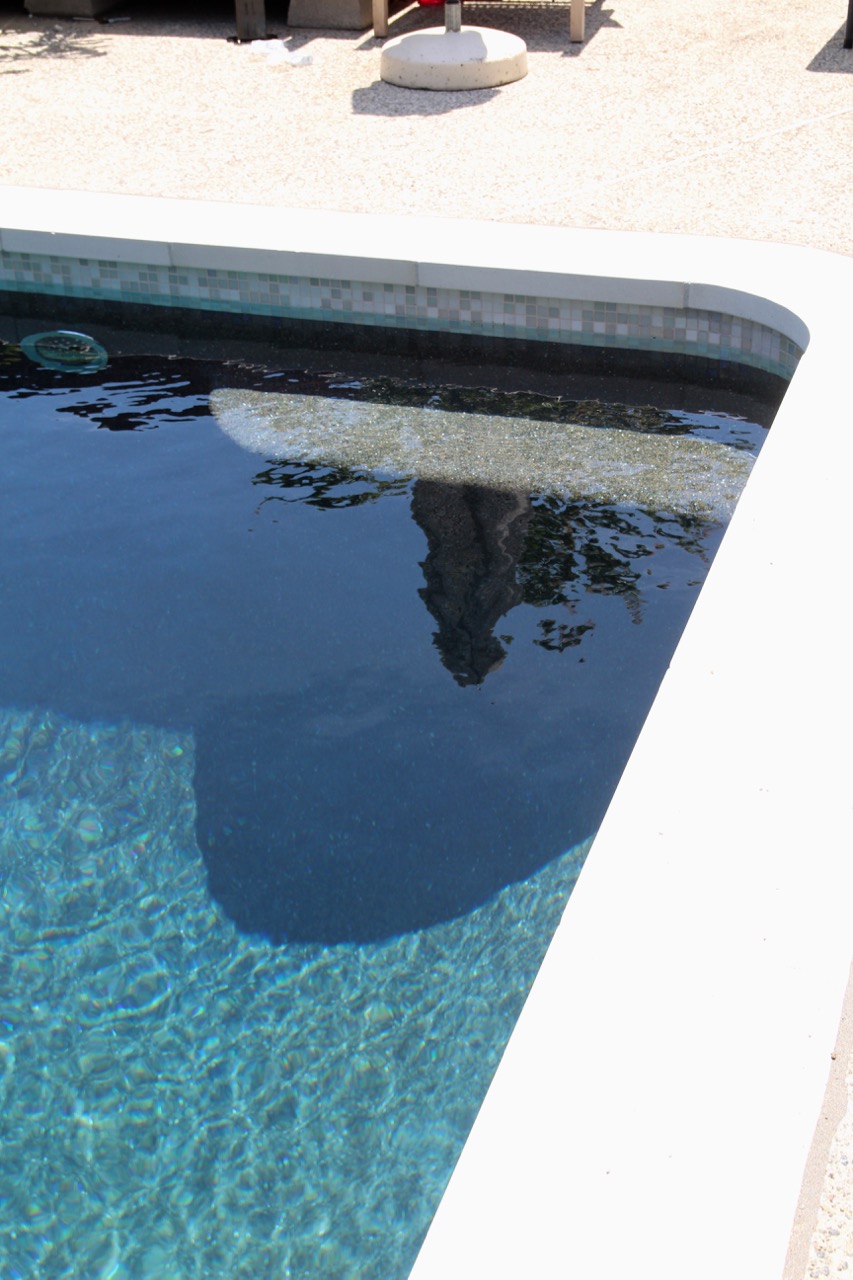
- Sprayed on Pebbletec (not actually the brand Pebbletec, but the competitor product offered by our design company, Poolstone; it basically creates a bumpy surface that looks and feels more natural, and that lasts way longer than traditional plaster). For the color, we chose their darkest blue – almost a black – and had little blue glass beads and bits of oyster shells tumbled in so that it’d sparkle.
- Replaced the old blue-and-white tile around the upper edge of the pool with a blend of shimmery, iridescent white tiles that look rainbow when they’re underwater.
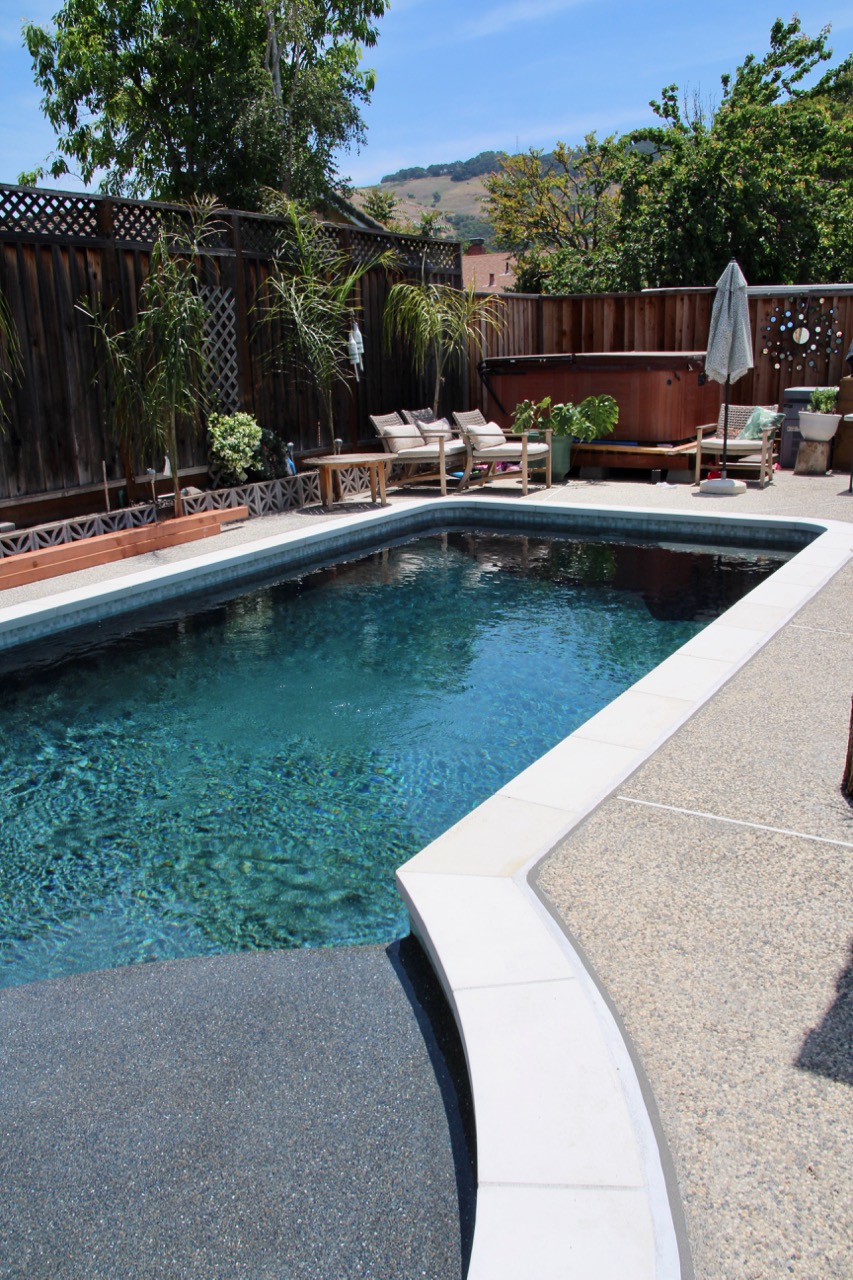
- Replaced the rounded, ancient coping with flat white granite with squared-off edges for a much more modern, clean feel.
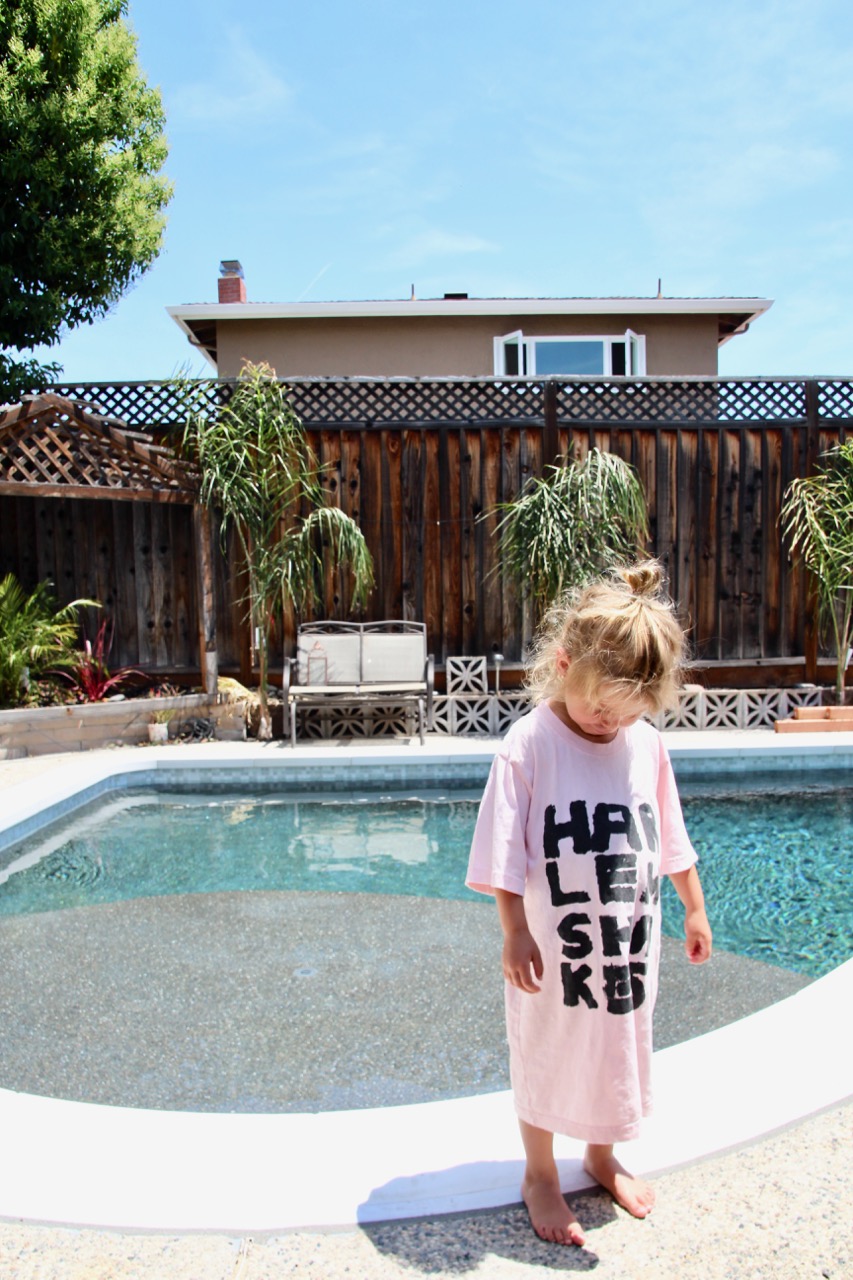
The Baja Shelf has a hole in the center for an umbrella, so the finishing touch will be to install an umbrella and two Ledge Loungers, because omgggggg.
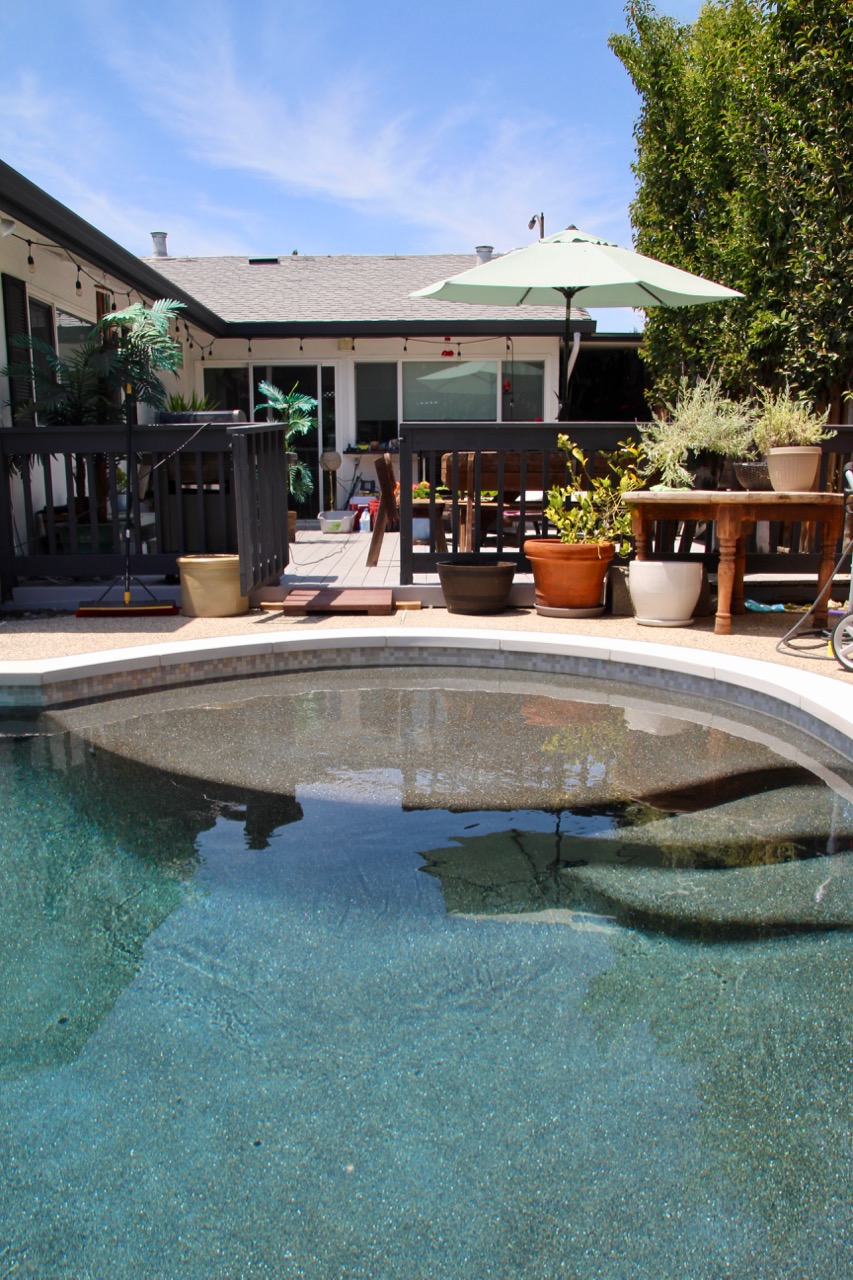
Baja Shelf with steps in shallow end
Bench in deep end
We also started incorporating the suggestions made by Inga Klingauf of SurroundYou Design (remember, my friend who made those insanely cool architectural renderings of our backyard redesign?). What we’ve done so far:
- Remove the orange tree (sadly, because it grew delicious oranges, but it was also where my hot tub needed to go).
- Install hot tub (found used on CraigsList) and stand (you can’t just put a hot tub down on the ground we had there; it’s way too heavy).
- Beginnings of landscaped side wall – I wanted to do the awesome curved planter wall Inga recommended, but $$$$$$, so we started by just removing a few of the cement blocks along the wall, cutting holes in the ground with a concrete saw, and then planting Queen palms that’ll grow to be huge and lovely and shady.
Lots of pics of the new pool area – plus some in-progress shots – below (and please forgive the ongoing presence of construction equipment – we’re still doing work, and I’ll post pretty *final* shots once it’s all decorated and such 🙂