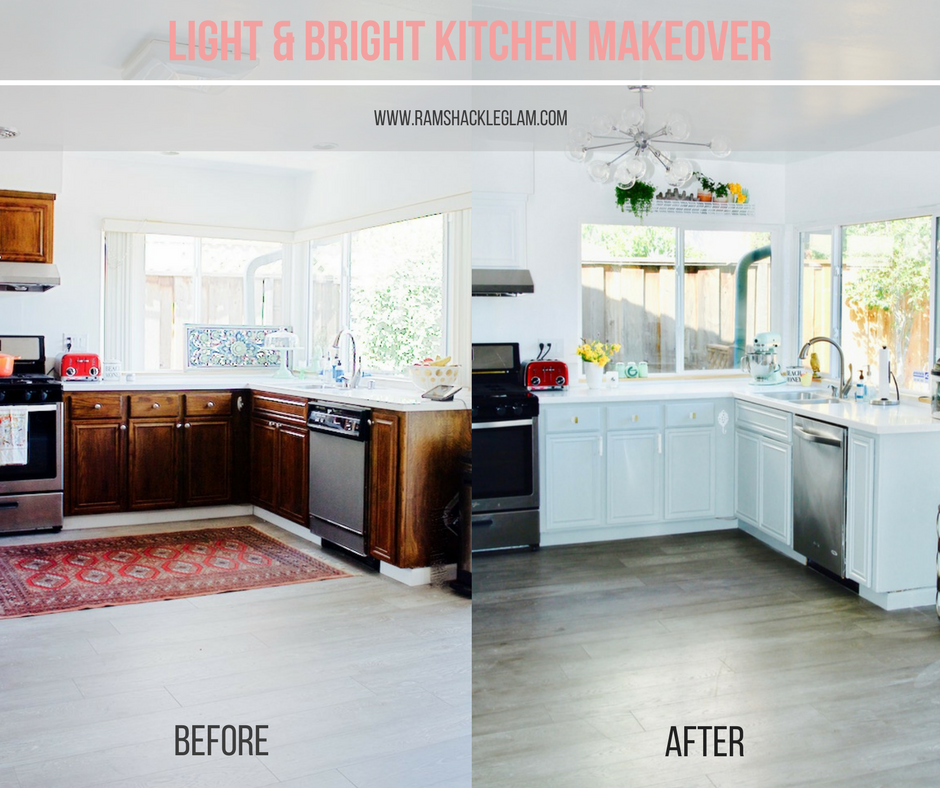
I’ve been dying to do something with our kitchen since the day we moved in. There’s nothing especially hideous about it; it’s just…dark. And when I take photos in it it’s just super off-brand, you know? (Kidding. But only sort of, because I’m a blogger and photograph stuff in my kitchen all the time and how dark it is makes me nuts.)
Let’s take a look at the before. (Note: when I moved in there was a black-brown-grey-white tiled backsplash, which I took out and drywalled over, and I replaced the off-white tiled floors with grey composite wood beams. So this is more like the “before…after I had one pass at it.”)
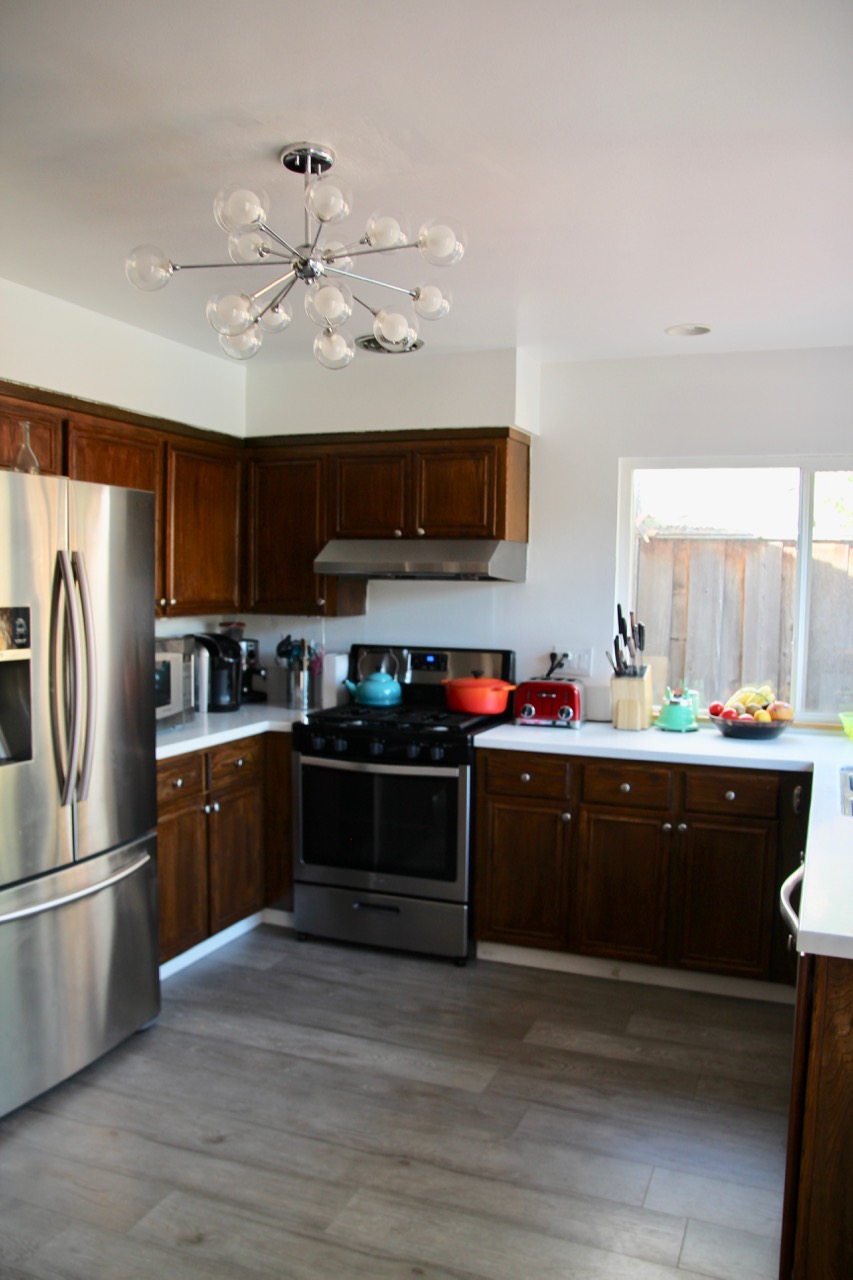
The cupboards are the original 1960s wood, with wood-panel doors that were clearly added a few decades later, and they’re super inefficient in terms of space utilization, but they’re not in bad shape.
Replacing these knobs is such an obvious fix:
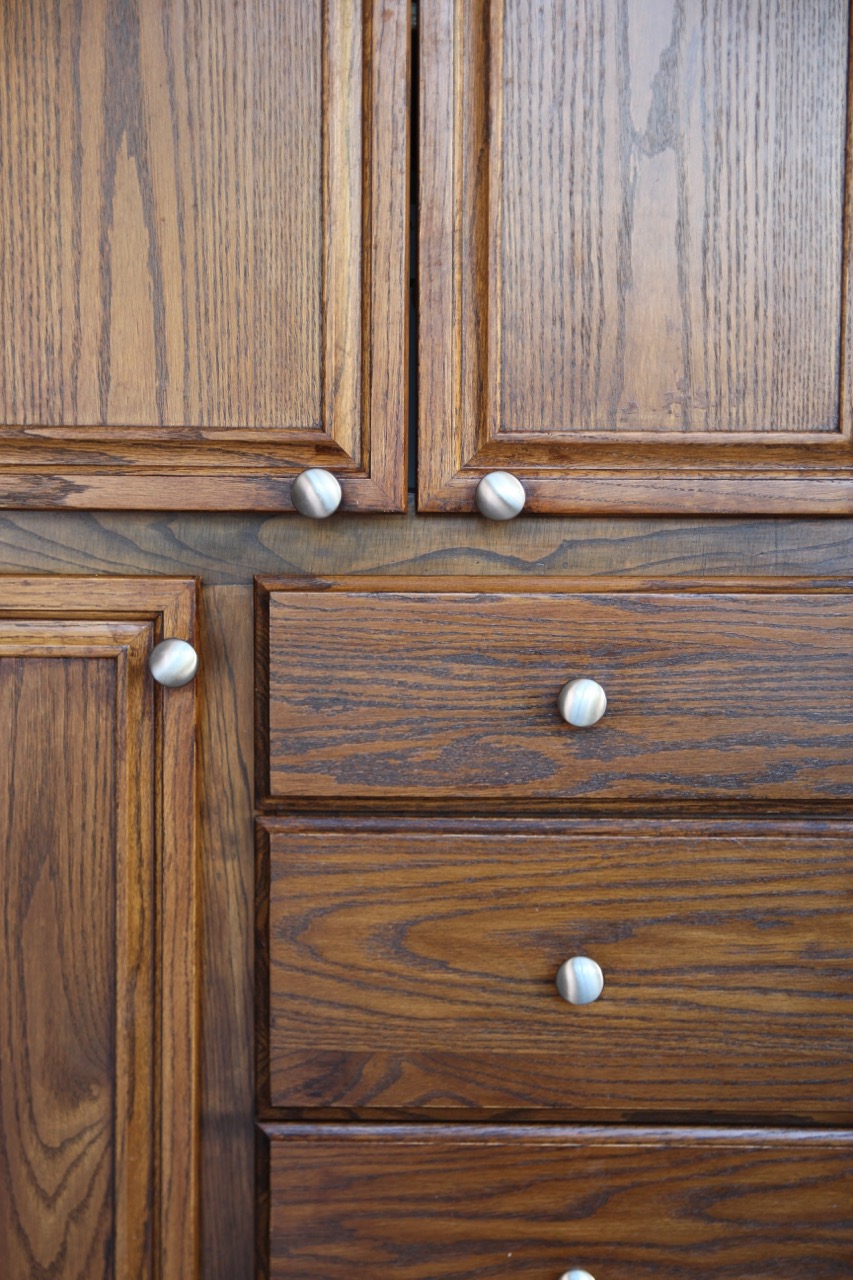
The whole thing is just…dated. And not me.
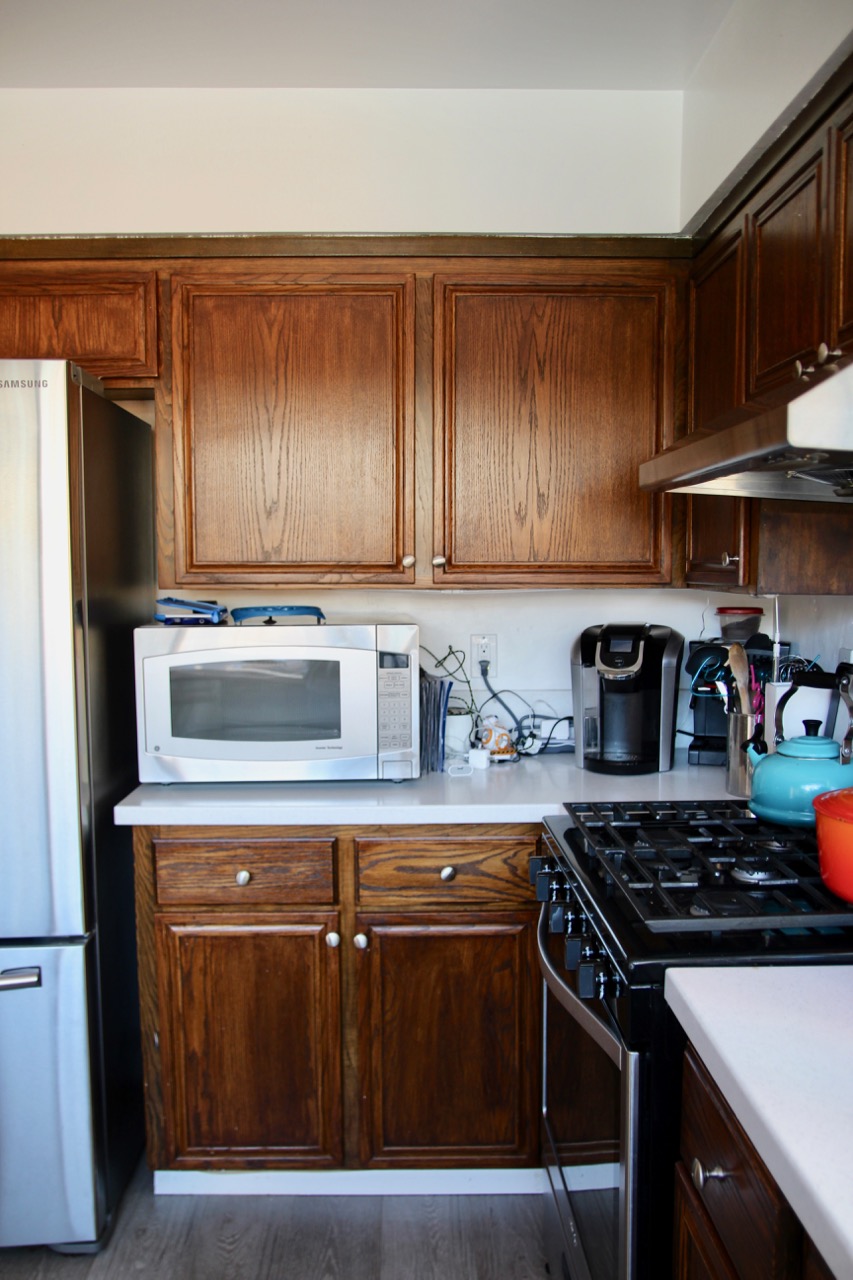
(And messy, but that’s because I forgot to not be lazy and straighten up before taking a photograph.)
Here’s the thing: Of course I’d love to do a complete kitchen overhaul – new cabinets, maybe a center island, et cetera et cetera – but that’s like…what, 15, 30 grand? I do not have 30 grand. Or 15. So my hope was to make some simple cosmetic adjustments to the tune of about 1k, thereby postponing a full redo until…I don’t know, we win the lottery. Or pay off our student loans, whichever comes first.
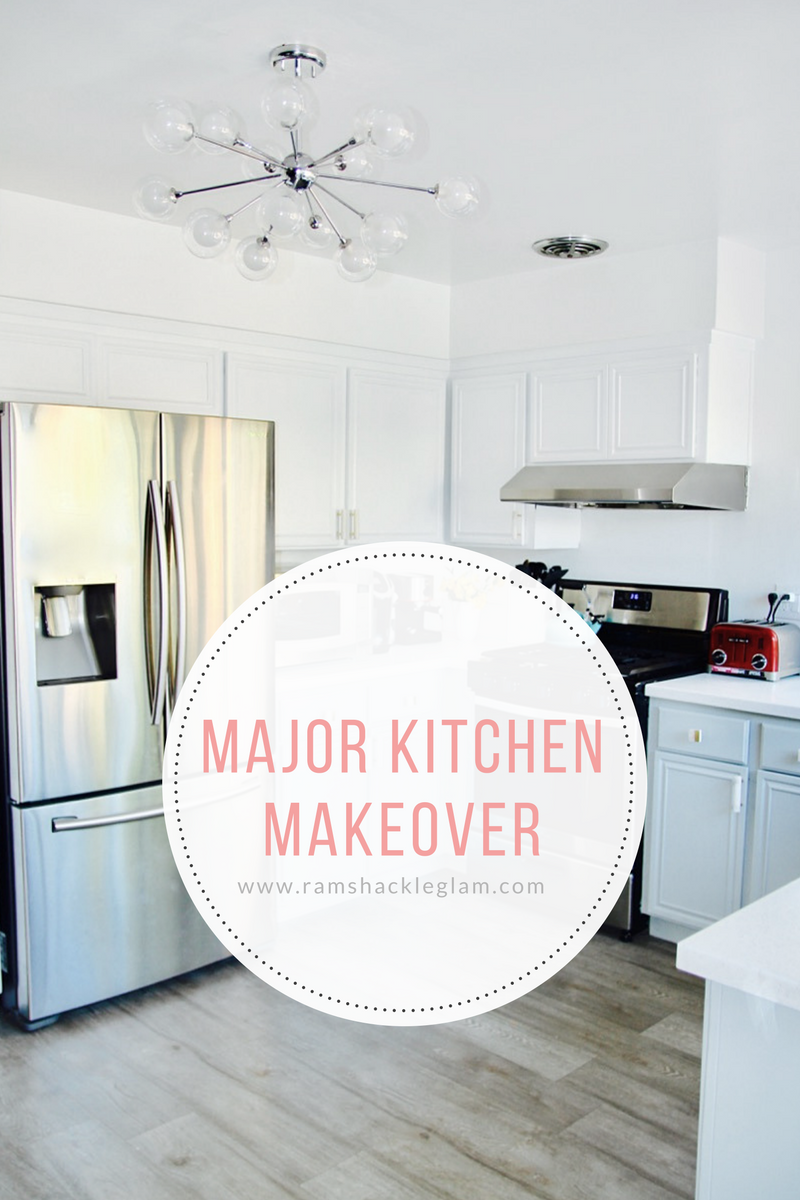
So really, all I intended to do was slap a few band-aids on the kitchen – minimum money for maximum impact – with the expectation that whatever I did would be relatively temporary. What ended up happening: For only slightly more than the thousand dollars that I had budgeted, we ended up with a pretty close approximation of what I ultimately wanted from a full redo. I’m still hoping to get a center island in there and add a tiled backsplash, but a massive overhaul? No longer part of the plan.
![]()
PAINT COLOR
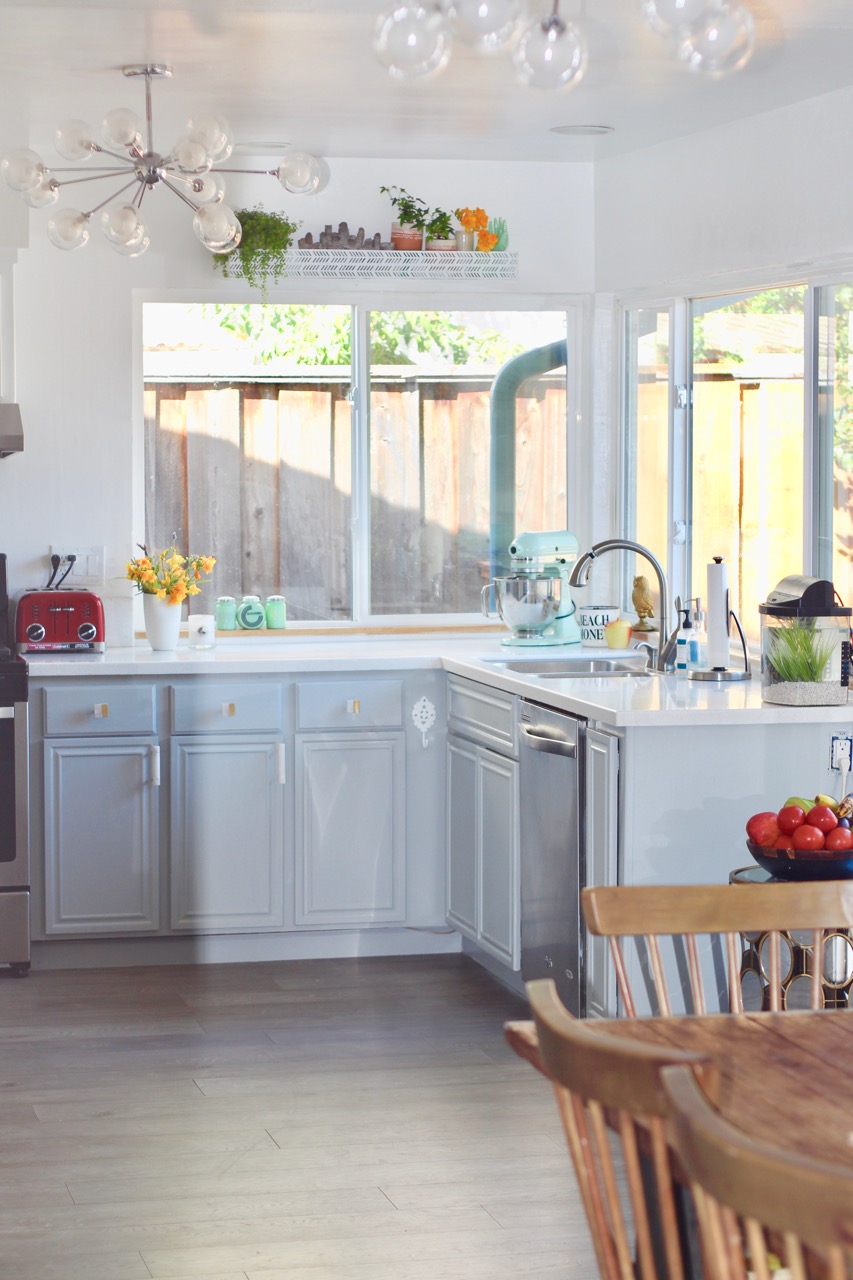
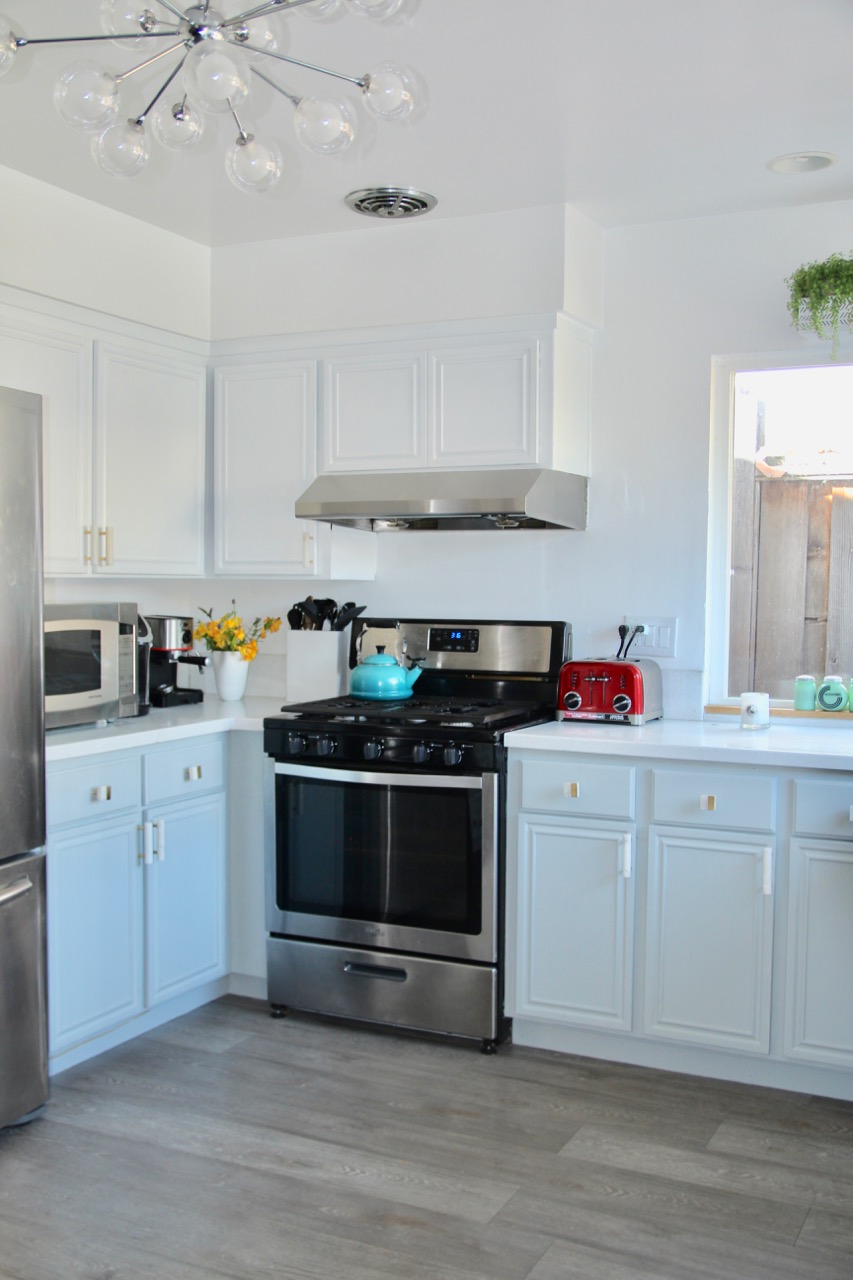
The plan was to paint all the cabinets white, but my friend Erin showed me a Pinterest shot of a kitchen very similar to mine that had two-tone cabinets (white on top; grey on the bottom), and so I decided to try that instead. The trick was finding the perfect grey – I wanted a grey that was pale enough to keep the overall effect super-light, but not so light that it looked like…well, like a mistake. Or dirty. I picked up samples in three different shades, and ended up going with Valspar Polished Silver (and Valspar Du Jour on the top).
PAINT TECHNIQUE
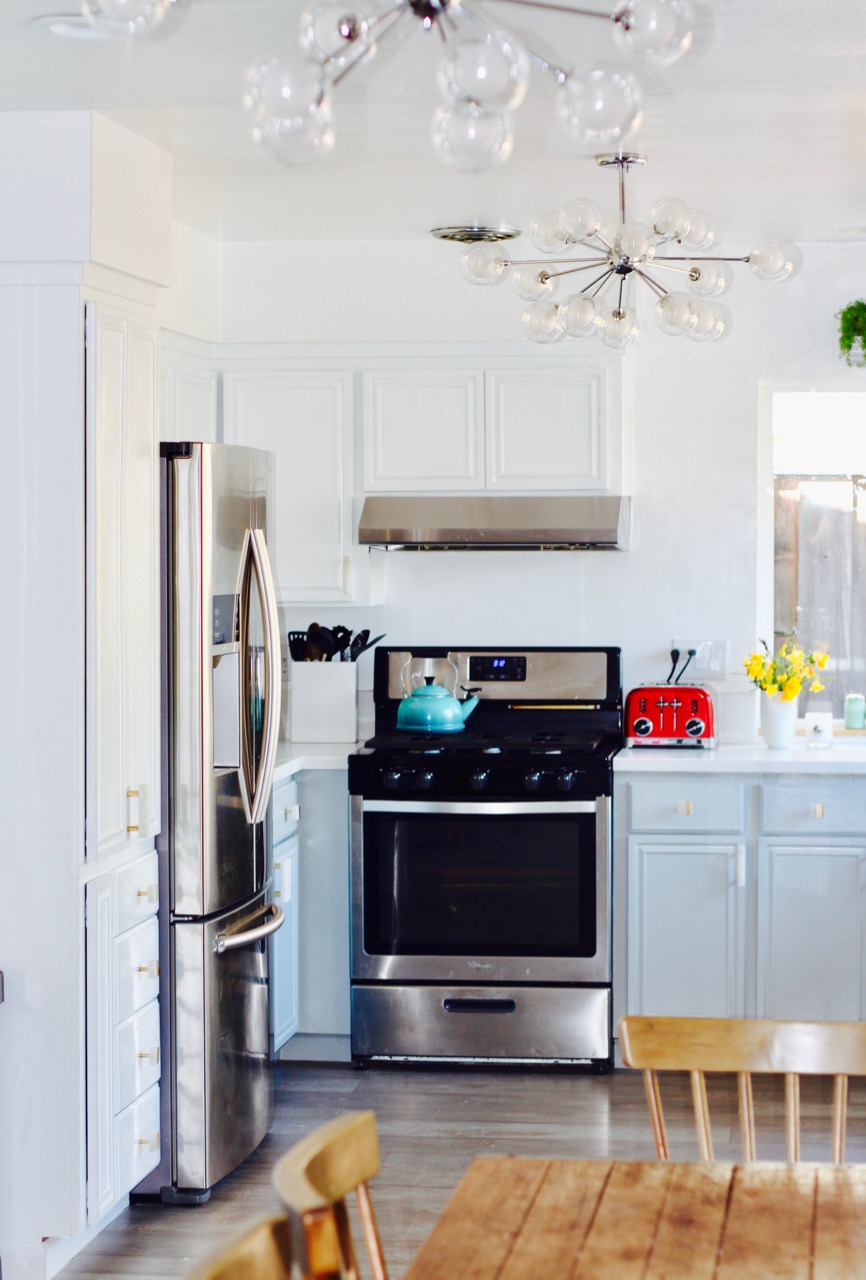
Cabinet painting is a fairly complicated process – you have to take off all the doors, and put on multiple coats – and can be super expensive if you hire professionals. What I found out from this process: professional cabinet painters (I found mine – Proficient Painters – on Thumbtack, and they were phenomenal; suuuuper detail-oriented, above-and-beyond type painters) will charge way less if you let them leave the doors on while they paint. It results in a less perfect-looking job, of course – the hinges, for example, get painted over, resulting in little chips around the hinge areas over time, and some of the wood grain may show through – but the savings are considerable enough (my painters charged me $750, as opposed to something like $3k for a more traditional painting job) that I decided to go for it. (Also, my hinges are “European hinges,” which can’t be seen from the outside, which influenced my decision.)
(The paint is much less blue than it looks here, FYI.)
HARDWARE
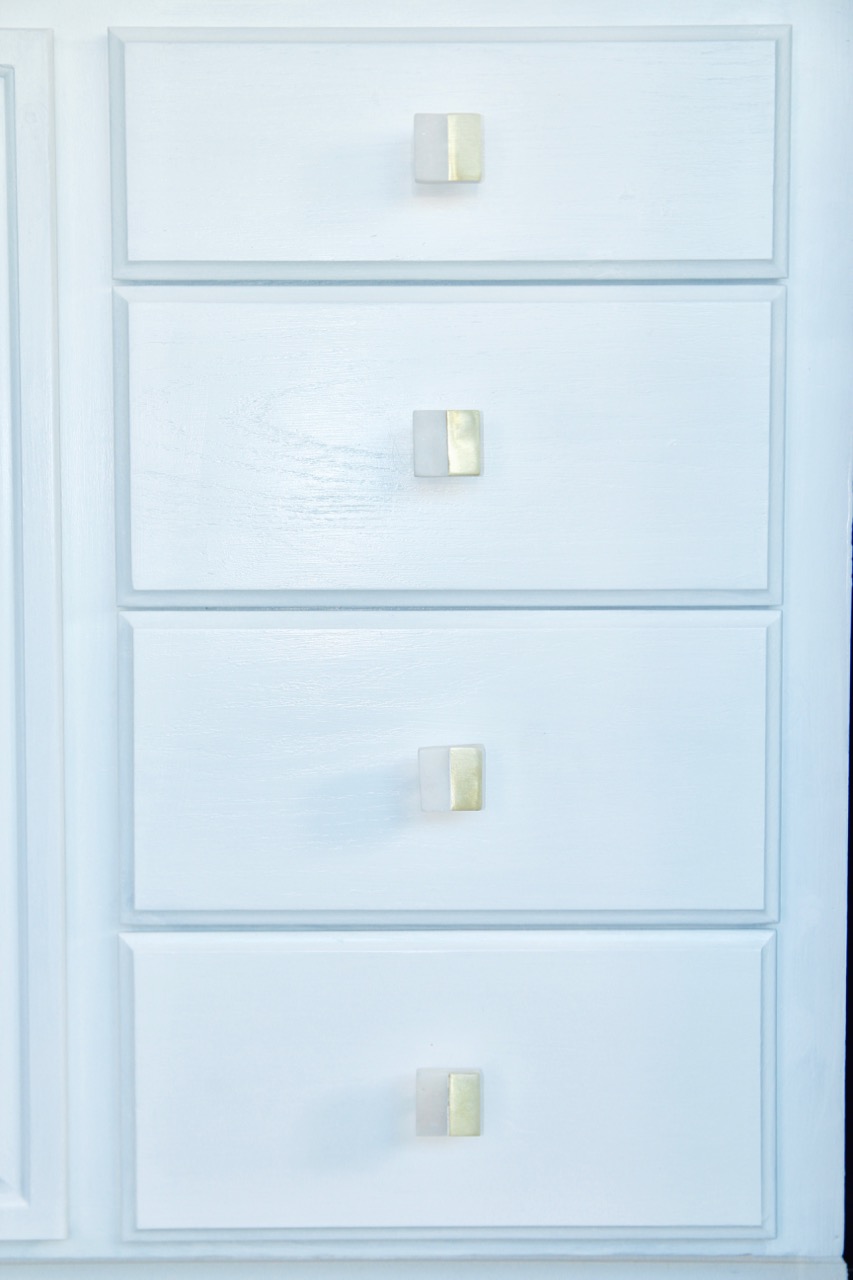
Hardware is such an obvious way to instantly update the look of anything from a dresser to a kitchen cabinet, and I was sure I wanted to switch out our super-generic drawer pulls. The problem: I was very specific about the look I wanted, and cute drawer-pulls can get very expensive, because you need a lot of them. I decided that since we were saving so much with the cabinet painting itself, we could splurge a bit on our handles, and went for a mix of the square gold-and-marble knobs pictured above ($8.95 each) and these marble handles ($12.95 each).
I love them and love how they look, but if you look at these photos closely, you’ll see that a few of the marble handles are missing. That’s because of a discovery I made when I started putting them in: the long handles are very easy to break during the installation process, because there’s no support metal running through the marble – so if you’re off by even a tiny bit with the holes you drill, they’ll snap while going in. I broke two while trying to install them myself, and then hired a professional to finish the job…and he broke two more. They’re sturdy once they’re in place, but this is definitely not ideal. (The manufacturer is replacing the ones that broke, but they’re on backorder until May.)
Some other knobs that I considered, below.
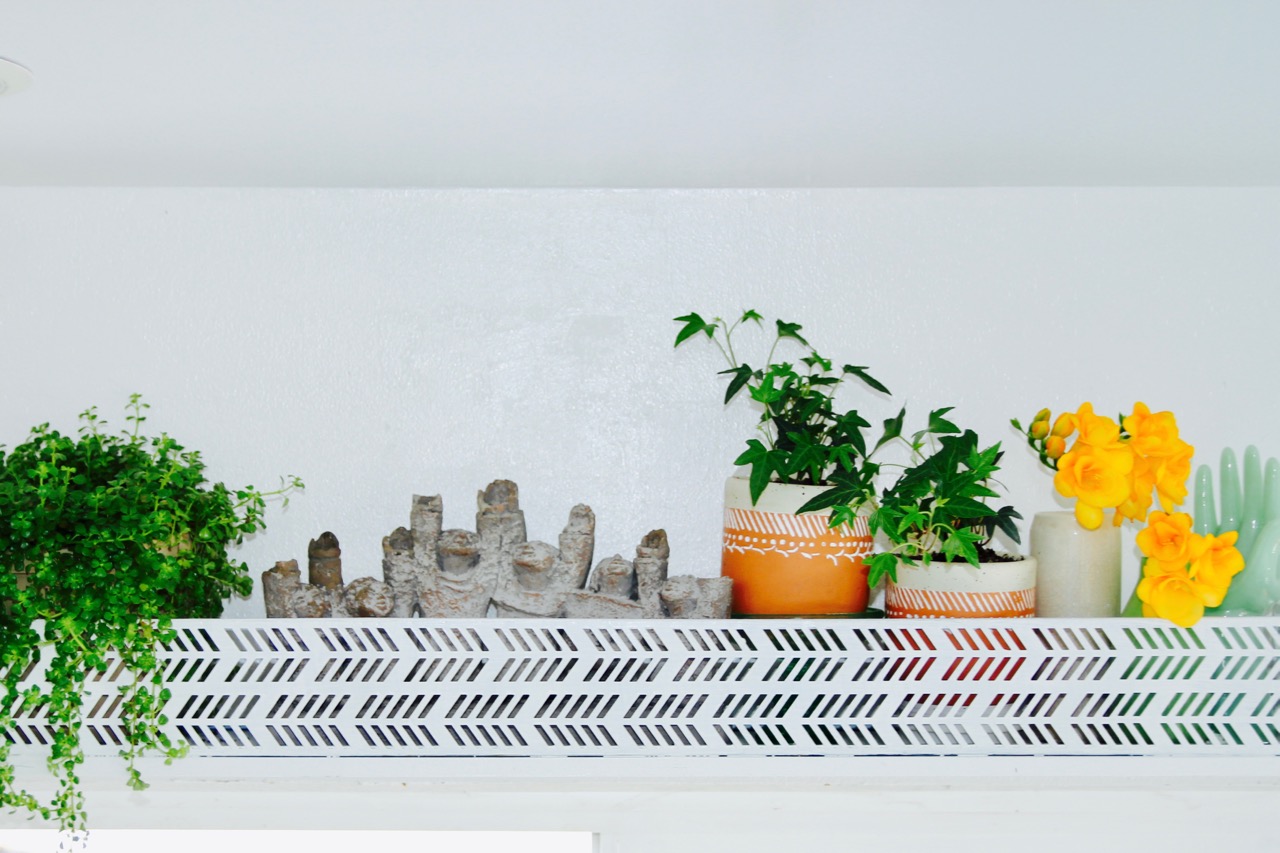
ACCENTS
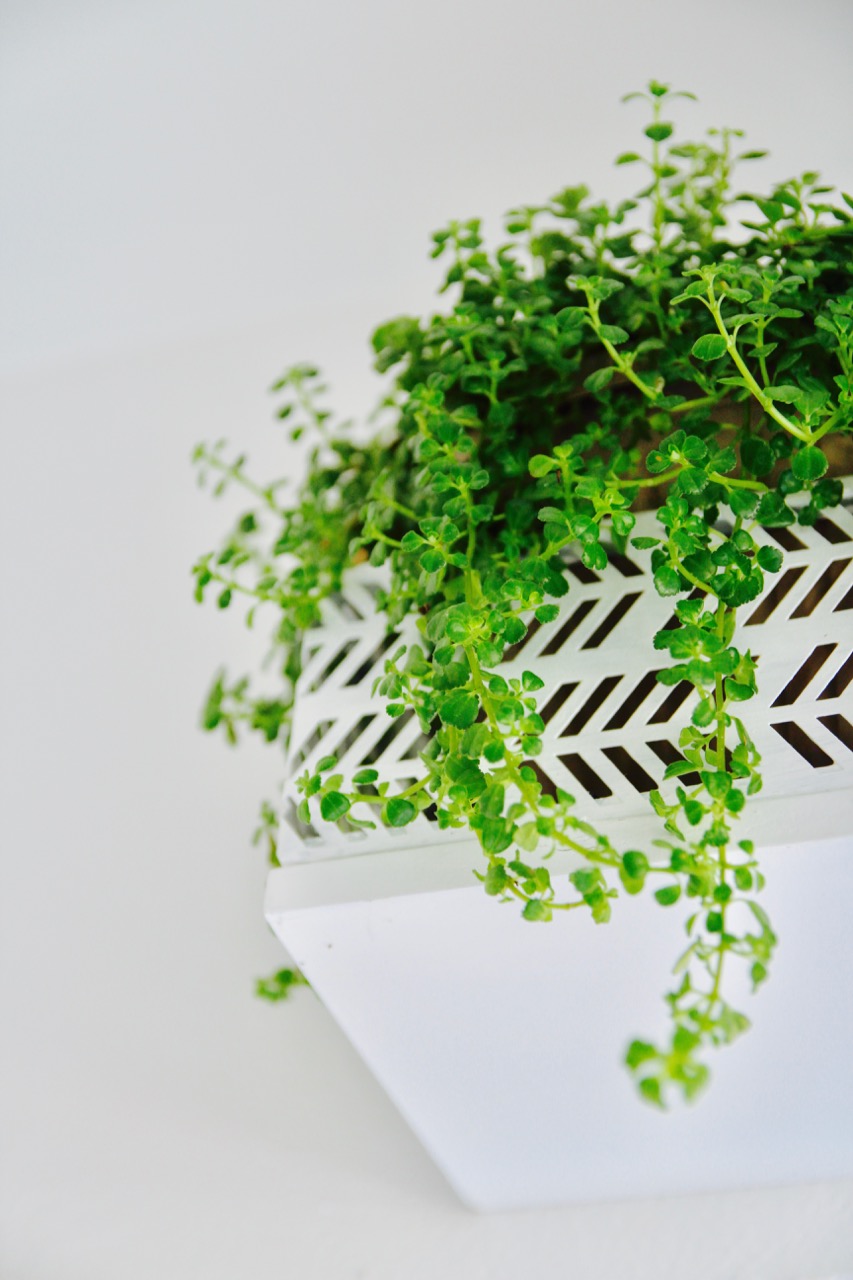
Most of the pieces I added as decorative items were just pulled from elsewhere in the house, with the exception of that shelf above the window, which I found at HomeGoods and painted white (so the things on it would pop more than the shelf itself), and a white cast-iron wall hook for a dishtowel. Oh, and my beloved ceiling lights. But you’ve seen those already :).