This is technically a photo of a woman painting, not of a woman doing drywall.
But strangely enough, when you google “woman doing home repair,” what you get is mostly…porn.
So here is a photo of a woman painting. (I like her sneakers.)
This is not a post I ever pictured myself writing, because “repairing drywall” doesn’t sound like the kind of thing that I would ever choose to do myself when there are people in my life (like anyone) who would probably be better-suited to the task.
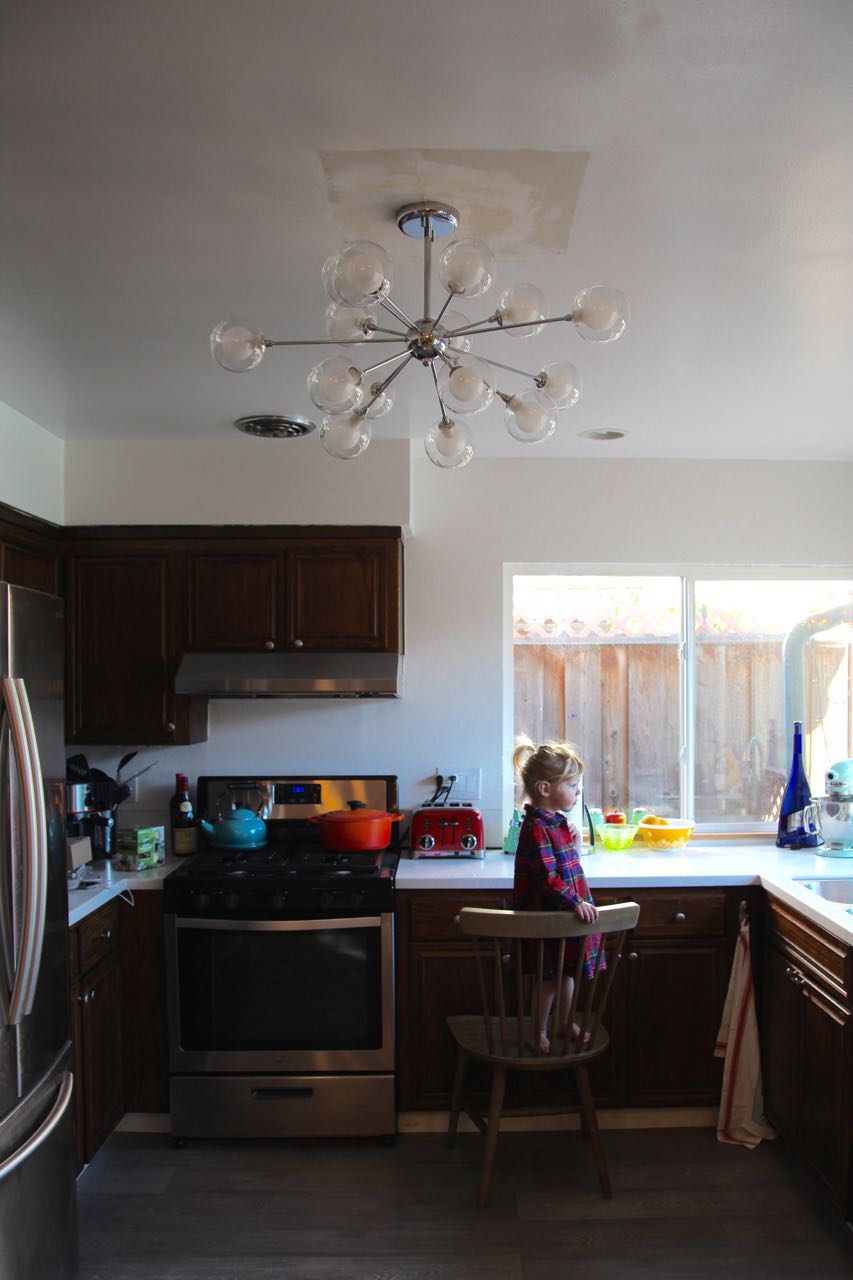
But when I took down the massive, probably fifty-year-old light fixture in the center of our kitchen ceiling, what I found underneath was…not good (you can see it in the photos below). There were bugs. And creepy, poofy insulation balls. And – oh yeah – a massive hole.
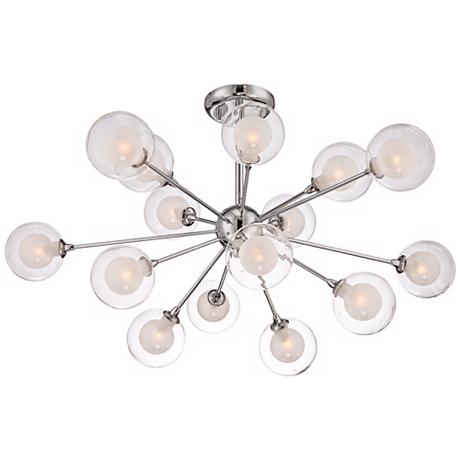
My dad (who’s visiting) and I had been planning to swap out the lighting fixtures in my dining room and kitchen ourselves because buying the fixtures exhausted my budget, and by the time we pulled off this fixture to reveal the massive hole we’d already put so much time and effort into the renovation I couldn’t handle the idea of having to give up and pay someone to help. So I decided that I’d try to fix it myself. I mean, my ceiling already had a crater in it; assuming there were no bats or tarantulas living up there I figured the worst thing I could do was end up having to pay someone to help anyway.
But?!
KILLED IT. (This isn’t actually very impressive, because as it turns out, repairing drywall holes isn’t a huge deal assuming you have the right equipment. In other news, using a power sander makes you feel like a huge badass. I highly recommend you try it someday.)
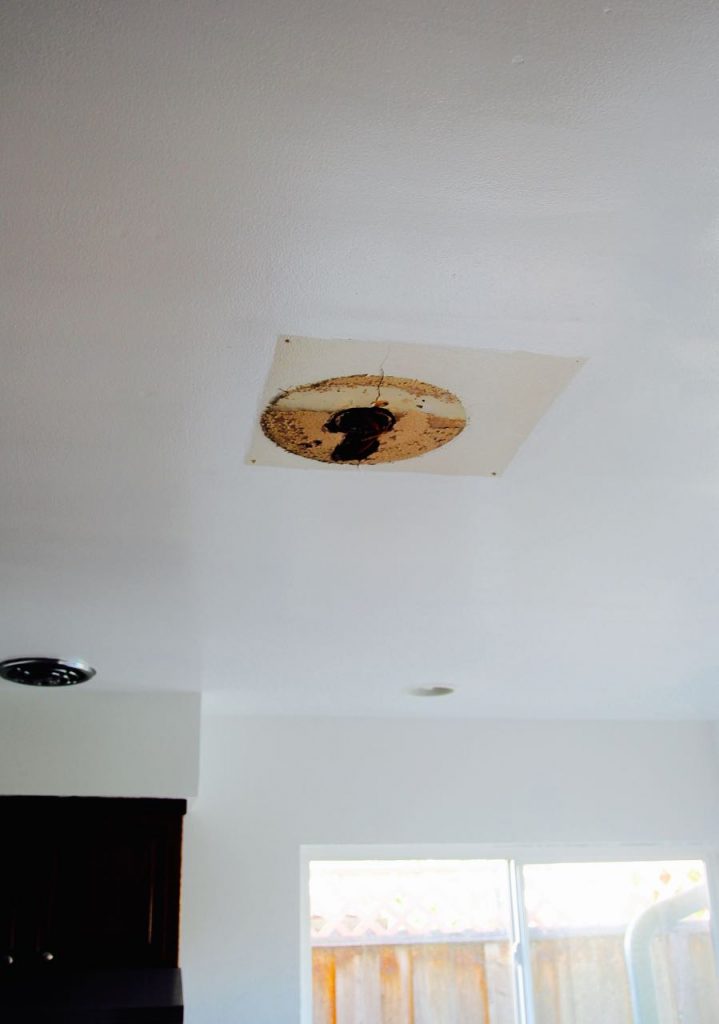
Above: What I discovered when I pulled off our ancient kitchen fixture. Ick.
How To: Repair A Hole In Your Drywall
What You Need:
- Sandpaper (or a power sander, which is extremely messy but, like I said, makes you feel like a badass and is thus highly recommended)
- Ready-made drywall patch slightly larger than the size of your hole (mine was 3″x5″, so I went for an 8″x8″ square and cut it up to fit the shape of the hole more precisely)
- Clean dust cloth
- Non-shrink joint compound (I bought a kind that turns from pink to white when it’s dry enough for sanding or painting)
- Putty knife (preferably a wide one, which will create a smoother finish)
- Paint (whatever color is on the rest of the wall) and paintbrush
What You Do:
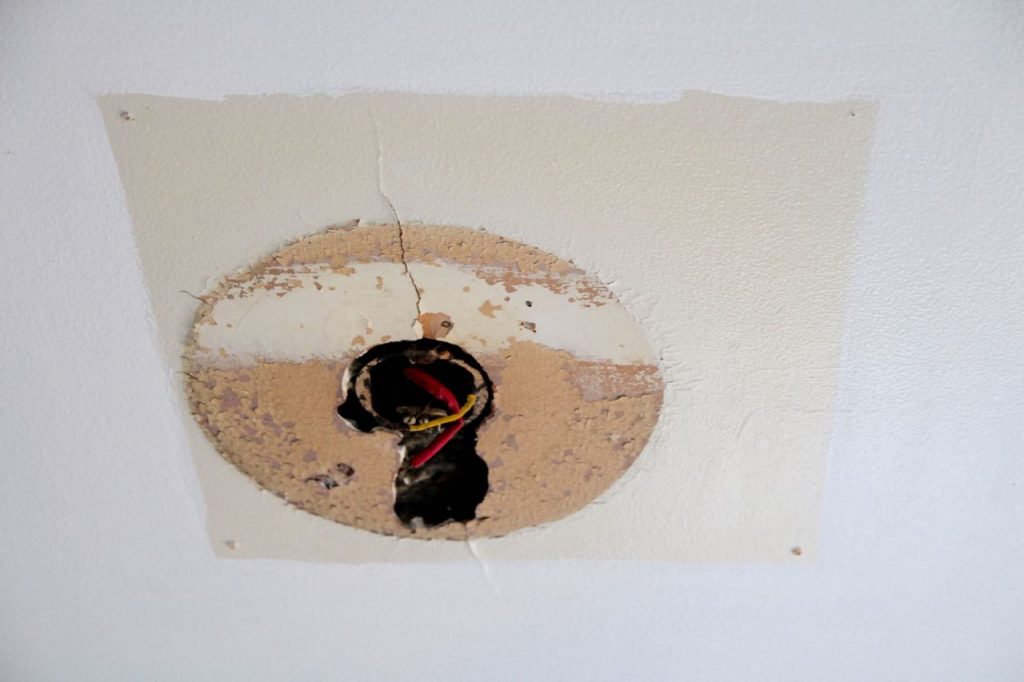
1. Sand off any flakes or bumps on the surface (you can see our ceiling had a ton of flakiness, perhaps from water damage, so I sanded all of that off before I began) and trim the edges of the hole to neaten it up.
2. Wipe the area with a clean, dry cloth to remove any dust or residue.
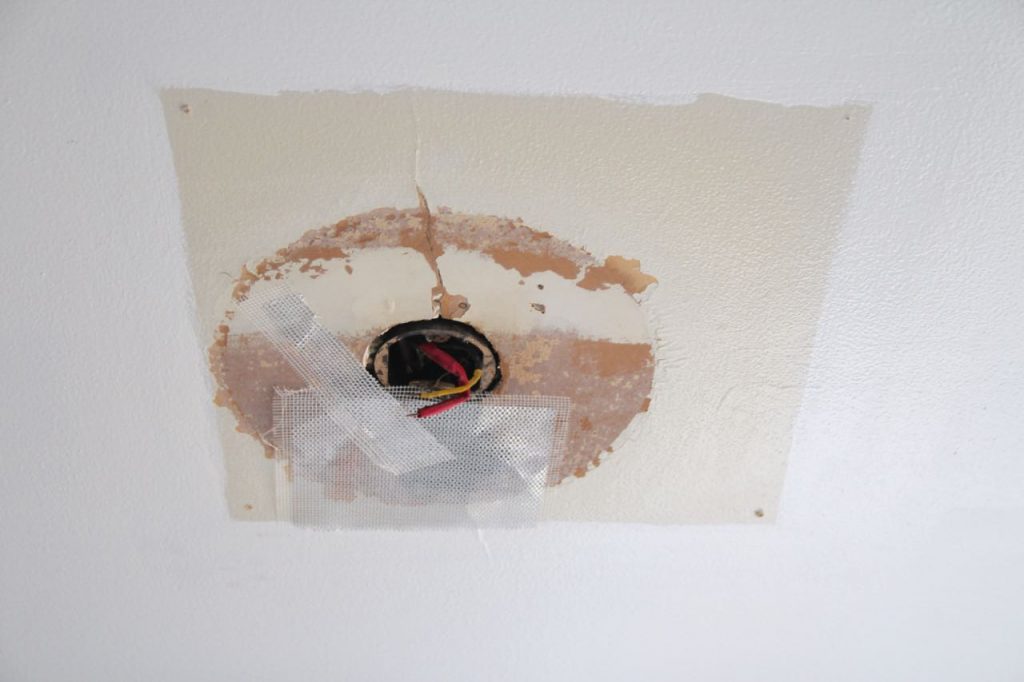
3. Remove the backing from the mesh patch that comes in the kit and press it down, covering the hole completely (in this case, of course we left the part of the hole that was supposed to be there – the hole for the light fixture – uncovered).
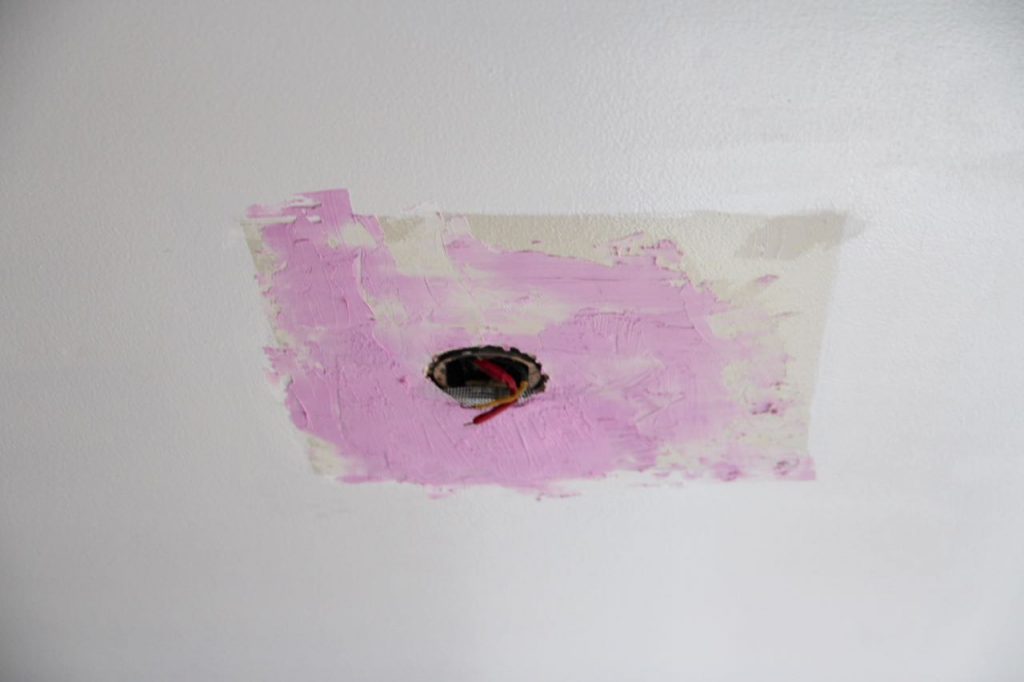
This compound starts out pink, and turns white once it’s dry.
4. Apply a thin layer of compound all over the patch and the surrounding area (where necessary) with the putty knife, trying to keep the surface as smooth as possible.
5. Once the compound is dry, sand it down to a smooth finish, paying particular attention to the edges of the patch.
6. The final step – which I haven’t gotten to yet, as you can see – is to paint the area to match the rest of the wall. (Ideally we should have done this before installing the fixture, but my dad and I wanted to put it up together and didn’t have time to let the paint dry before he left.)
This project was a little time-consuming (mostly because of the trip to Home Depot and the drying time for the compound), but honestly so easy – and actually kind of satisfying (power sander!). The total cost? Maybe $20 – a teeny-tiny fraction of what I would have had to pay an expert for a similar repair-and-installation job.
Woo! #badass
Still need to paint, but come on: that looks pretty good!