
A couple of weeks ago, my friend Erin asked if I wanted to set up a crafting afternoon for our kids, so they could make gifts for their grandparents (and anyone else who might prefer a fingerpainted snowman to, say, a Dyptique candle, which would be no one, but that’s besides the point). We started a Pinterest board to find projects that seemed doable without looking too much like…you know…crafts. Our goal was to make things that the recipients might actually enjoy, as opposed to things that they feel obligated to display in perpetuity because said thing was made by a child.
This entire post is going to come with a massive caveat, and the caveat is this: If you have children under the age of…I don’t know, I’ve only been a parent for five years. At what age do children start sitting still? Five-year-olds don’t, in any case. So here’s the caveat: if you have kids aged five or under and decide to make a fucking wind chime, please be aware that you will end up being the one making it. (My five-year-old did, in fact, bead his very own wind chime strand…and then picked it up to show it to me, at which point all the beads fell off, transforming a happy crafting afternoon into a trauma likely to halt further beading experiments for two years, at minimum. Because that is what happens when you try to force a five-year-old to make a fucking wind chime.) (My two-year-old, in contrast, applied herself with spectacular concentration and perseverance. Except what she was concentrating on and persevering in was ensuring that every single piece of berry bunny cereal, including the ones she dropped on the floor, were eaten.)
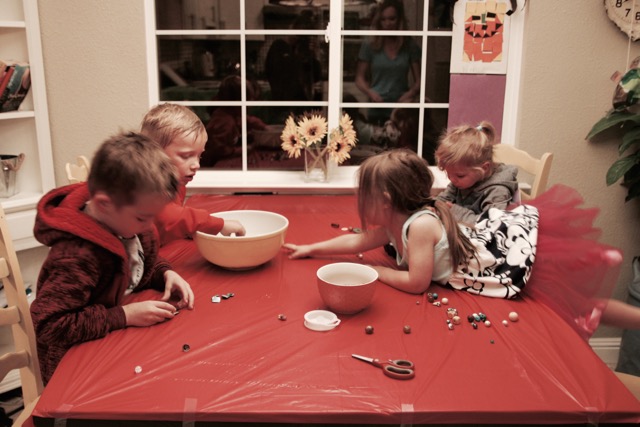
Here is the bloggable picture of our adorable children, crafting adorably.
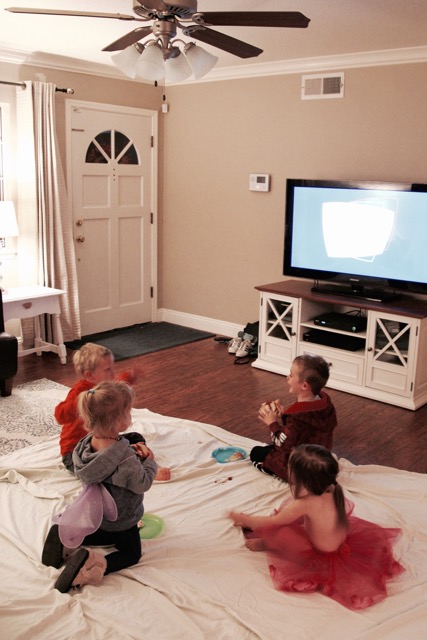
Here is what our evening actually looked like. (Not pictured: total house destruction.)
Basically, our “crafting playdate” ended up consisting of our children eating pizza and watching The Secret Life Of Pets (with occasional breaks for beating each other up) while Erin and I frantically strung beads and occasionally yelled out “HEY HONEY DO YOU LIKE THIS BEAD?!,” so that our children could “approve” the design and thereby have some agency in it. As the night came to its conclusion, one of our children (the jury is still out on which one) ran into the wall where Erin’s wind chime was hanging, sending it crashing to the floor and destroying it completely, while I stacked watercolored “snowscapes” in the front seat of the car and watched little black Sharpie rivulets course through their (previously) pristine white backdrops. Thank you, rain.
But you know what? I am eternally optimistic, and this eternal optimism leaves me wholly convinced that you can do better. Especially if you have older children than I do. Then you can do way better. So I’m going to give you instructions, in case you either have craft-capable children or are equally gluttonous for punishment.
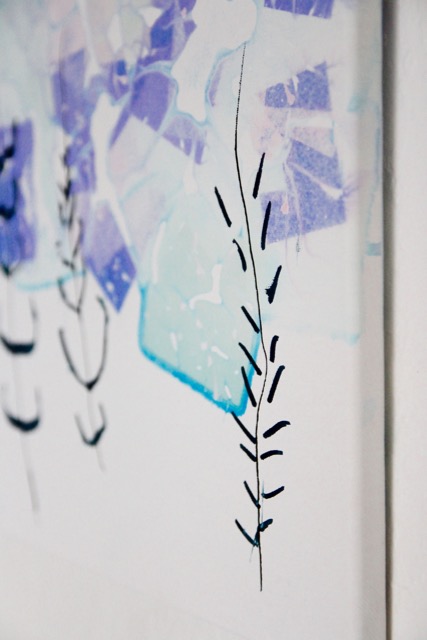
![]() Tissue-Paper Snowscapes
Tissue-Paper Snowscapes ![]()
These tissue-paper snowscapes had the potential to be beautiful. And very nearly were, until I failed to adequately protect them from the elements during the house-to-car transfer. If you skip the step where you cavort with them in the rain, they’ll probably turn out alright.
What You Need:
- Good-quality watercolor paper (or stretched canvases)
- Tissue paper in varying shades of blue, cut into 2″x2″ squares by an adult
- White paint pens
- Black Sharpies

What You Do:
- Cover the entire working surface with something waterproof and protective.
- Have the child cover the top half of the paper or canvas with randomly chosen tissue paper squares, then use a spray bottle to soak the tissue paper (you can do this, or your child can). Let the paper squares sit for at least 15 minutes, then discard them; they should have left behind a cool watercolor effect (this will be your “sky”).
- Once the watercolor effect is fully dry, have the child use the Sharpie to draw “trees.” (We had the younger children make the trunks, and then had the older children draw on the branches.)
- Final step: use the paint pen to create little snowflakes all over the paper.

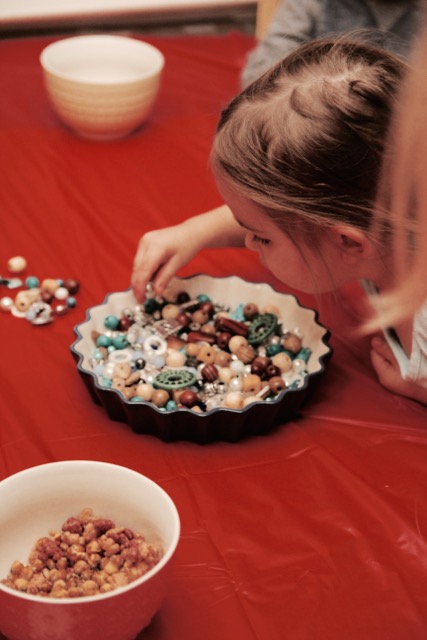
![]() Beaded Wind Chimes
Beaded Wind Chimes ![]()
And now? And now we come to the wind chimes. (I’m sorry, the “fucking wind chimes,” because that is what they are now called in my mind.)
Godspeed.
What You Need:
- A wooden dowel or piece of driftwood (approx 1′ long), with 6 equally-spaced holes drilled into it
- Glue
- Twine (approx 3 feet)
- Fishing Wire
- 6 small bells
- Beads in your chosen color scheme (ours was creatively titled “The Sale Rack At Michael’s”)
What You Do:
- Start by wrapping one end of the driftwood piece or dowel with the twine (securing the loose end to the wood with a drop of glue). Leaving some slack – so you can use the twine to hang the piece – pull the twine to the other end of the driftwood piece and wrap that, as well. Secure the other loose end to the wood with another drop of glue.
- Cut a length of fishing wire about 2 feet long, and tie off one end with a bell. Randomly string on beads until you reach the desired strand length, then tie off the fishing wire, leaving the unused end of the wire intact. Repeat 5x.
- Feed the end of each piece of fishing wire through the holes in the driftwood, and string a single bead on the opposite side before tying off and securing.

I don’t know what to say. (…It seemed like a good idea at the time?)


