When Elise and I got together a few days before the Mermaid Party to work on the decor and she told me that we were going to make a bubble chandelier, I kind of went “mmmhmmm yeah sounds great!” and then returned to hot-gluing starfish to sticks, because obviously we were not going to make a bubble chandelier. Because in my world, that is not something that people do. It turned out that I was right (that day at least): after hot-gluing many, many starfish to many, many sticks we ran out of time, and no bubble chandeliers were made. And so I forgot about the whole thing, figuring Elise had realized that trying to make one of these things was way more labor-intensive than anything created for a two-year-old’s birthday party should rightfully be.
Then, on the morning of the party, Elise showed up an hour early to help me set up (I’ve said this before, but helloooo awesome friend), sat down at my dining room table, and said: “OK, let’s get started on the chandelier.”
Excusemewhat? Do you not see I am presently pouring frozen meatballs onto a sheet of aluminum foil and not exactly ideally situated for a four-hour plastic bubble extravaganza?
You guys, it was silly easy. The kind of easy that means you can make one while also making party meatballs (which you should make all the time, just saying) and arranging starfish in mason jars and keeping your children from consuming another neon-frosted cupcake. (OK, so maybe I wasn’t especially good at that last one, but that’s okay: they only eat the frosting, anyway. Do children just not understand how cupcakes work?)
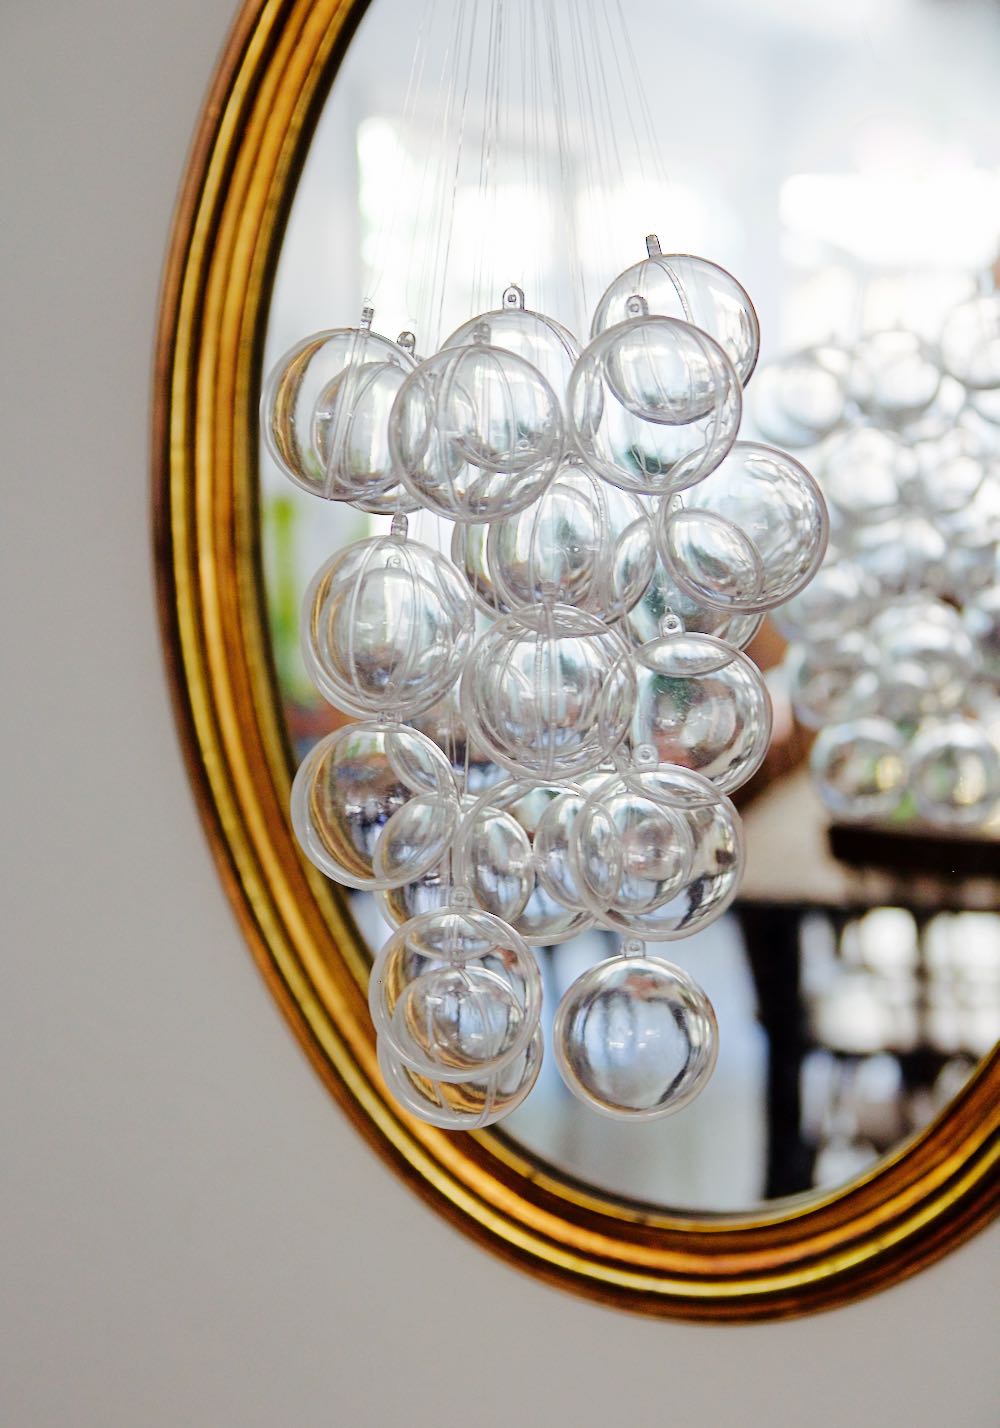
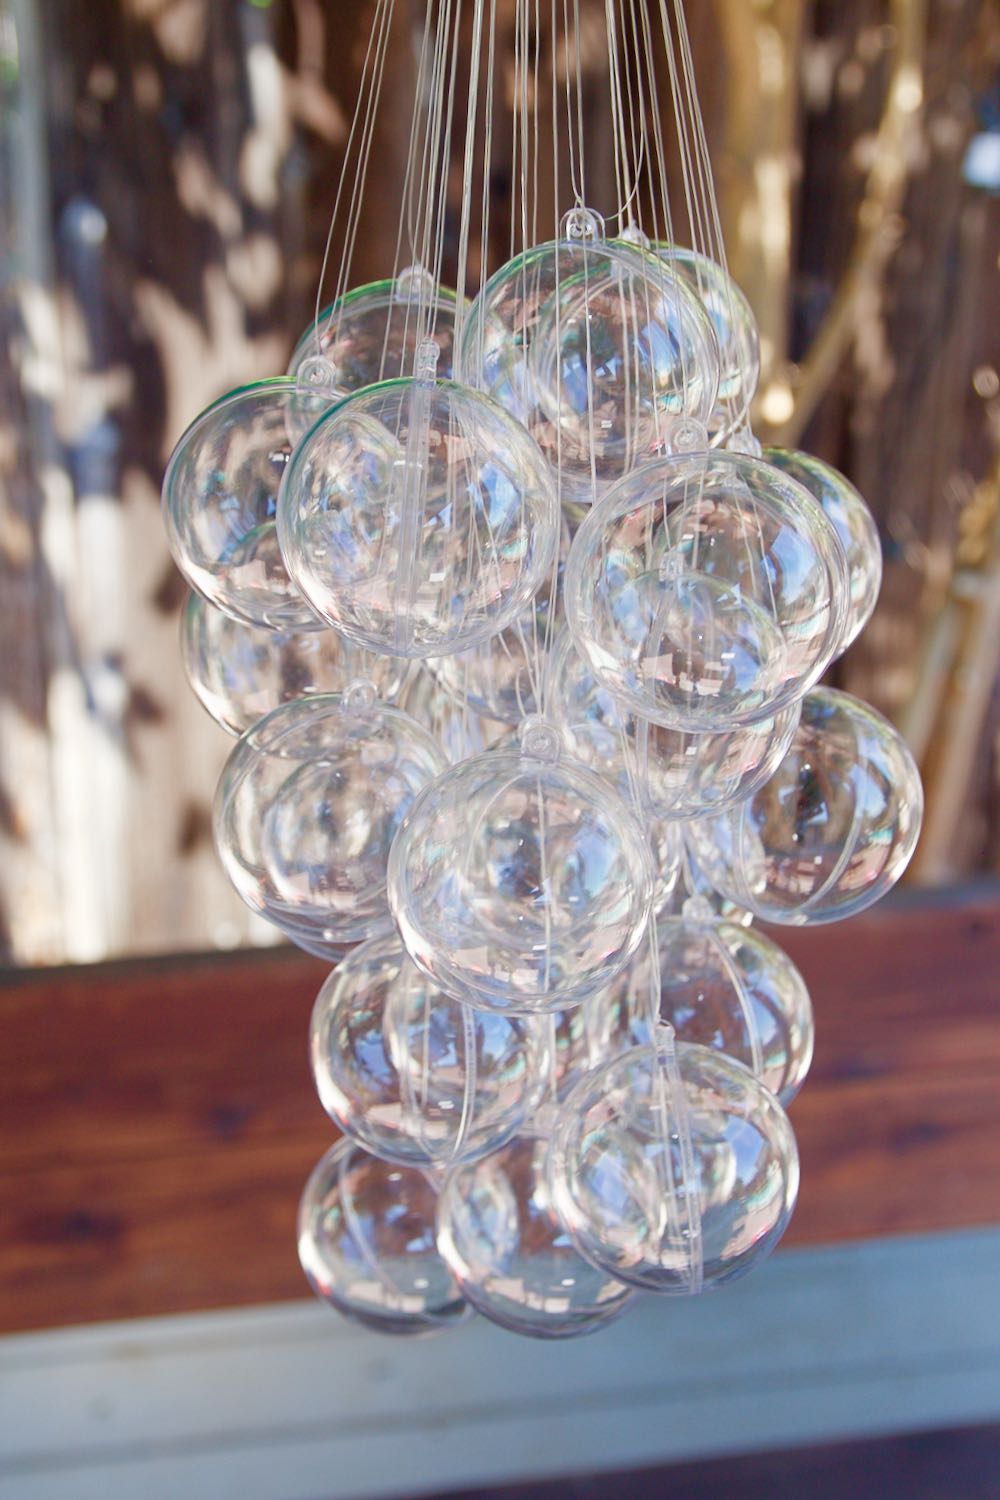
![]() How To Make An (Inexpensive) Bubble Chandelier
How To Make An (Inexpensive) Bubble Chandelier ![]()
What You Need:
- Fishing wire
- Clear Plastic Fillable Ornaments (this one used 24 and is about 1′ long and 9″ wide, but you can use more or less depending on how big you want the chandelier to be)
What You Do:
- Assemble the bubbles by snapping the two sides together.
- Cut a 2′ length of fishing wire for each bubble.
- Hold one of the lengths in your hand, towards the top, and then just start adding more and more lengths, pulling the bubbles down or the wires up until you get the effect you’re going for (you can’t really do this wrong).
- Once you’re holding all your lengths of wire in your hand and the bubbles are all where you want them to be, tie all the wire together in a fishing knot at the spot where you want it to hang from. Trim the edges so that they’re neat (or wrap them in twine and use them to tie the chandelier to the spot where you want it).
That’s really it. It takes about ten minutes, and in the end what you get is A BUBBLE CHANDELIER. Which is amazing.
(Also you can totally make this with fancy glass balls and sterling silver wire and add a lighting fixture to the middle and go crazy with it if you want to make a bubble chandelier that’s actually a chandelier, but for party decor this is pretty great bang for your buck.)