When I left home, these sneakers were snow-white.
Hey there! I’m in St. Louis. Again. (And once more again later on this summer.) This go-round is three days long (plus two travel days), and each of those three days has involved 12-13 hour shoots in 100-degree weather (with occasional thunderstorms), plus a LOT of dust. And mud. And things like construction equipment.
I am disgusting.
There was a moment when the plan was for me to fly directly from St. Louis to Los Angeles for a meeting before heading home, but then I realized that I would arrive at said meeting looking (and potentially smelling, given that I have by now worn every single item of clothing that I brought with me and have no washing machine readily available) like I just spent three days pouring sweat. So we thought it might be a good idea to put a pin in that one. (I’ll tell you when the show – which I can’t share more details about at the moment because of an NDA – airs so you can check out the high glamour for yourself.)
The problem with dirty, sweaty work plus extreme heat and humidity is that you want to wear sturdy clothing for the former, and you want to wear nothing for the latter. Add in trying to look like you arguably belong in front of a camera as opposed to in a stable of some sort, and things get complicated.
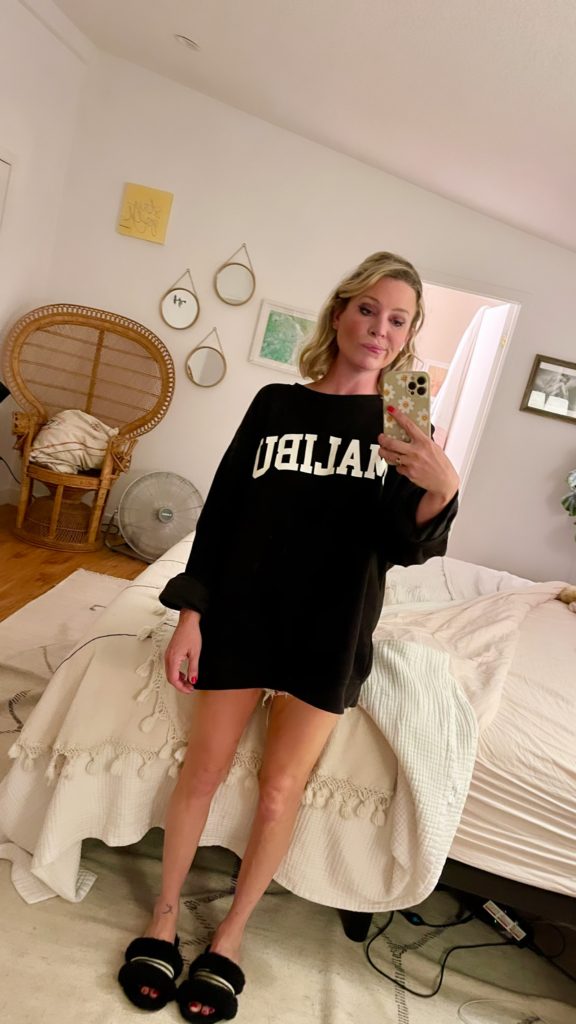
So, here’s what I’ve been wearing, basically.

T-Shirt | Shorts | Sneakers | Sunglasses
You seriously should pick up a couple of those Gap vintage wash t-shirts – they come in a bazillion pretty colors (I like the blue and coral ones, personally) and are cheap and lightweight and fit great (I wear a medium, if that helps you choose the right size).
Another little it’s-hot-out-here challenge: my hair, because I need it off my neck, but it’s still too short to go into a piled-up bun on top of my head. What I’ve been doing is starting with the system I wrote about on Monday – Nexxus’ New York Salon Care Humectress Luxe Lightweight Conditioning Mist, then Split End Restoring Leave-In Creme on the ends* – and then pulling my hair up into a sort of relaxed version of a French twist that Francesca taught me, and that I thought seemed crazy fussy and complicated until I realized that it’s…not. At all.
This is the first time I tried out the hairstyle, for the shots we took in Palm Springs a few weeks ago:
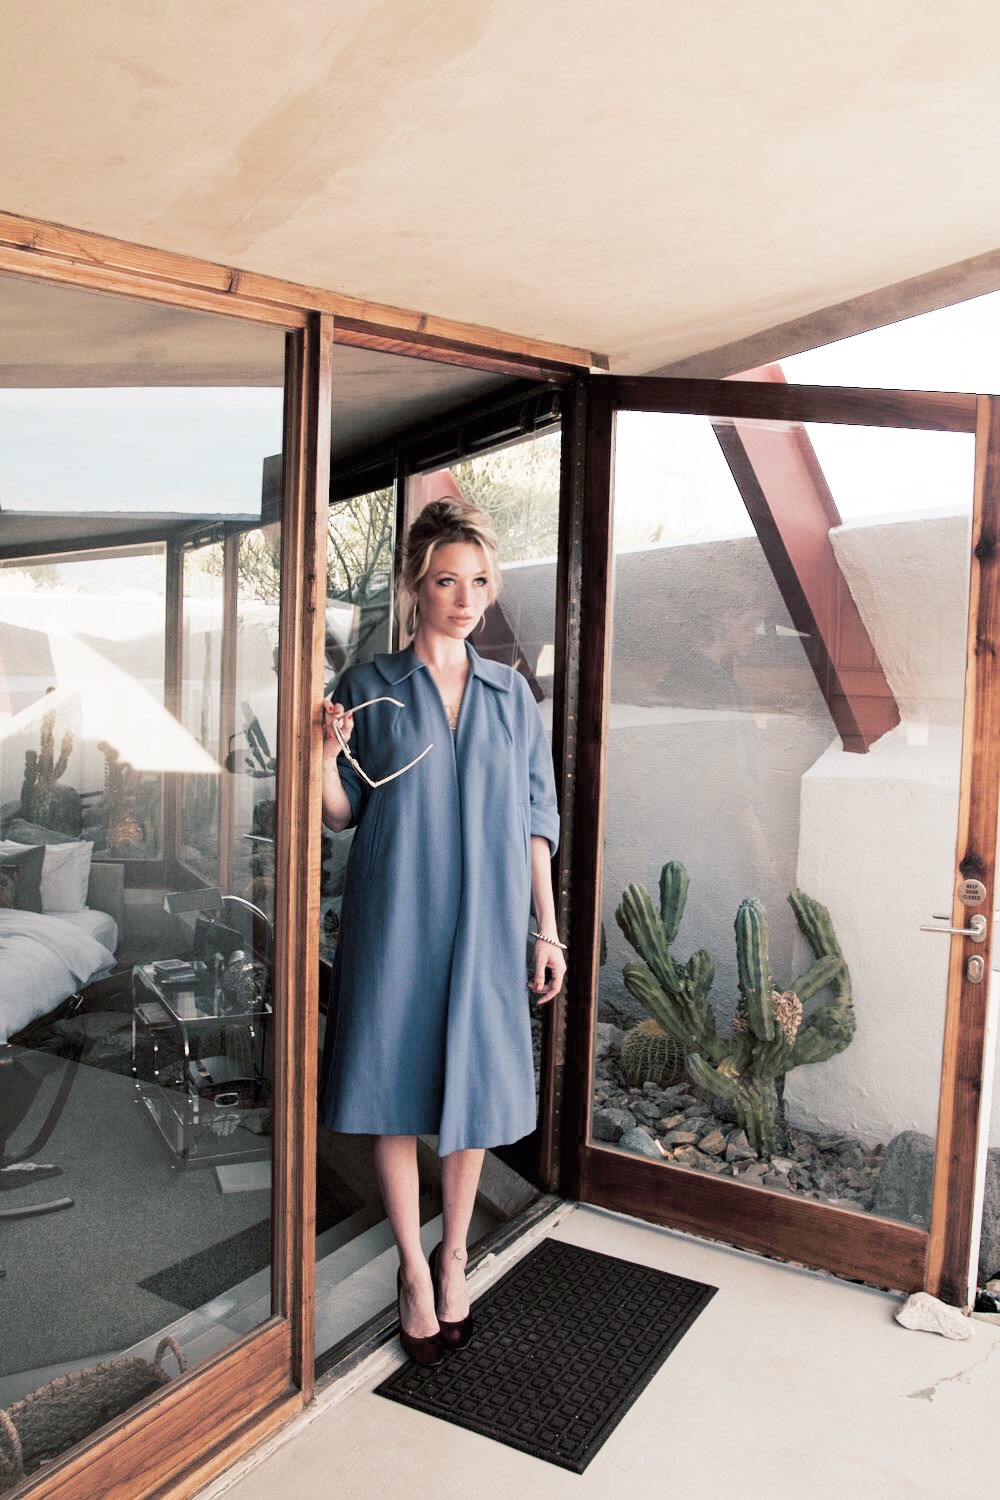
Basically what you do to create this is twist and pin the lower half of your hair (more on that below) before teasing the top, twisting it into a bun, and securing it with more pins. It’s a way for shorter hair to get up and out of your face (and off your neck) while still looking done.
But since I feel like a full-on teased French twist wouldn’t quiiiite work with the t-shirts and shorts I’ve been sporting on this trip, I went for a more relaxed-looking variation on the style – and it’s a perfect solution for hair my length (and shorter), so I thought I’d share it. I’m going to call it the “super-chill bun-twist.” ‘Kay?
HOW-TO: SUPER-CHILL BUN-TWIST
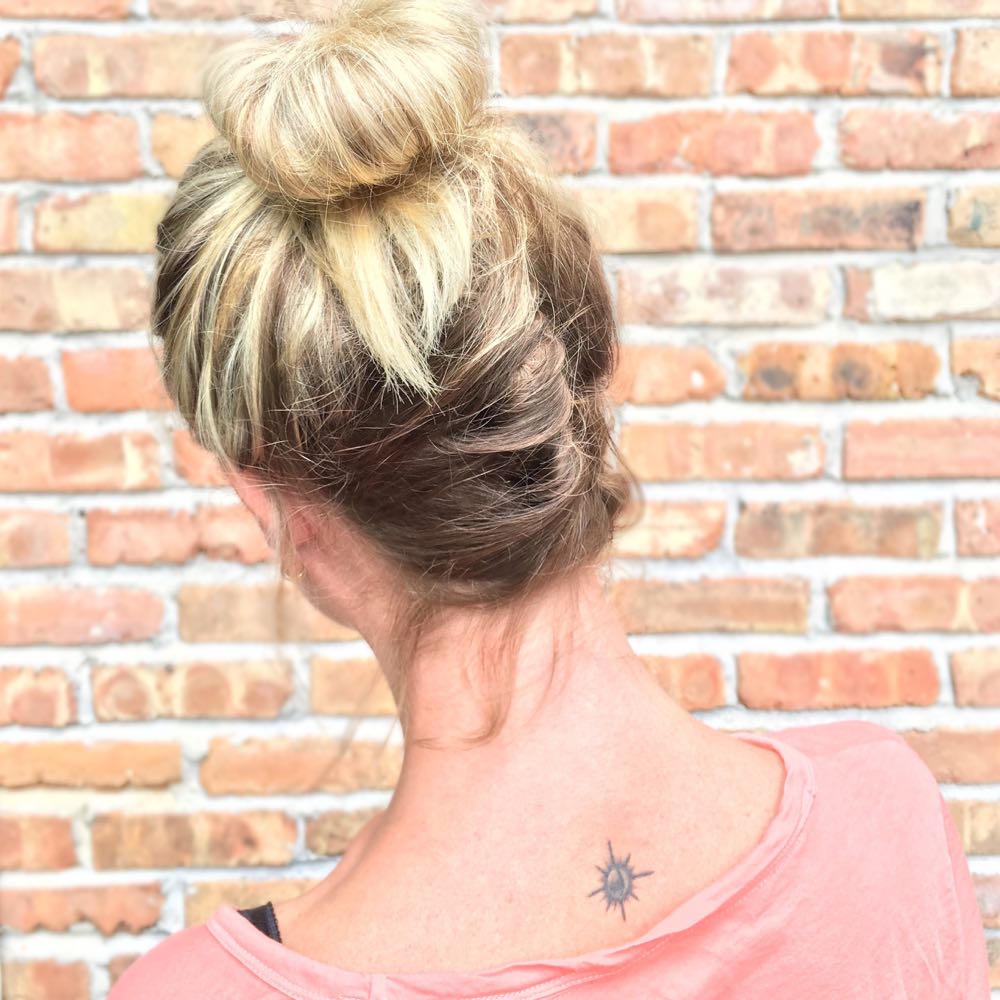
This hairdo has been saving my life on this trip.
1. First, you need to have U-shaped bobby pins. They are the best for securing a style while remaining hidden, and I never knew how phenomenally useful they were until I started using them. Now I literally do not go anywhere without a few tucked into a pocket or handbag.
These are the ones I’m talking about:
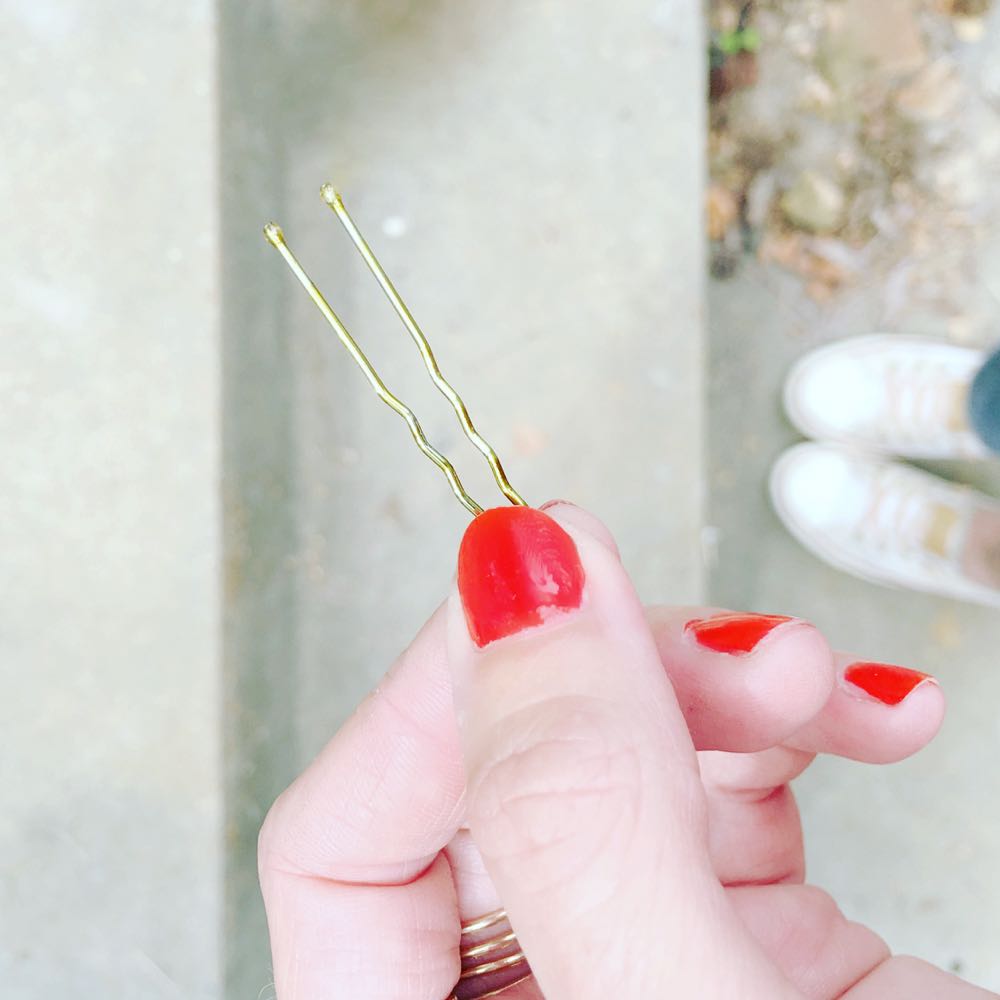
These guys. Need them.
(Try not to be jealous of my manicure; you too can achieve this gloriousness by painting your nails at 1AM immediately before falling asleep.)
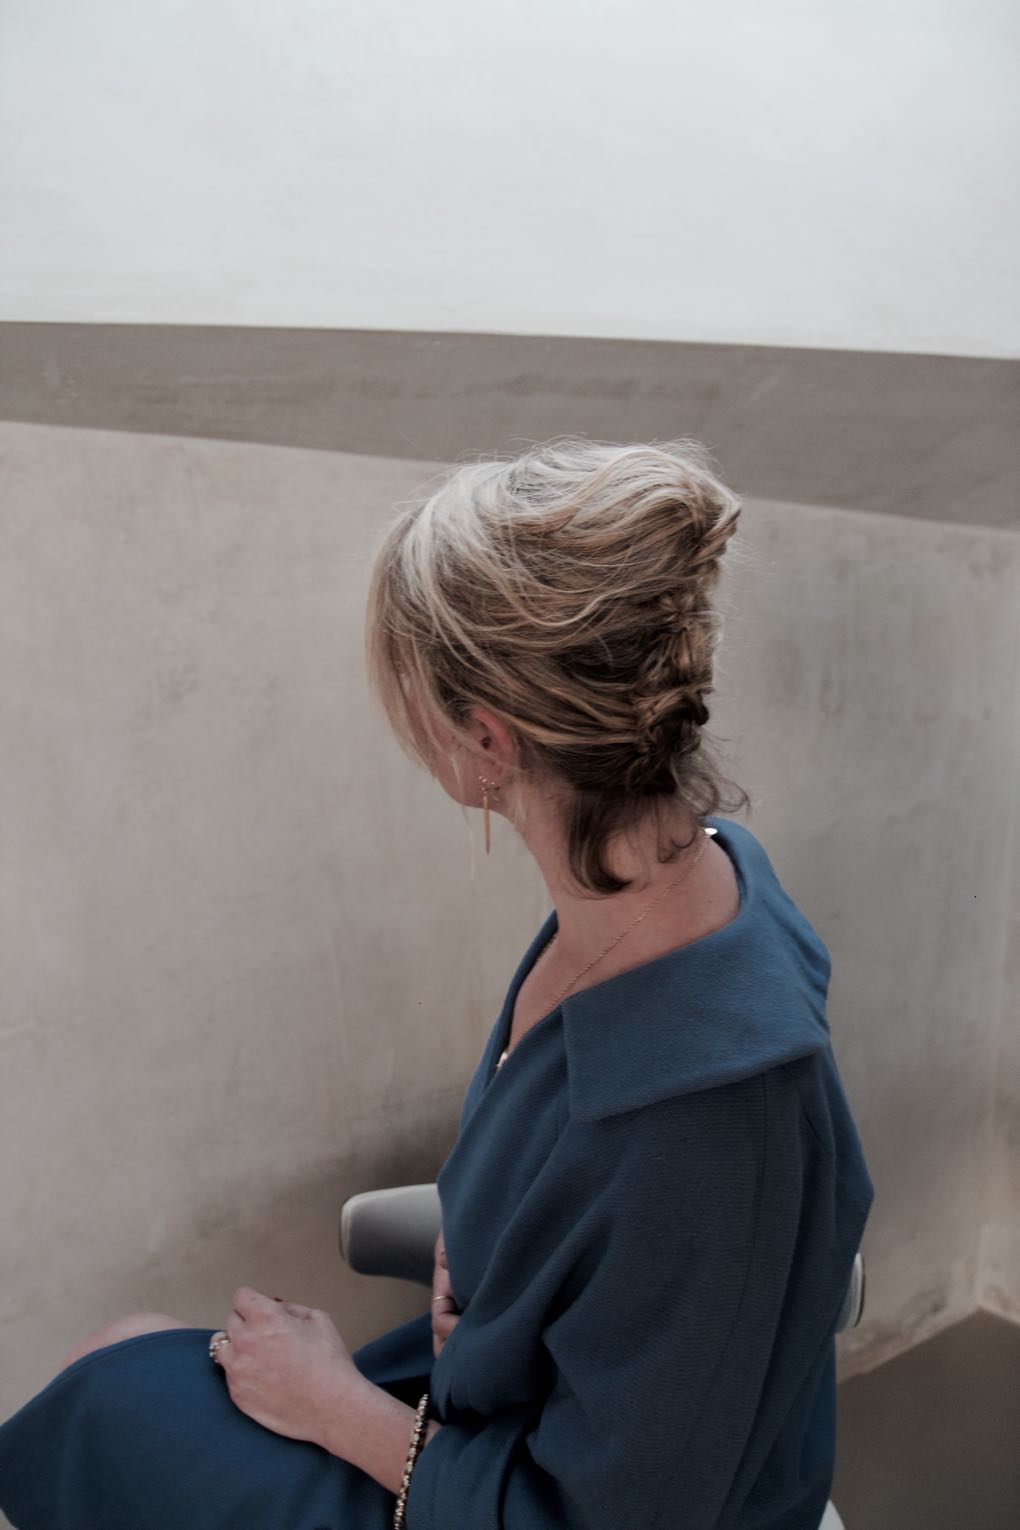
2. Pull up the top 2/3 of your hair (or, in my case, all of the strands that will reach) into a high bun and secure with a ponytail holder, leaving the ends free (I used a black ponytail holder because I don’t care, but a clear elastic would look more polished, obviously). Starting from the nape of your neck, wrap your hair inwards from left to right toward the center. The goal is to form a twist going up the back of your head.
3. To secure, start with the open end of the pin facing to your right. Grab some hair from the left side of the twist and pull it gently over to the right side, like this:
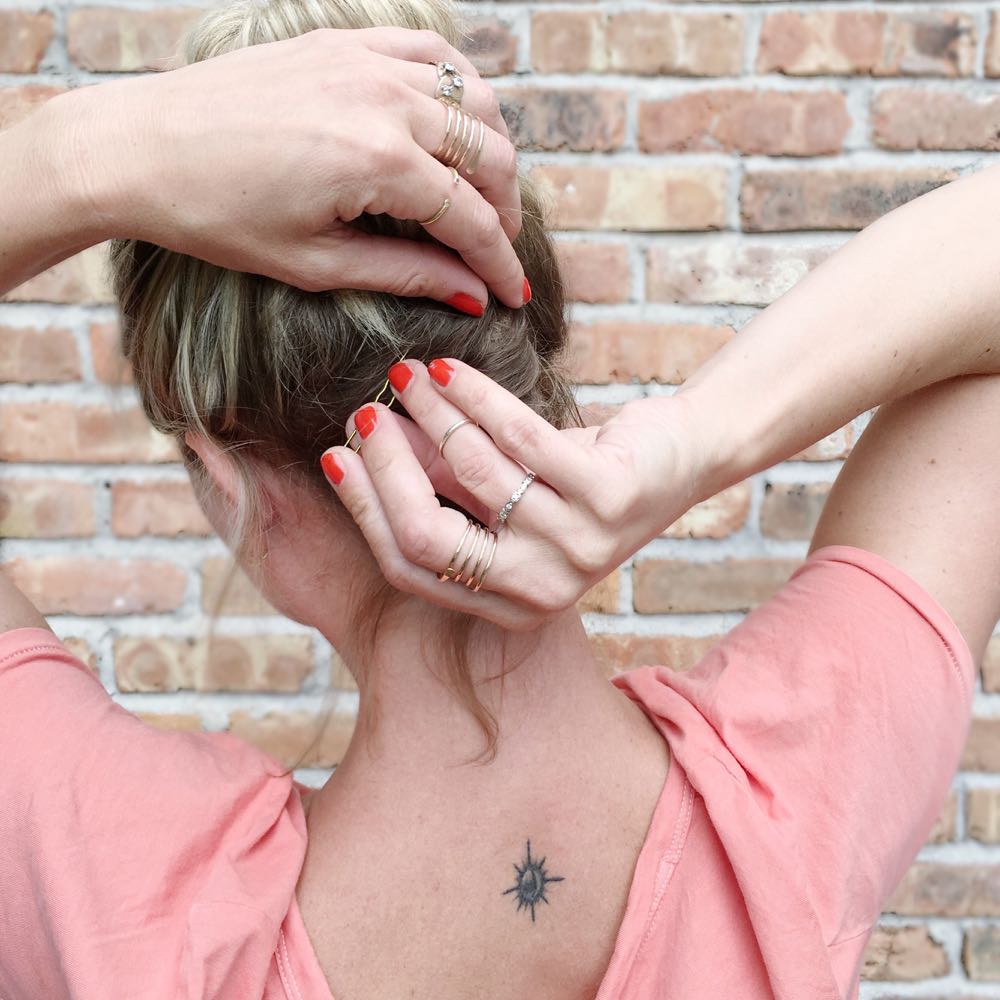
….and then turn the bobby pin so the open end is facing to your left and push it into the center of the twist to hold, like this:

4. Continue pinning until all the hair underneath the bun is secured.
And that’s it.
The best part of this hairdo is that you simply cannot mess it up – when pieces fall out, just add more pins, and then more and more. You’ll have a bit of a job on your hands when you get home and have to go hunting through your head for wayward and potentially very sharp hair accessories, but in the meantime you’ll also have a style that stays put exactly where you want it to be for as long as you need it to – and looks cute and tousle-y and relaxed in the process. #win.
*I’m working with Nexxus New York Salon Care as an ambassador at the moment, but this is not a sponsored post; it’s just what I do :).