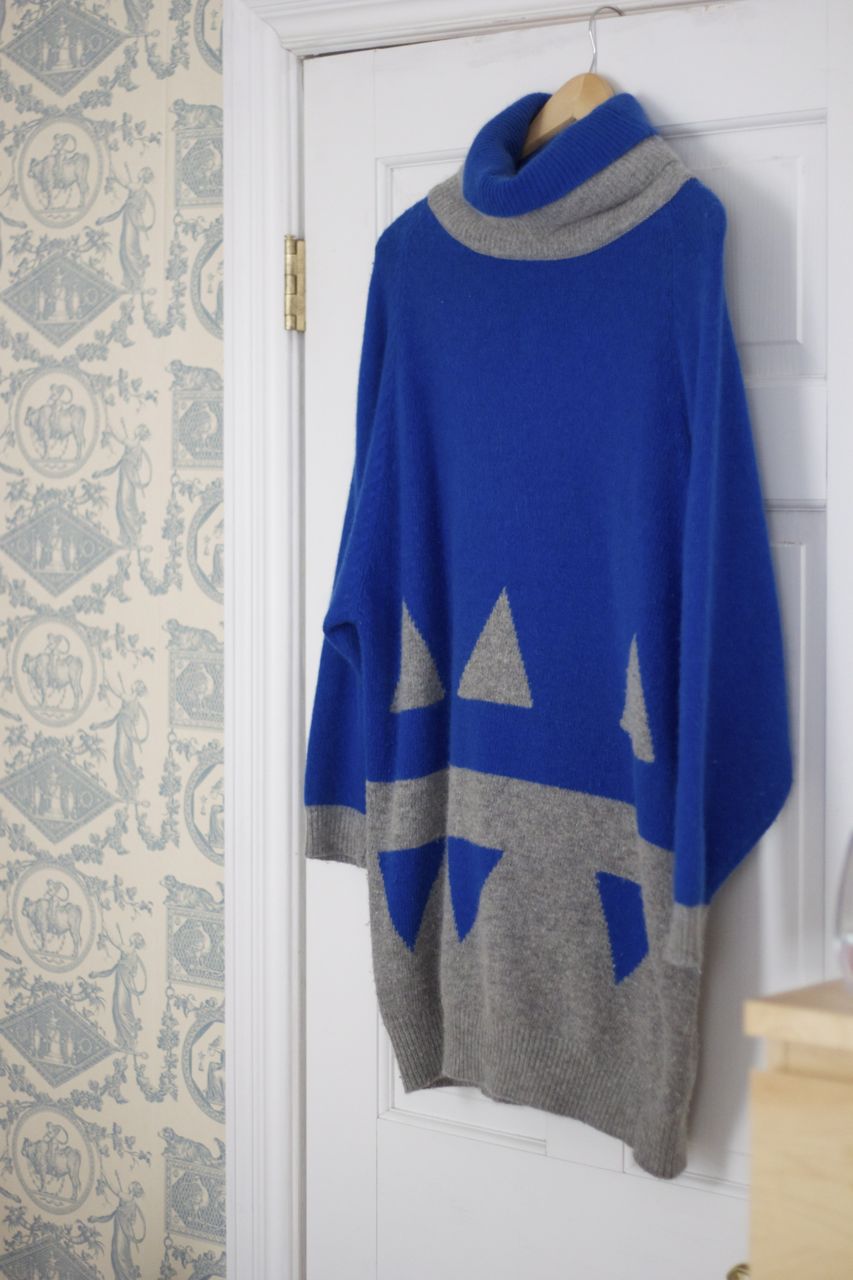
Remember this sweater? My Fresh Prince sweater?

I liked it…but didn’t love it, mostly because the turtleneck made me nuts (as you can see from the above photo, in which I am physically yanking on the neckline and trying to get it further away from my skin).
Nothing a little DIY can’t take care of.

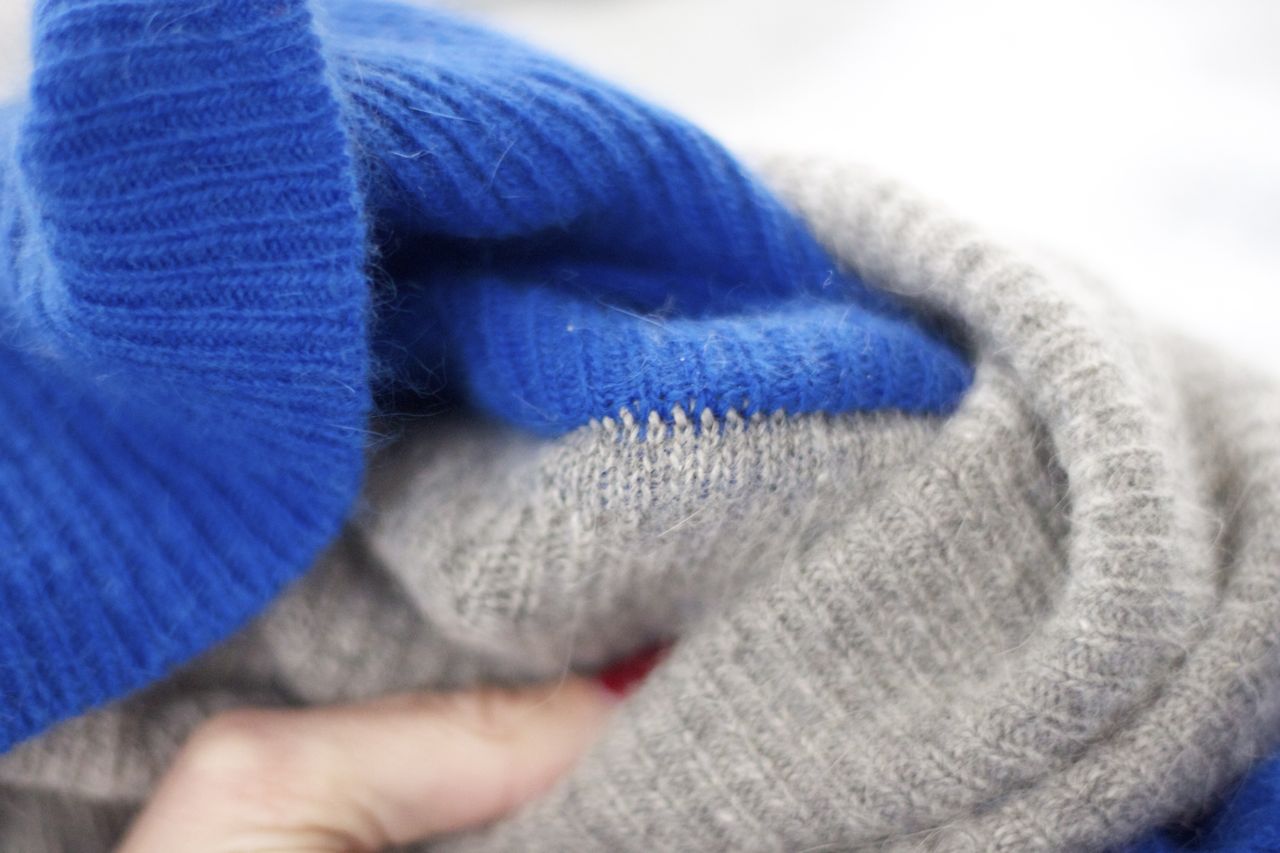
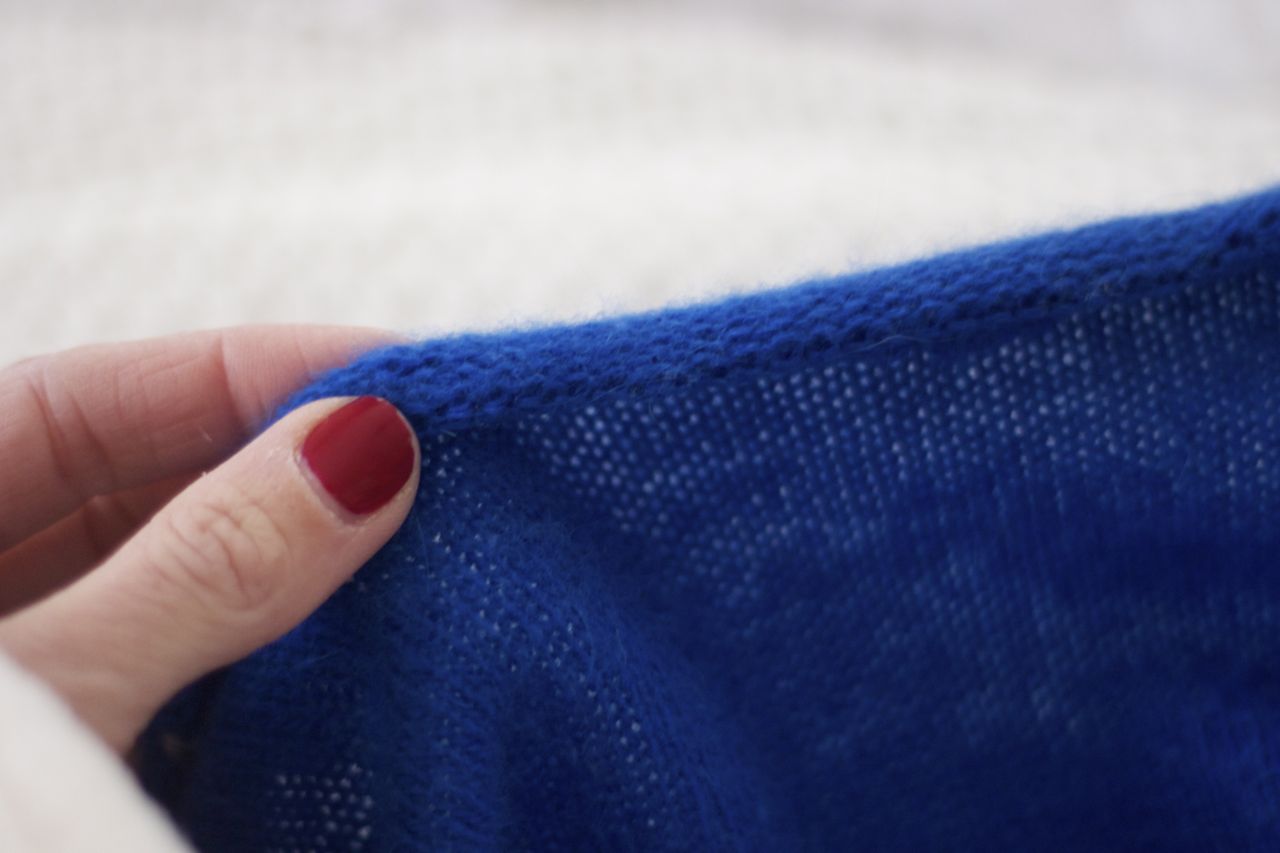
Step 1: With most knitted turtlenecks, the turtleneck part is actually knitted separately and then attached to the body of the sweater, so the first thing you need to do is find the stitches holding one piece to the other. Turn it inside out: see? There it is. (Sometimes the place where the stitches hold the turtleneck to the body of the sweater is hidden inside the turtleneck; if that’s the case just cut into the turtleneck itself to expose it; you’re discarding this piece anyway.)
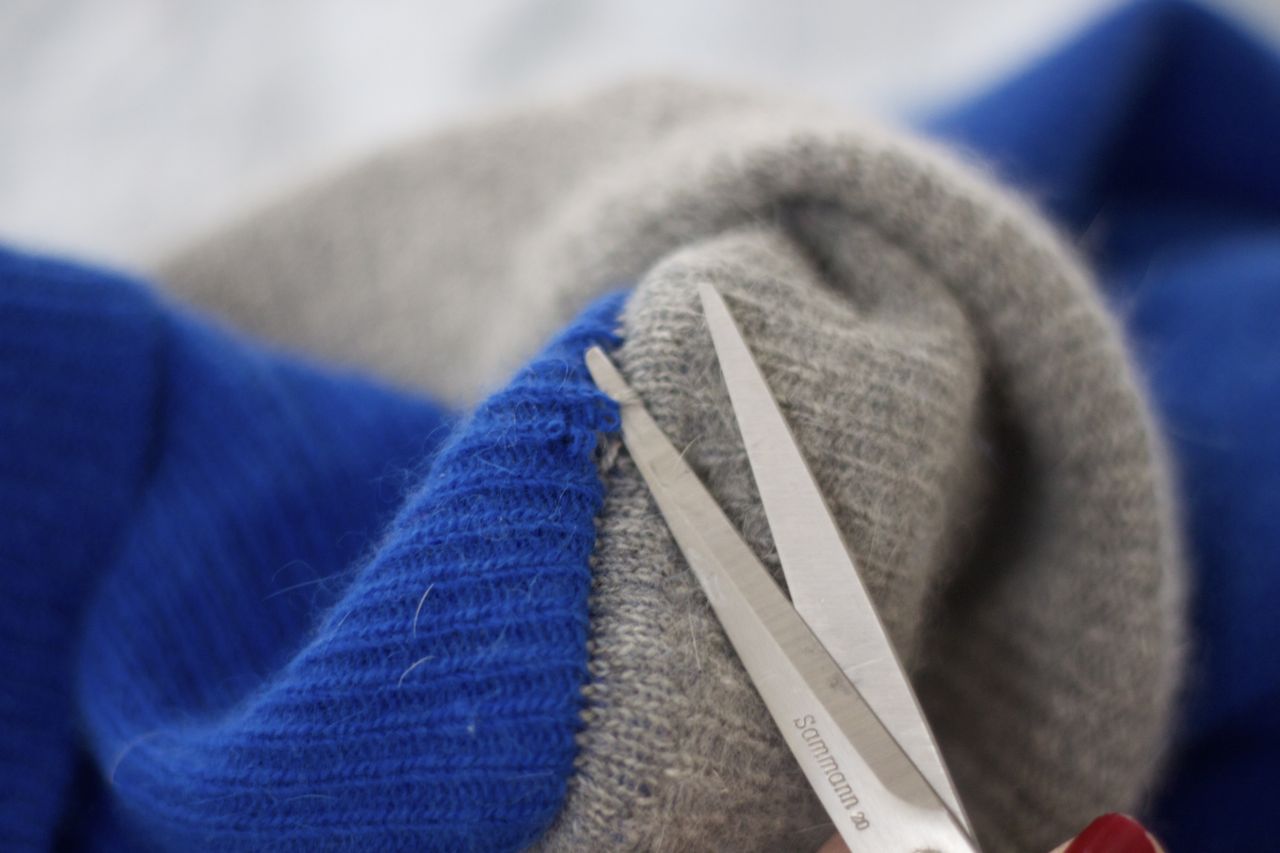
Step 2: Use a sharp pair of scissors to gently rip out the threads holding the joint together.
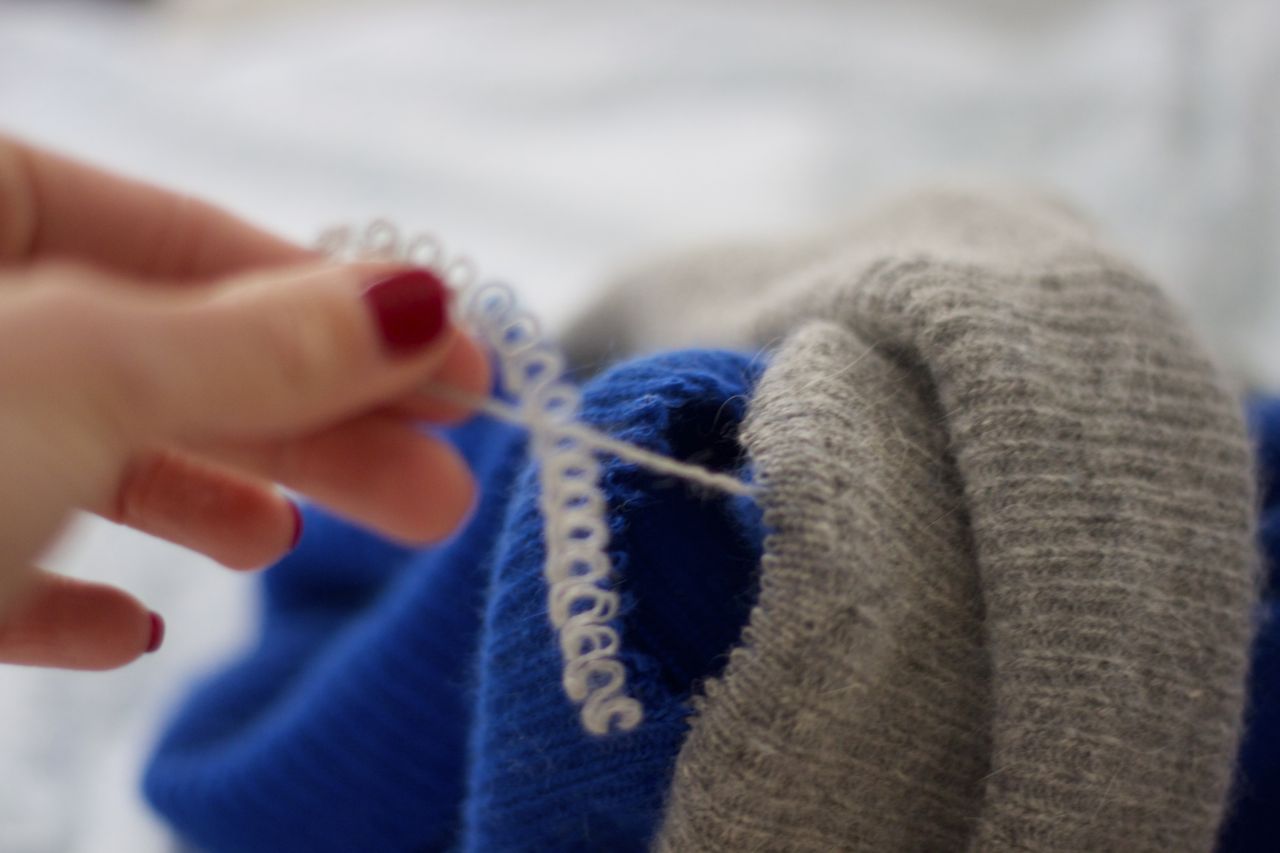
(It should unravel pretty easily.)
Step 3: Some parts of the newly exposed neckline may look a little messy (for example, where the yarn was knotted), so lightly roll the neckline outwards. Or skip this step, if you like that distressed-sweater look (which I actually do).

Step 4: Secure the rolled neckline with a couple of hand stitches at each shoulder.

Now I love it.
Problem: solved!
{ Follow along on Twitter, Instagram or Facebook }
{ Subscribe to the RG YouTube channel }


