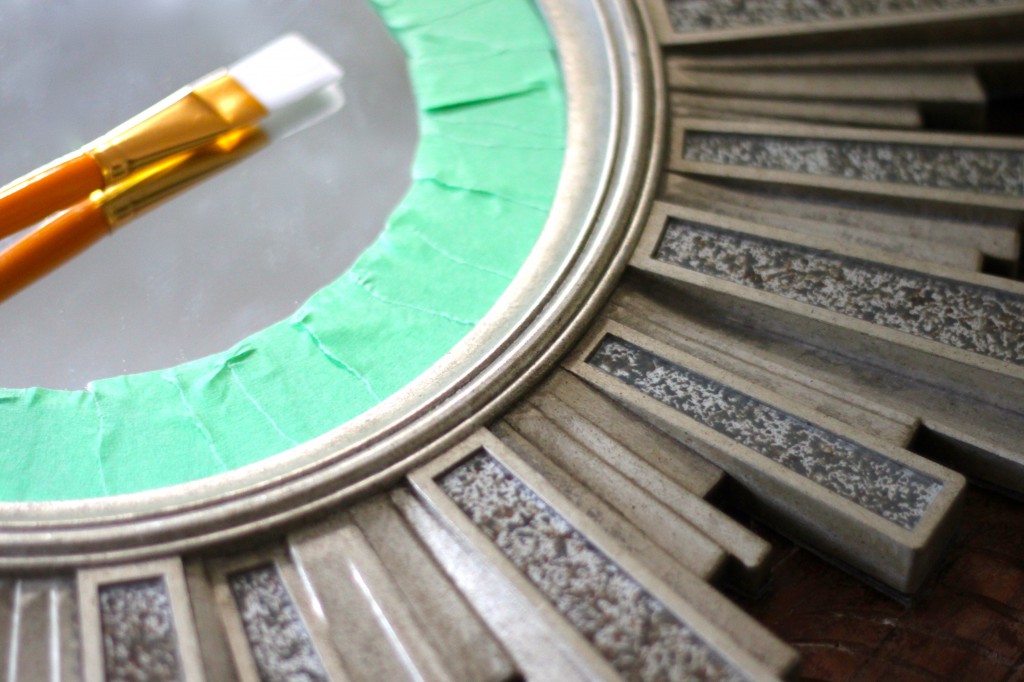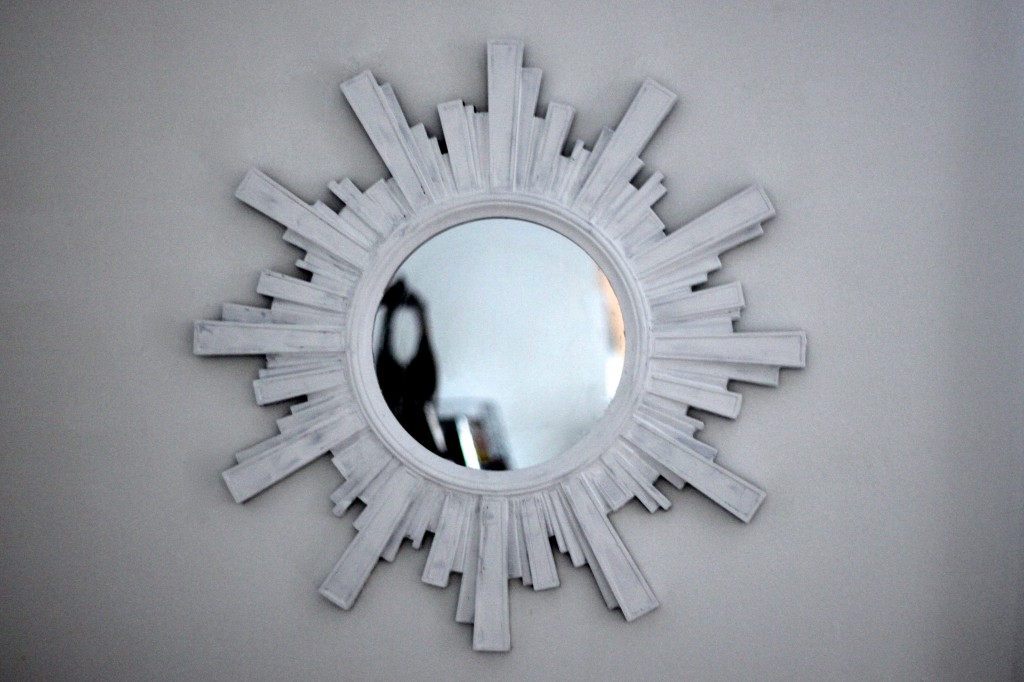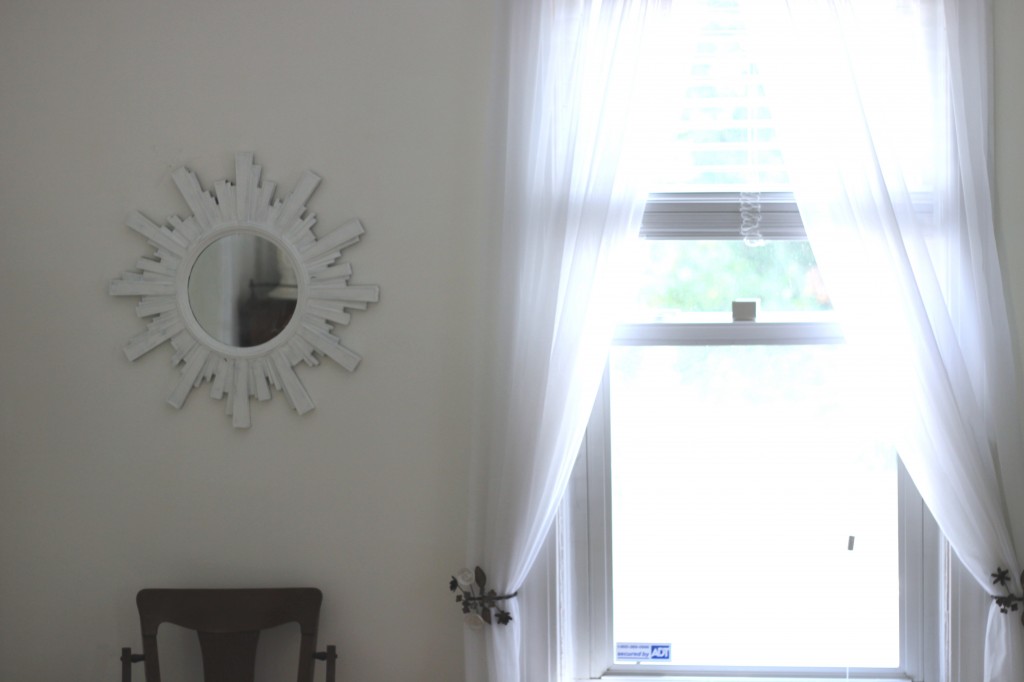
One of my favorite things to buy in thrift stores and at flea markets are mirrors: with a little creativity, you can basically always find a way to work a beautiful mirror into your decor. This sunburst mirror sat on our table as a centerpiece for awhile, but I eventually decided it was in the way and it would make a better addition to our dining room wall.
Except…although I liked the shape, the sort of burnished grey-brown color made it felt dated. I decided that a coat of white paint would give it a nice seaside-cottage feel, and look especially cool against our white wall.
So: Sunday afternoon project.
1. First step: tape off the edges of the mirror. It may seem like a pain, but using tape to protect any sections of a piece that you don’t want painted is worth the extra effort for how much faster the painting process itself will go (and how much neater the end result will look).
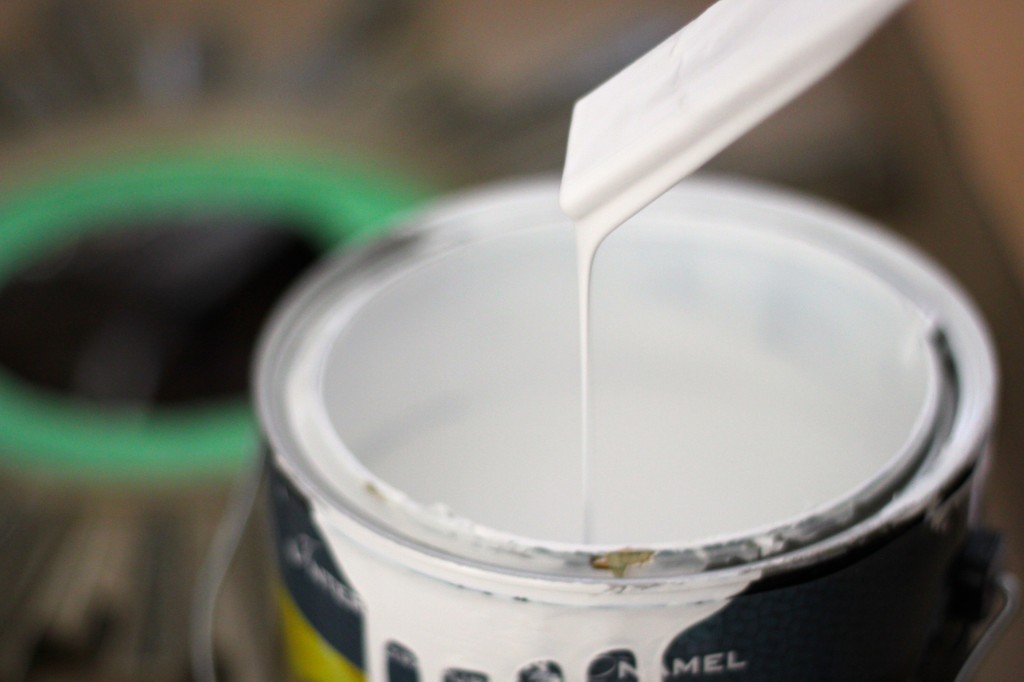
2. Next, choose your paint (I already had a can of white primer + paint indoor enamel laying around from when we painted our living room, so that’s what I used).
– If the piece is already painted, strip it first and sand it lightly (so that the paint adheres better to the surface). If it’s a very dark color and you’re putting a light color on top, remember that you may need to apply several coats.
– Use water-based paint on wood pieces.
– Gloss paint shows everything…only use it if the surface you’re painting is pristine (use semi-gloss or matte for a more forgiving finish).
– Put down a drop cloth, newspaper, or cardboard to protect your floor (whenever I get something large delivered, I break down the box it came in and stash it in our basement for exactly this purpose).
– Nail polish remover gets the stains off of furniture/floors that have been splattered, but spot-test first to ensure that you won’t take off anything you don’t want to.
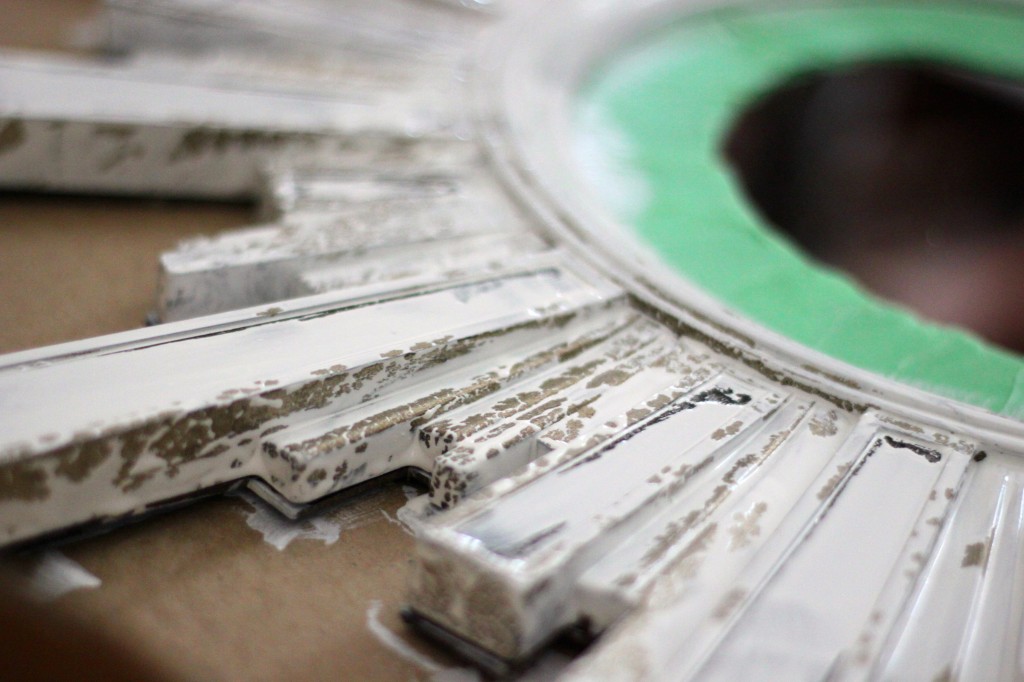
3. Last step: repeat with as many coats as you need to get the effect you’re looking for. As you can see, the paint didn’t take particularly well to the surface of the mirror at first, but that first coat gave subsequent ones something to stick to.
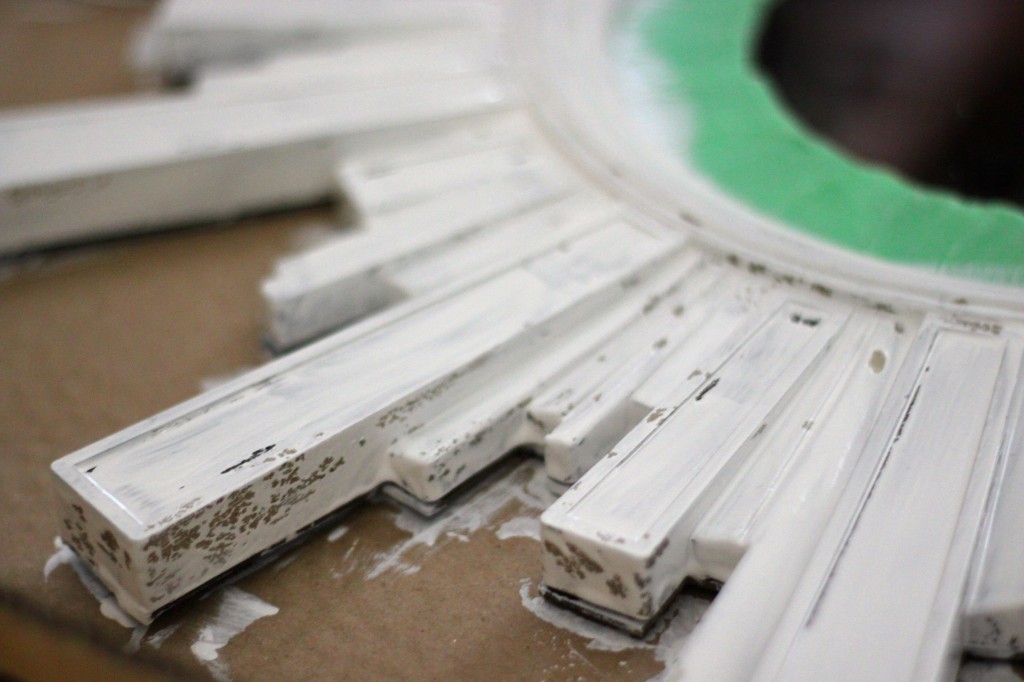
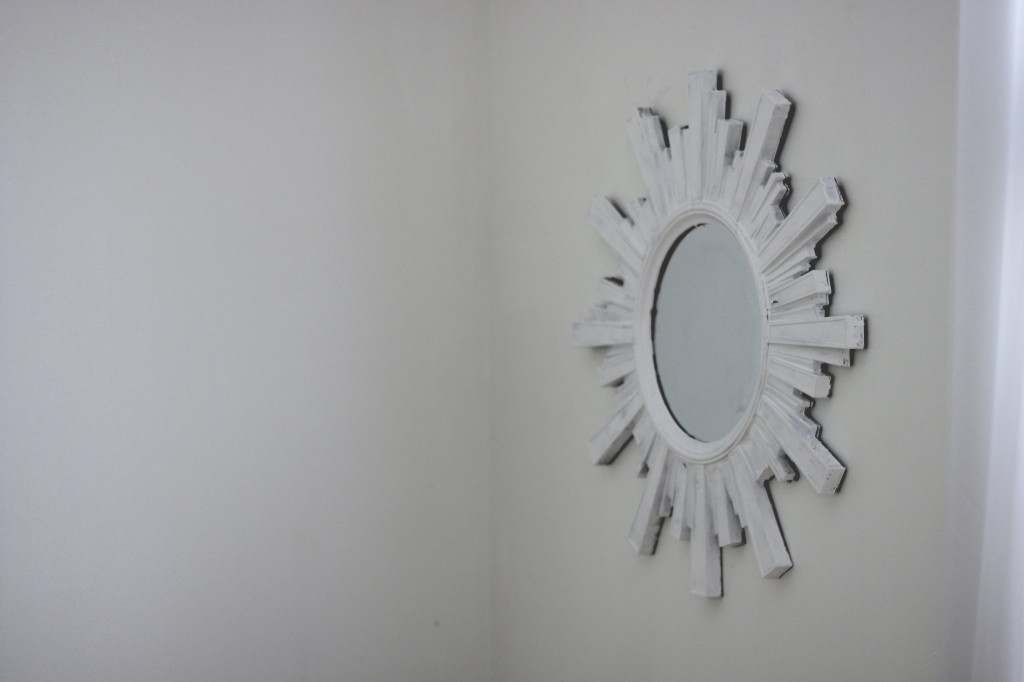
Here’s the mirror after two coats. Four or five coats would have completely covered the surface, but I wanted a slightly distressed look, so I stopped at three.
I like how you can kind of see the original surface through the white, so the mirror has a Shabby Chic feel. Simple, pretty, easy.

