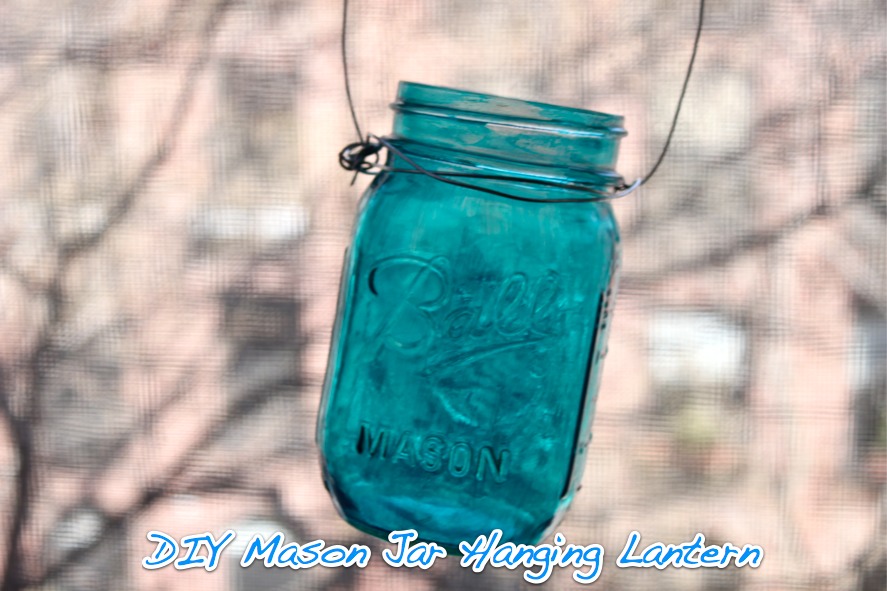
Another easy, fun way to dress up your DIY Blue Mason Jars (or any old Mason jars):
How gorgeous are these? And so perfect for weddings, parties, or just everyday decor.

Step-by-step tutorial after the jump.

What you need:
Mason jar
Needle-nose pliers (I just used my fingers to bend the wire, but I destroyed my manicure, so if you care about the state of your nails use pliers; also, you’ll get a neater result)
Wire (I used 18 gauge because I like the look of thicker wire, but 22 gauge would be easier to work with)
Wire cutters
Pencil

Start by pulling out a bit of wire – about 8-10″, and then leave the end hanging and loop the wire a few times around a pencil.

Remove the pencil and give the wire a twist to hold the loop in place.

Bring back your 8-10″ end to meet the wire on the opposite side of the jar (securing the wire under the lip), and twist the two pieces together.

If you have enough wire left on your 8-10″ piece to bring it back around to meet your loop, do that (I like the look of the doubled wire). If you don’t, cut it neatly and tuck in the end so it doesn’t end up wounding you later.

Hook your loose end into the loop, and neatly trim whatever’s left dangling with the wire cutters.
Note: You can always give the loops on either side another twist with needle-nose pliers to tighten things up. You can see that because I was using my fingers to do everything the wire isn’t particularly tight around the lip of the jar; if you do the same, just be certain that it’s at least tight enough that the jar won’t fall out.

Now go back to the other side, where you have the rest of your length of wire waiting for you. Pull out enough to make about a 4″ handle, and then pull out an inch or two more.

Hook the end of the wire through your loop…

…and cut off any loose pieces. That’s it!

Fill with candles (set into a little sand), flowers…whatever you like.
Click here for another handy step-by-step tutorial.