
When it comes to polish, know what I’m sort of over?
Baby-pink and purple-black. Every winter, this is my fallback pairing (hands/toes)…and it’s pretty and all, but it’s also sort of boring. But the fact that I’ve been wearing these shades for years now means that I have an enormous collection of said baby-pinks and purple-blacks sitting in my bedside table drawer, all ready to be offered up to the DIY gods, so: good news, that.
Yesterday I spotted a gorgeous dusty-rose Essie shade on Hay Girl Hay, and got all inspired to try whipping up a bottle of my very own mauve. Mauve can be tricky, though: the right shade can be one of those perfect-on-every-skin-tone colors, but the wrong shade can look a bit…well, corpse-ish.
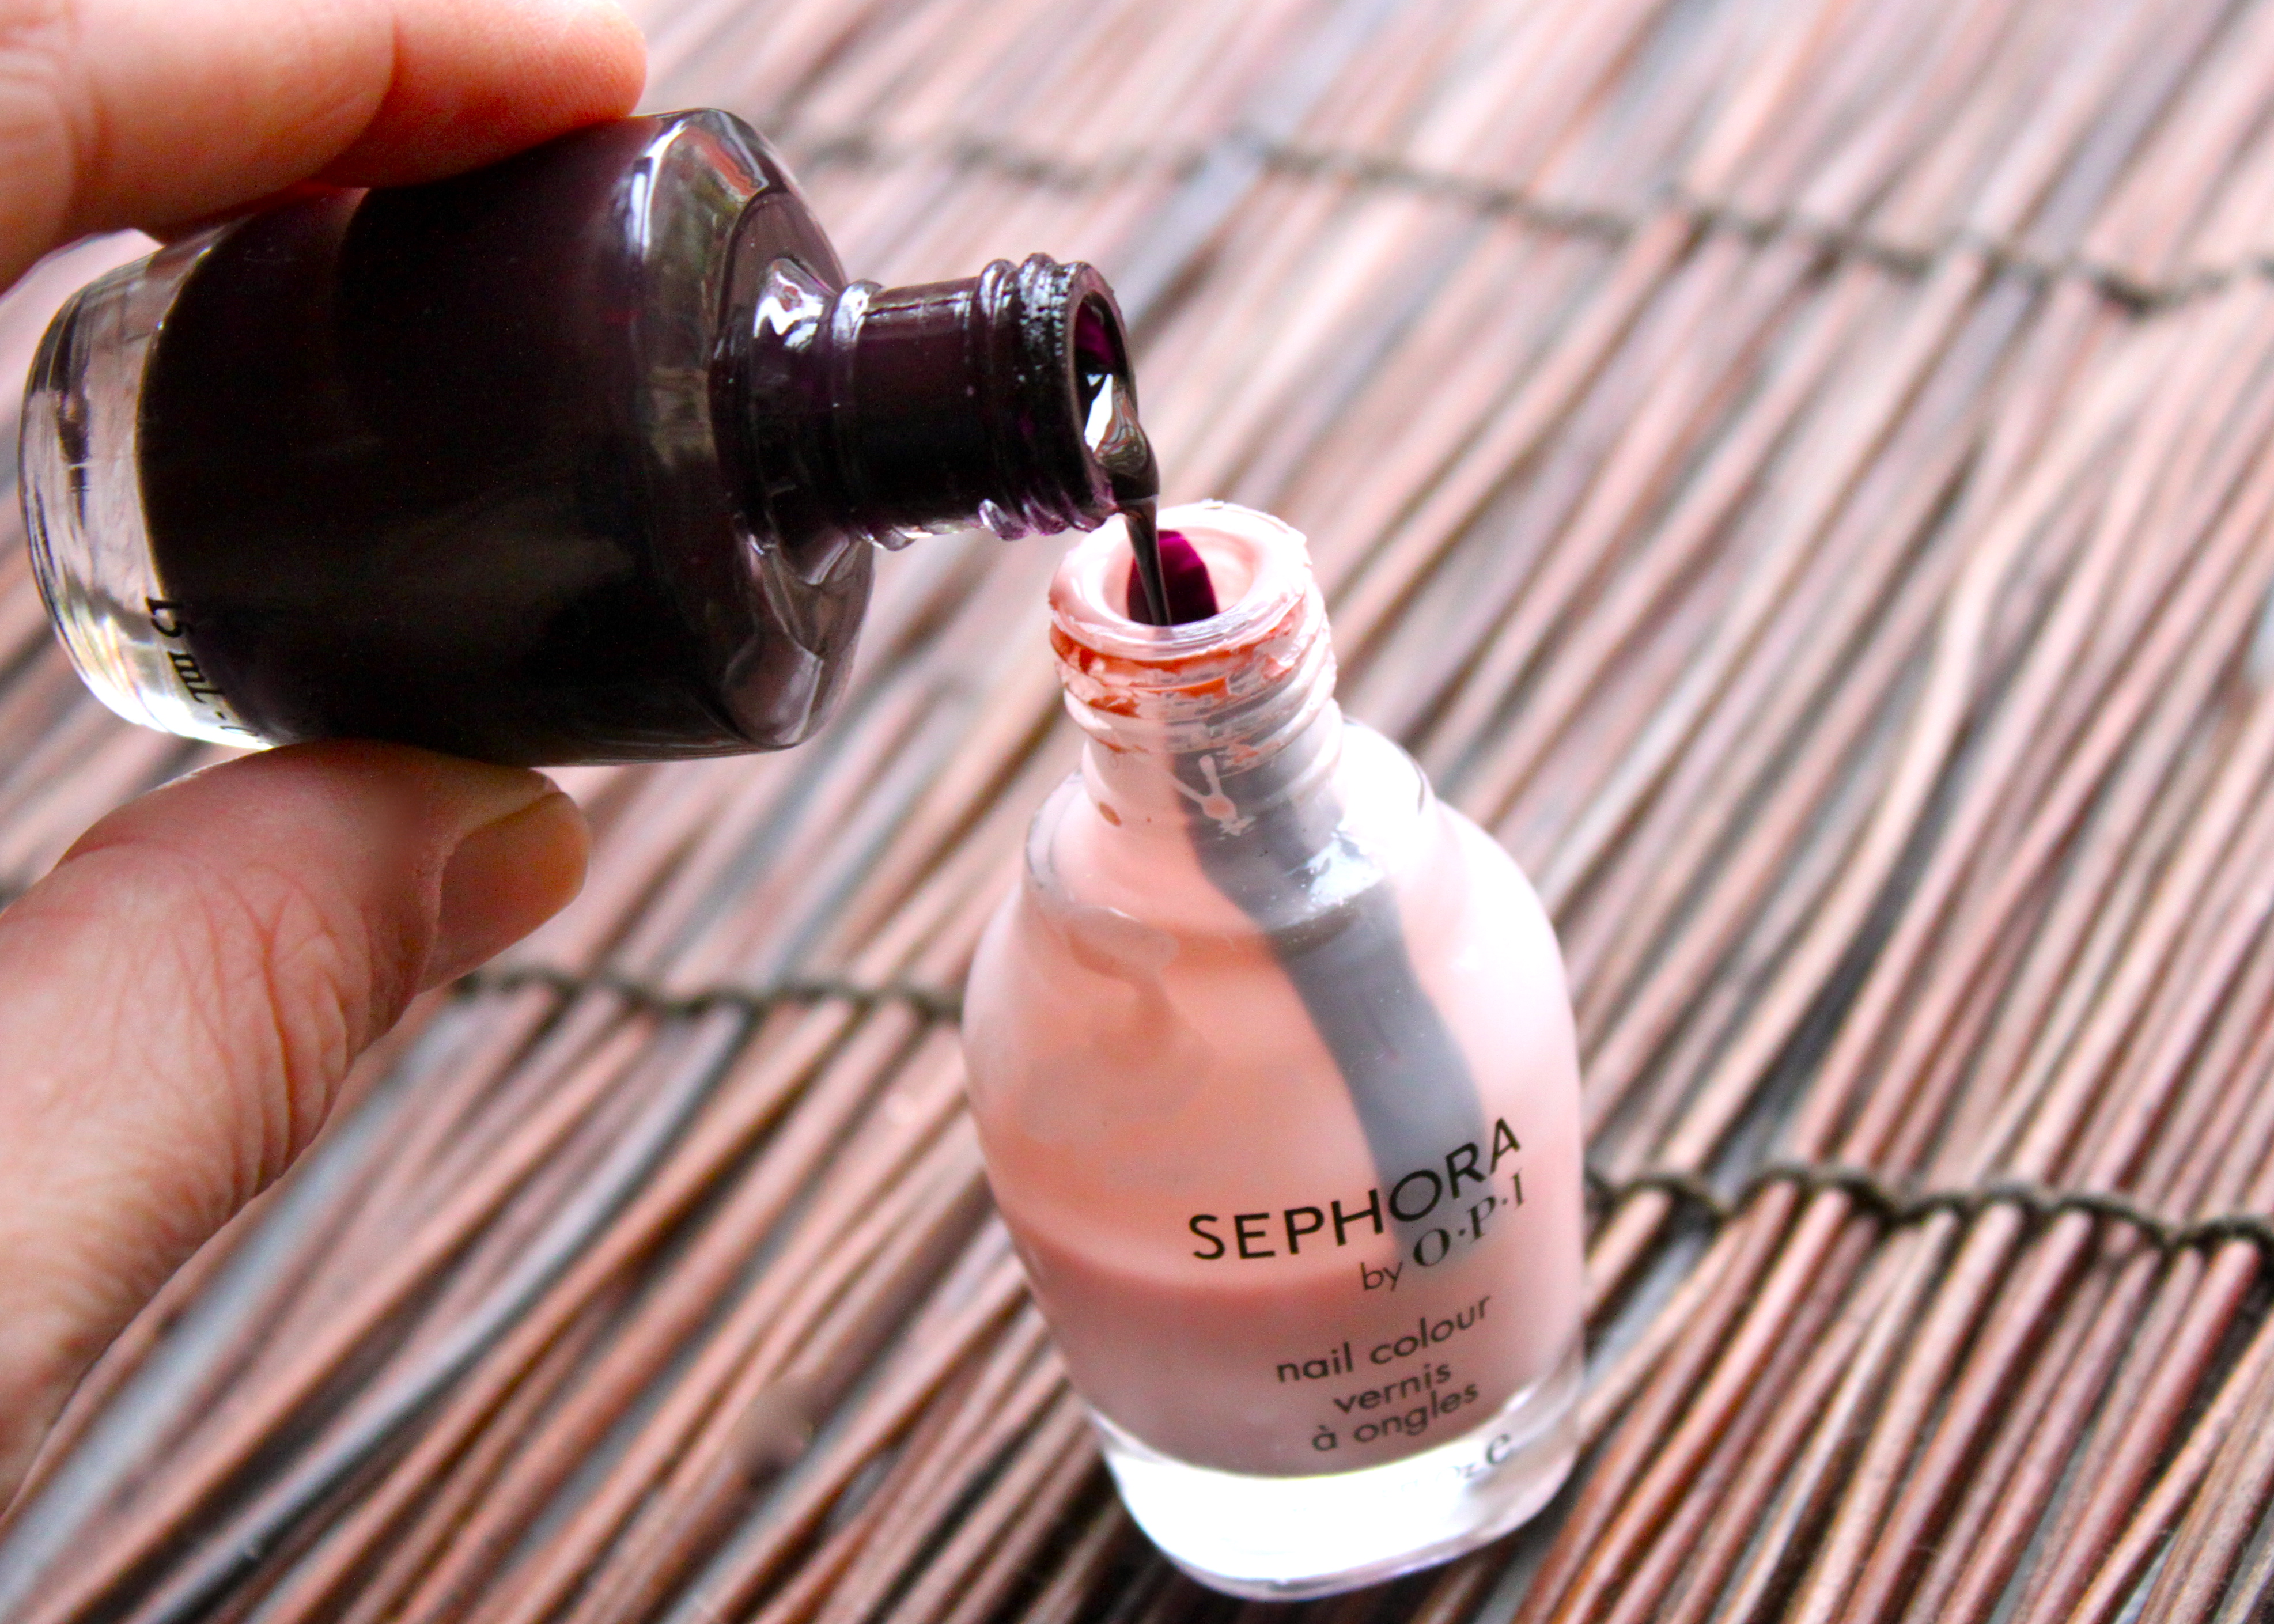
Fortunately, that “right shade” is now sitting right there on my dresser, ready to be pulled into constant rotation all the way through to spring. And since the chances are good that you’re already in possession of some variation on the two polishes pictured above (Sephora by OPI …Dear Diary and OPI Lincoln Park After Dark), if you’d like to try mixing up a bottle of this stuff you’re 99% there already.
To make the perfect mauve:
– Gradually mix about 6-10 drops of the darker shade into the lighter shade. Move slowly – you can always add more dark polish, but once you’ve gone too dark it’s a pain to reverse the direction, and will require the sacrificing of another bottle of pink polish to even things out. How much of the dark shade you’ll need to add to achieve the look here depends on how much of the lighter shade was remaining in the bottle; my bottle was close to empty, so I needed to add very little.
– Add 2 or 3 drops of clear lacquer (this improves the texture).
– Roll the bottle between your hands to mix (mix well; you don’t want any streaks).

And presto: the finished product, in natural light. Let’s call it “Grandma’s Tablecloth.”

(It matches my fake lilacs perfectly.)

Click here for more DIY Nailpolish Rehab.


